How To Create a Custom Retailer and Requesting a Connection
Last updated: July 24, 2026
Creating a custom retailer is a great way to add in a compliance flow for smaller Mom and Pop retailers! This article will walk you through how to create a custom retailer and then request a connection!
Creating A Custom Retailer
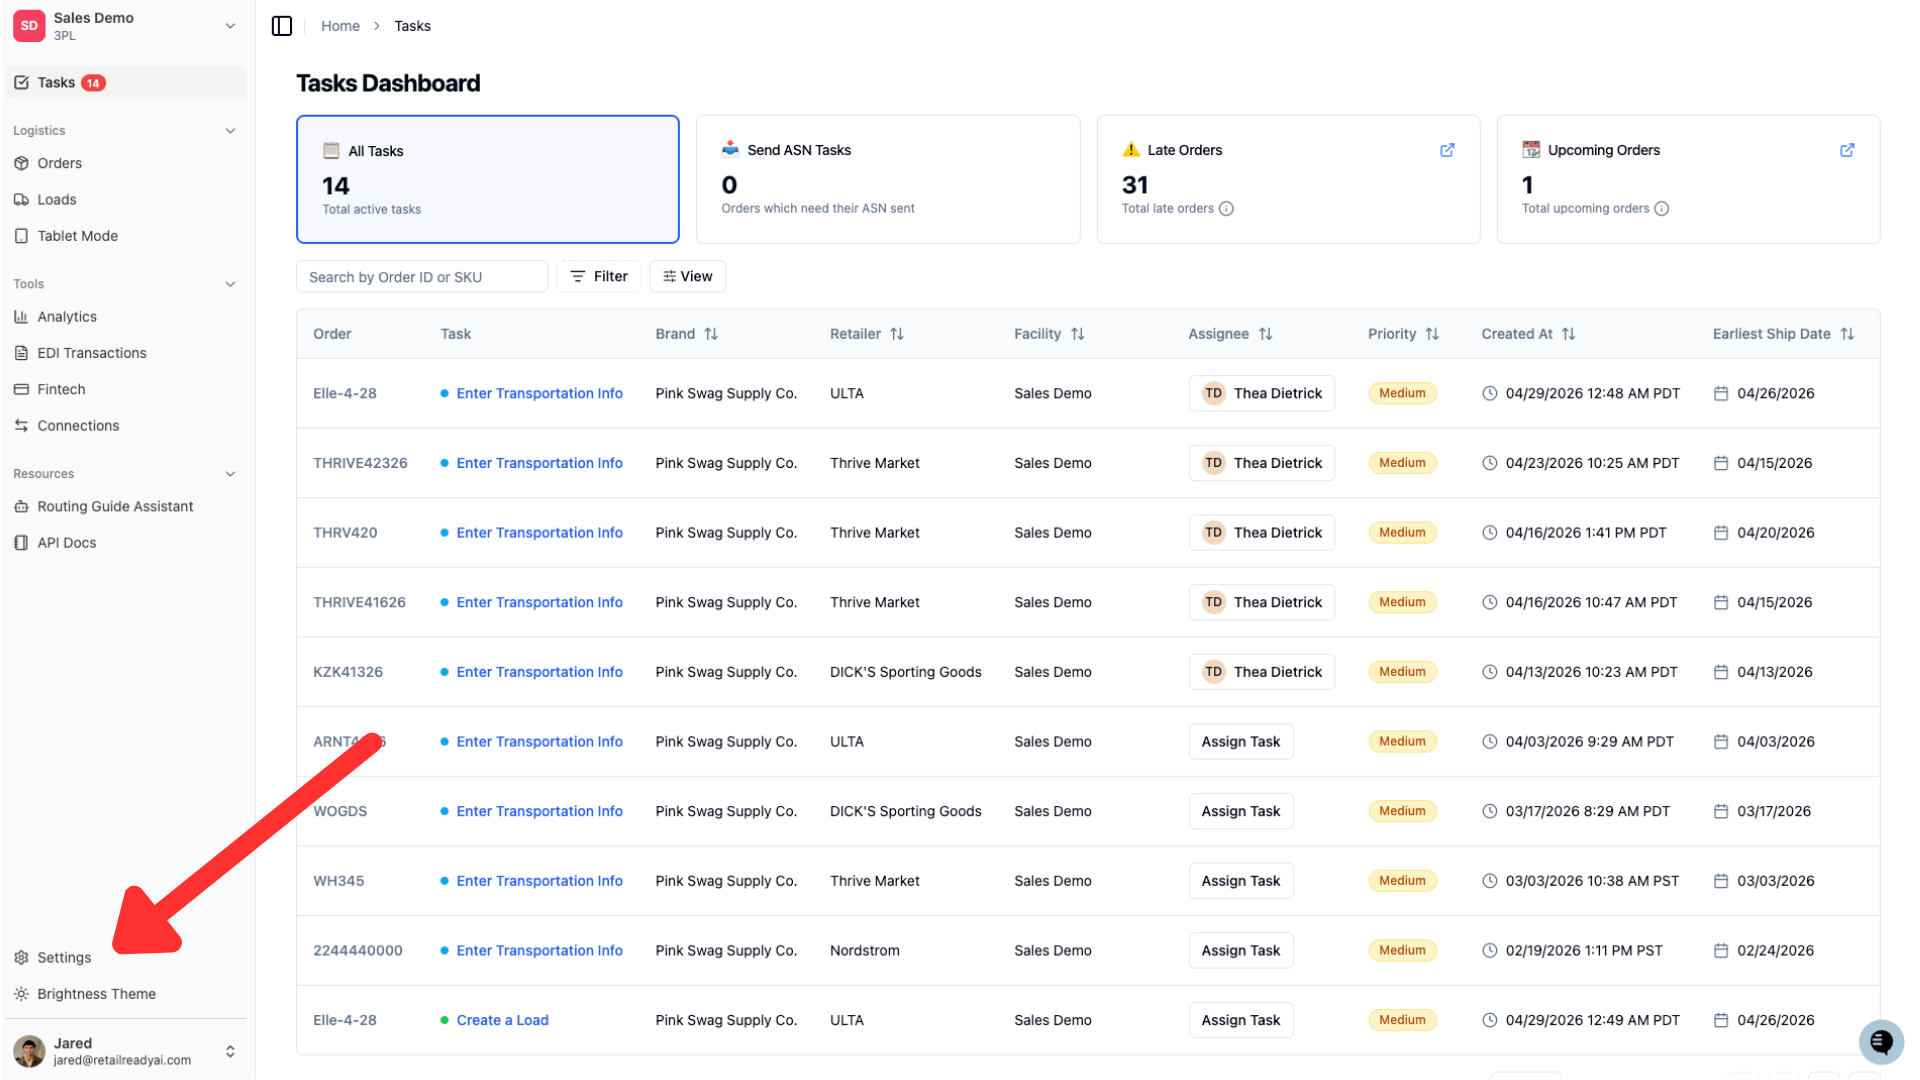
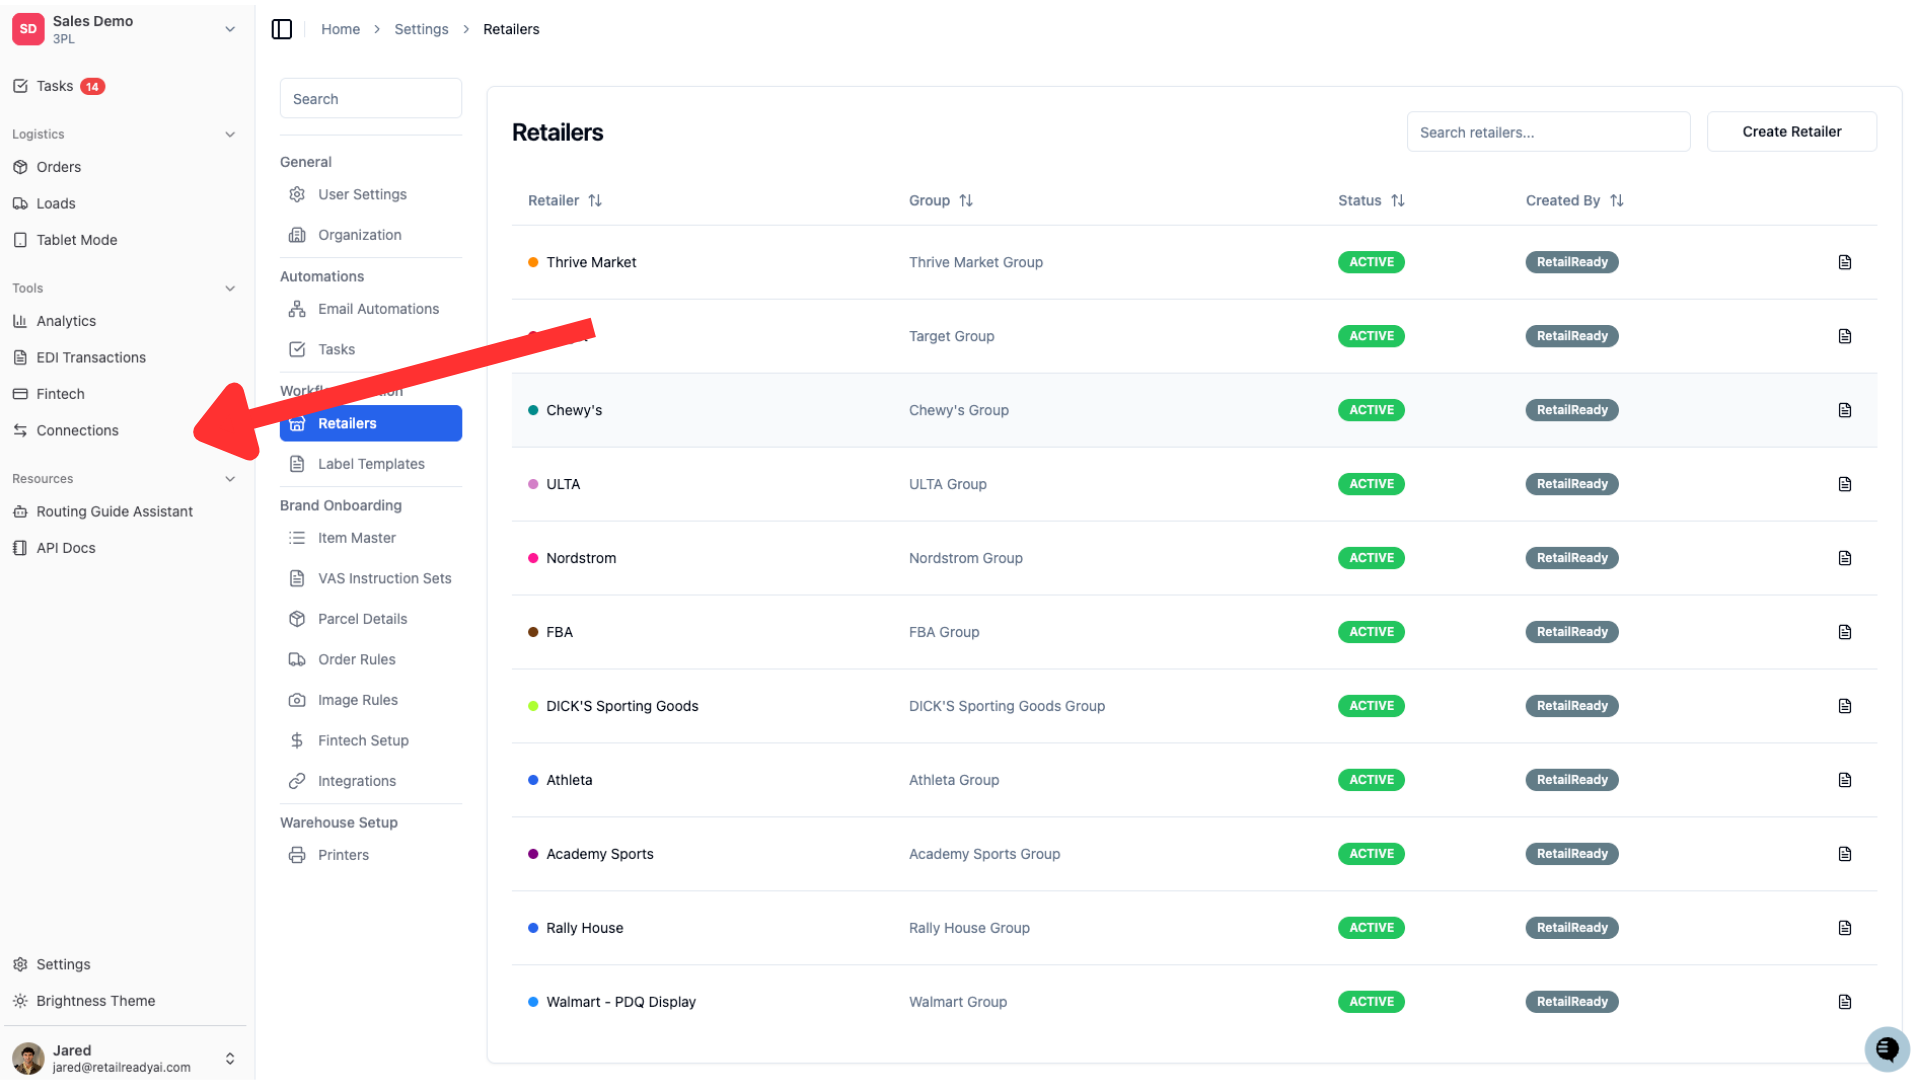
Navigate to the 'Settings Tab' on the left hand side of Retail Ready.
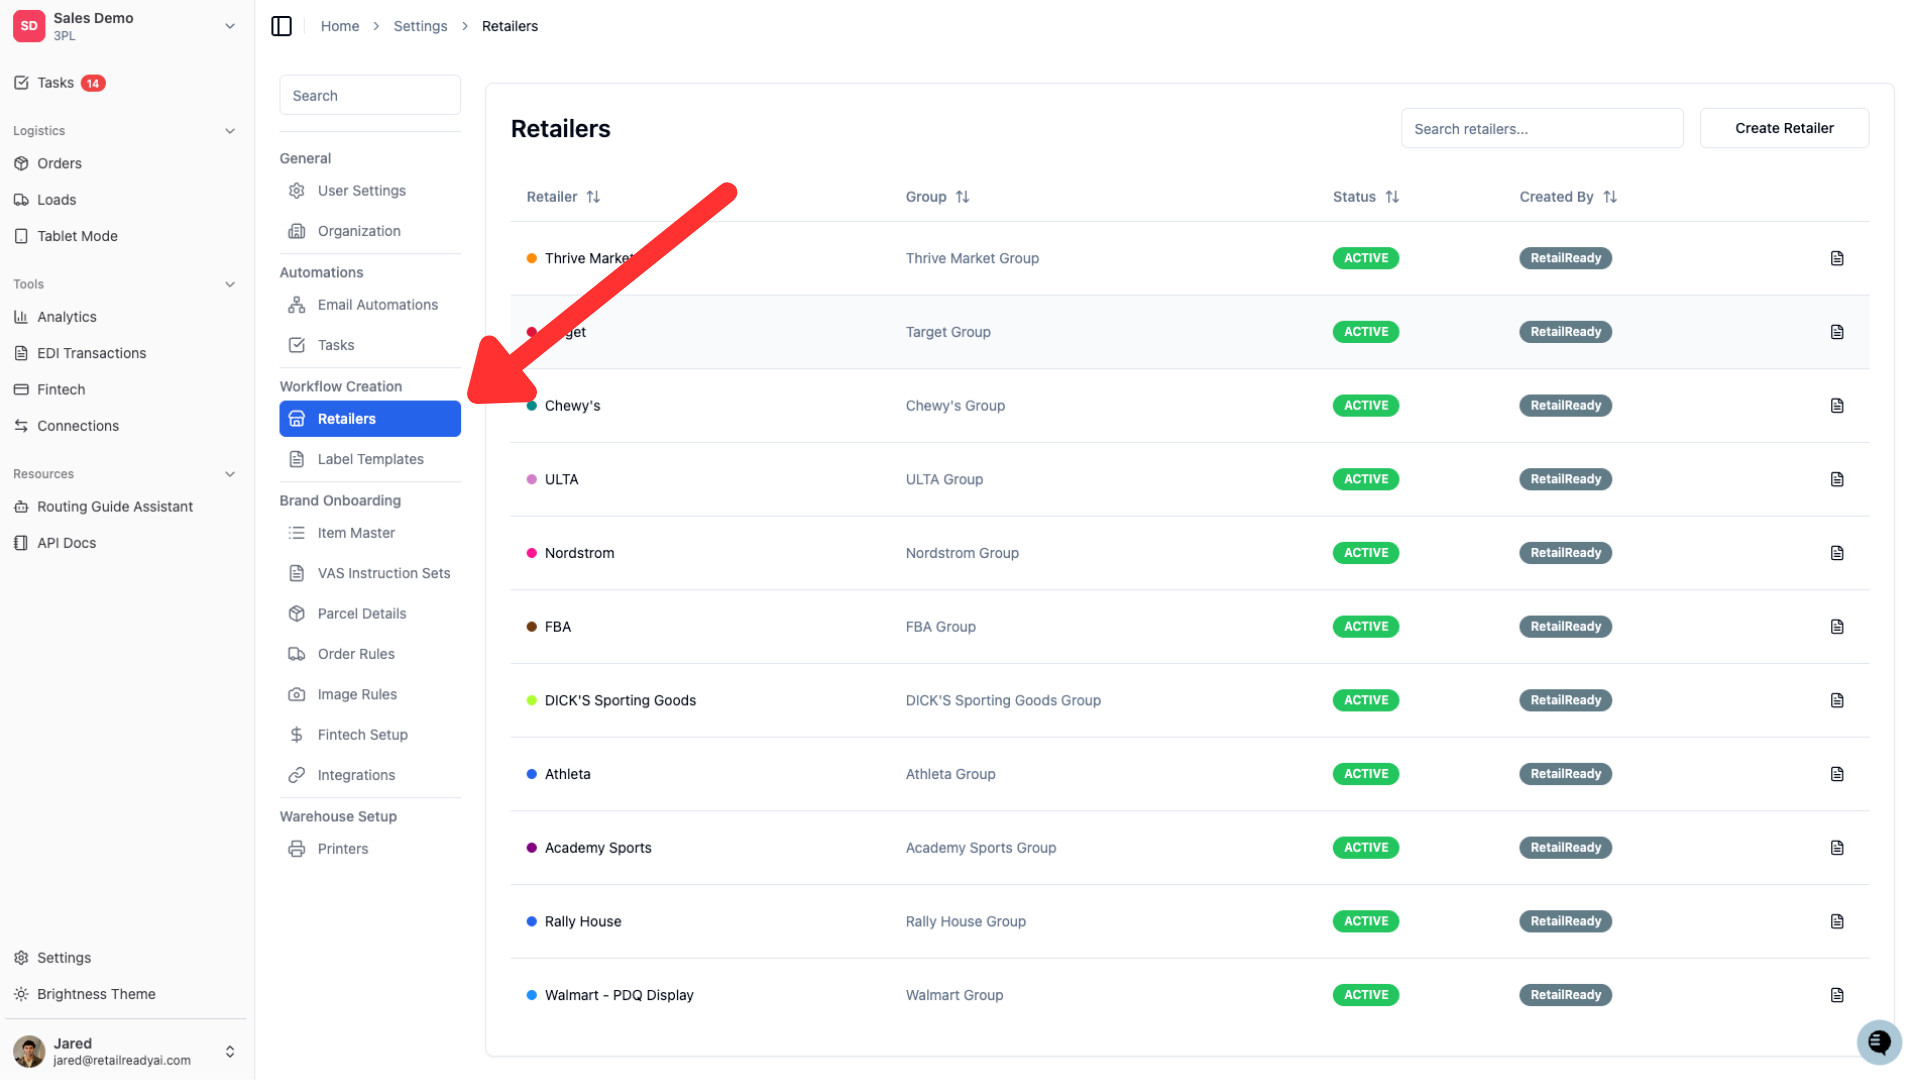
Select the 'Retailers' tab from the settings column that opened
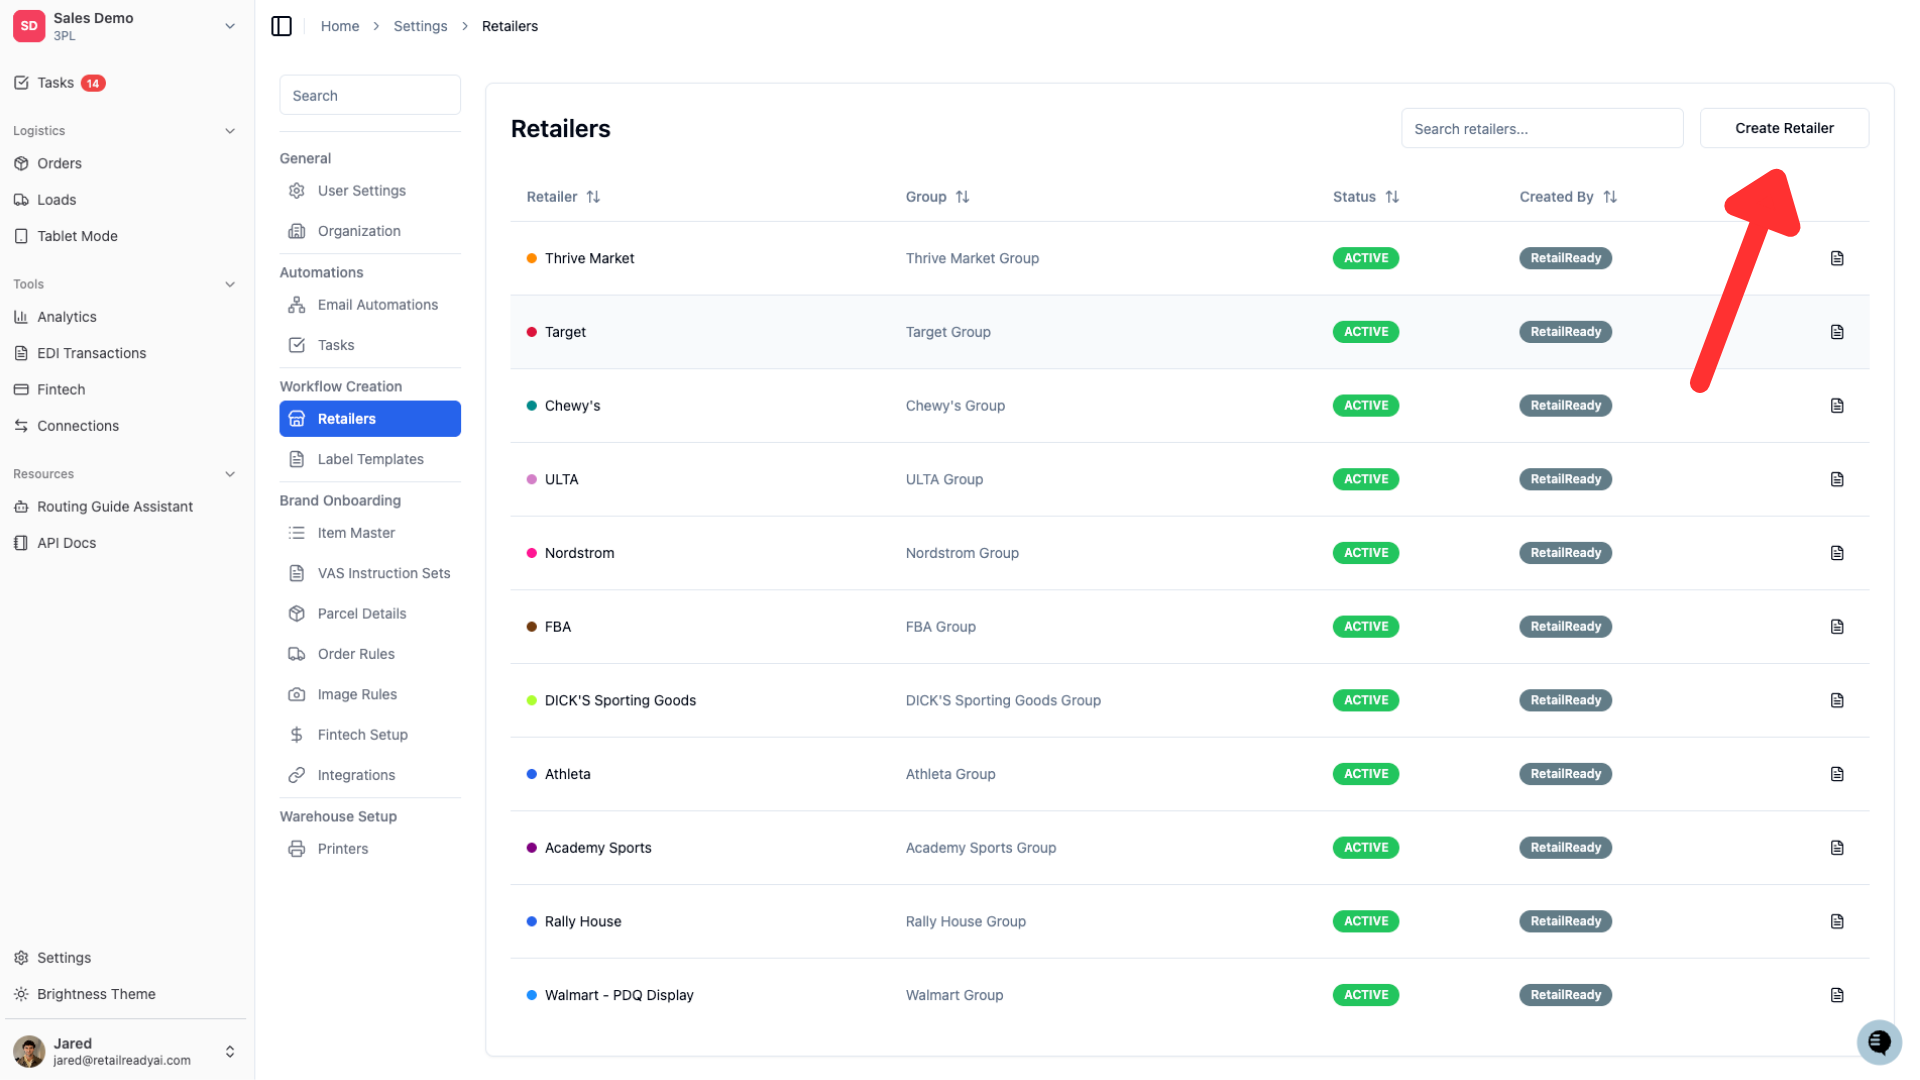
Click 'Create Retailer' in the upper right hand corner
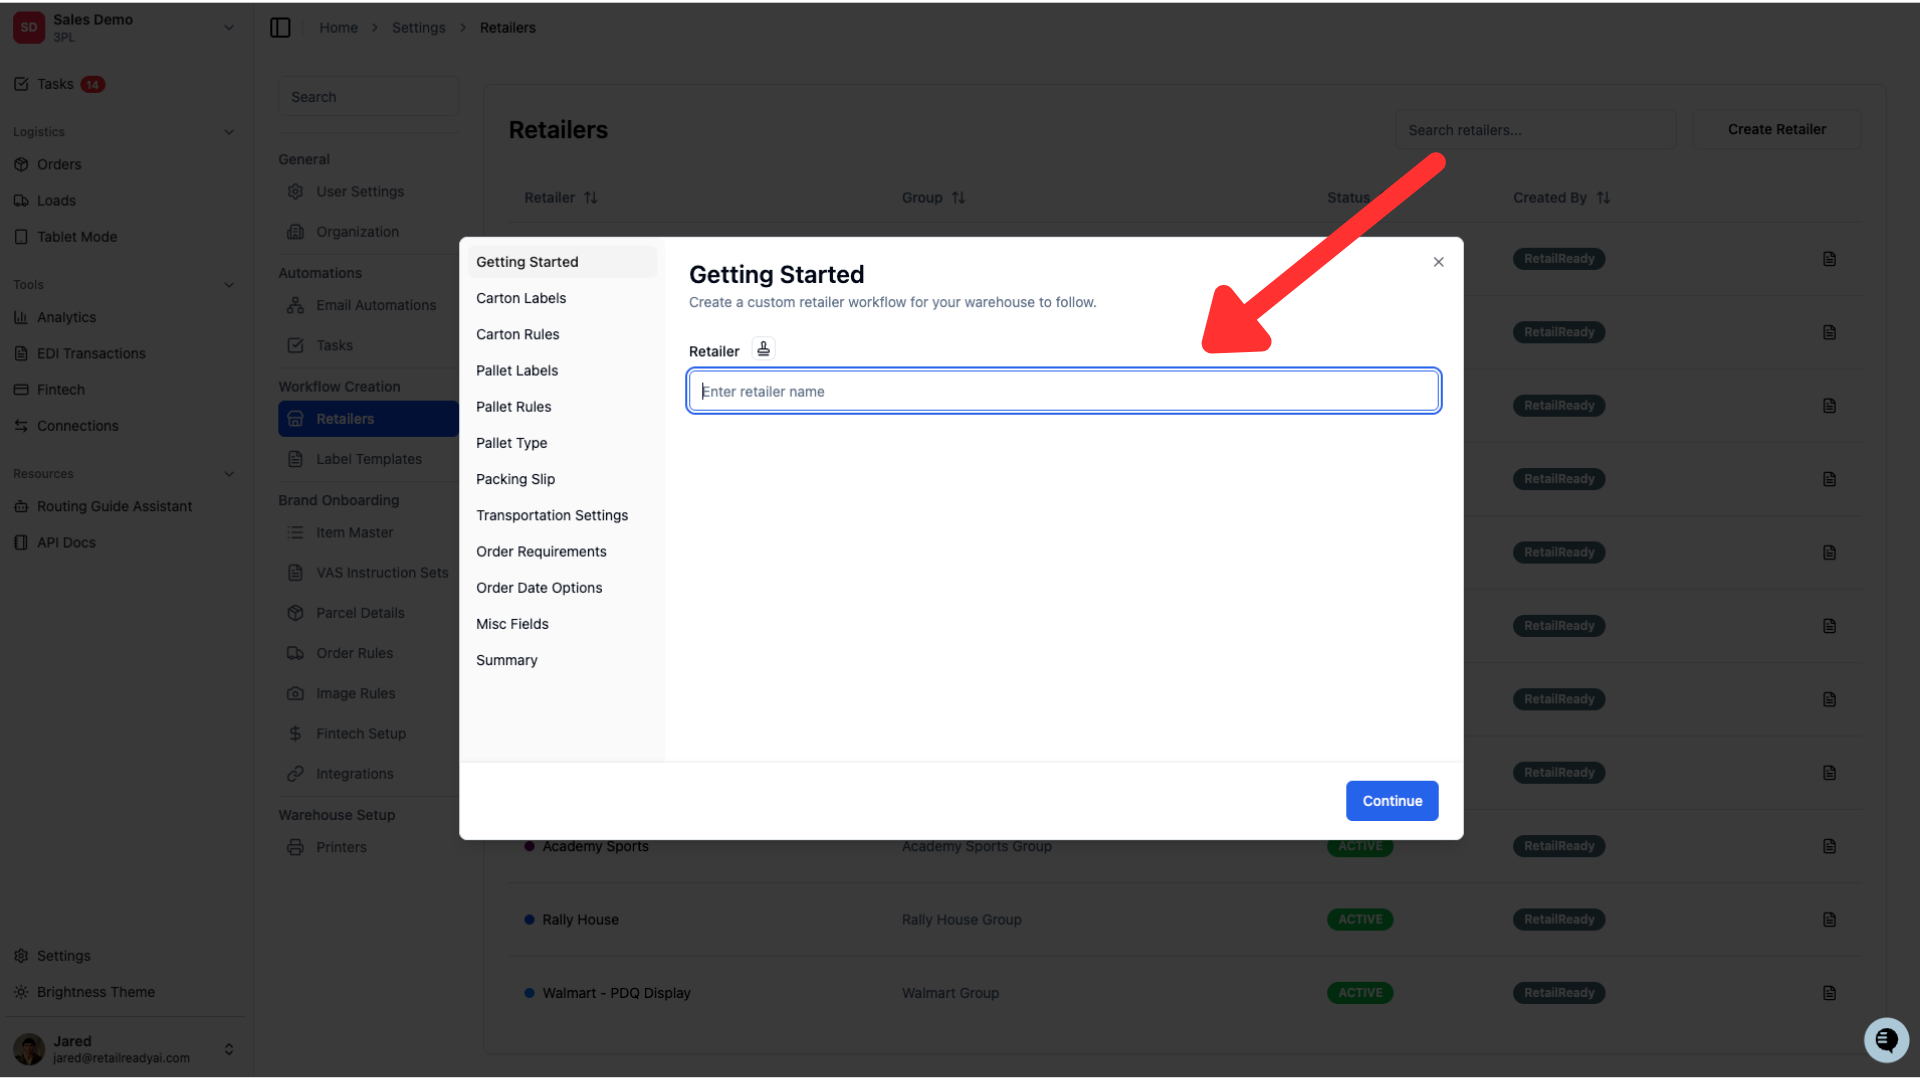
Enter the retailer name in the retailer field
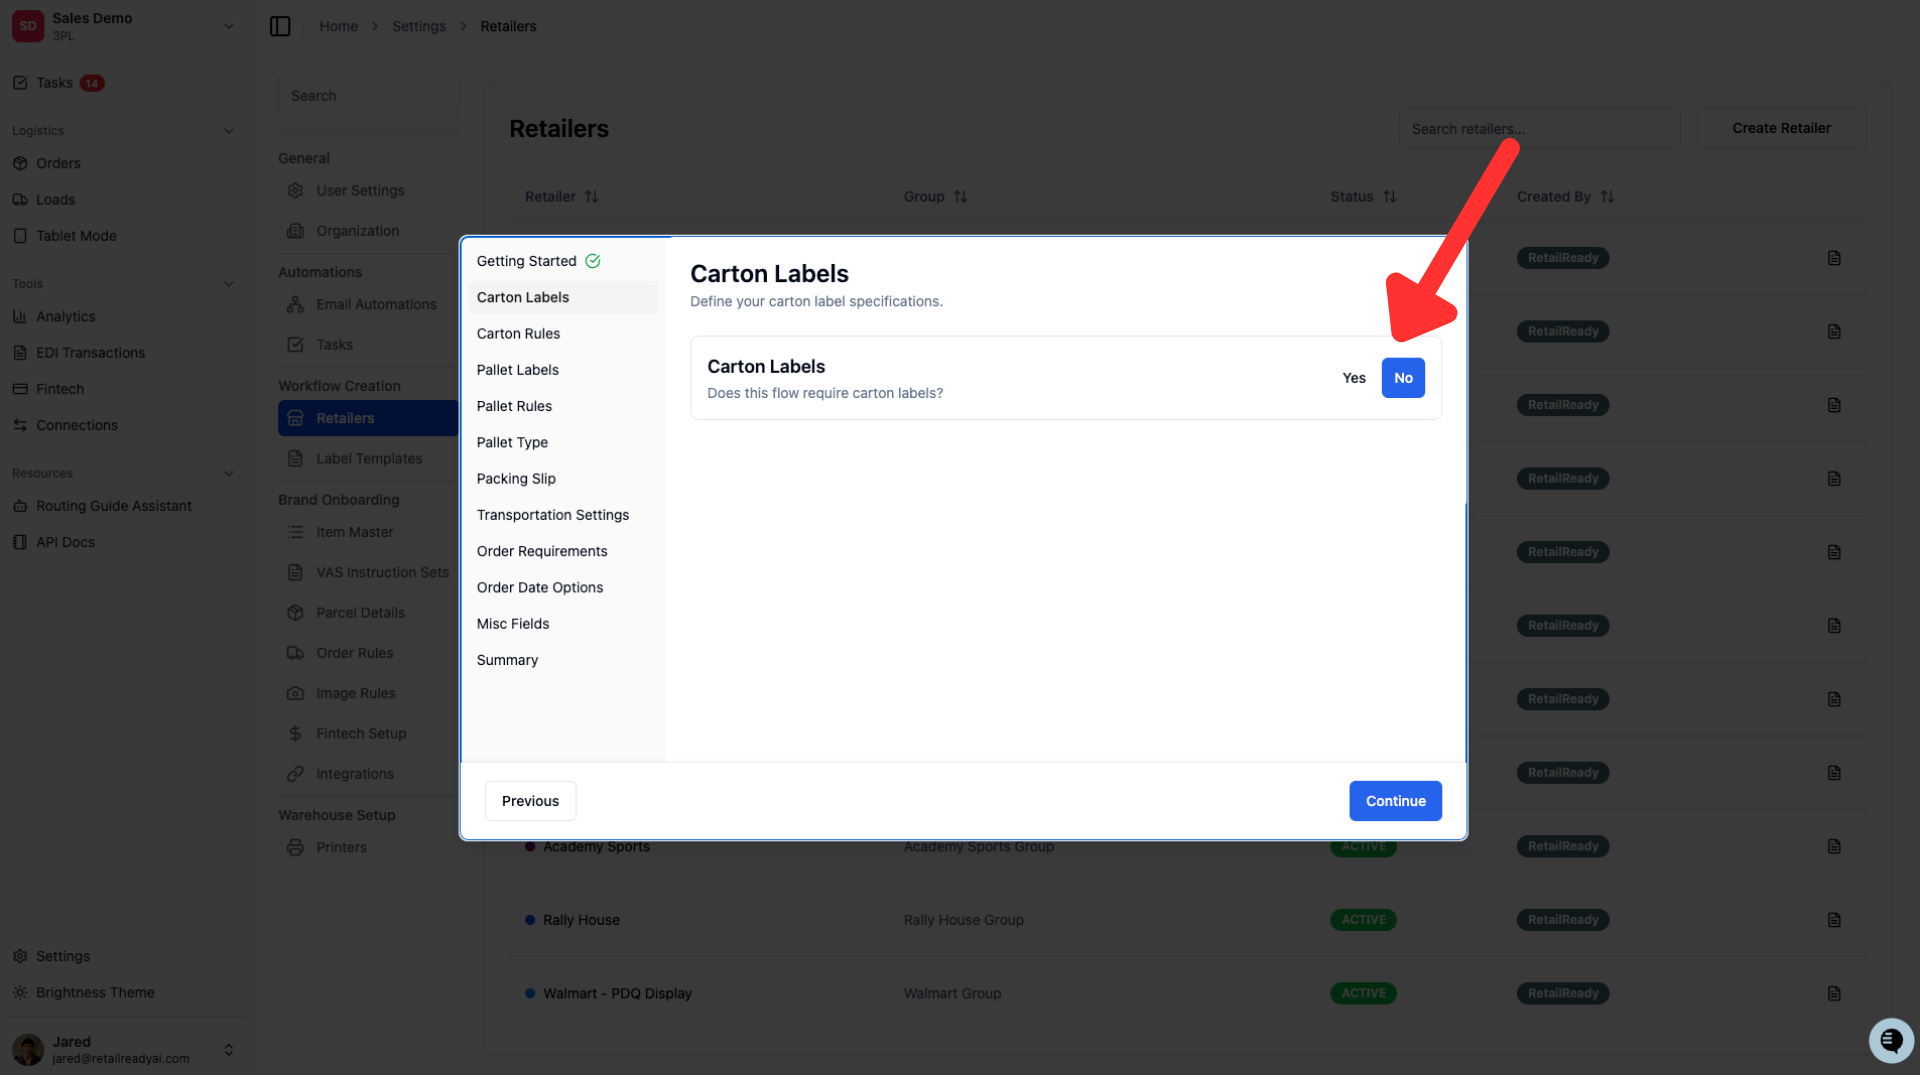
Select if carton labels will be required
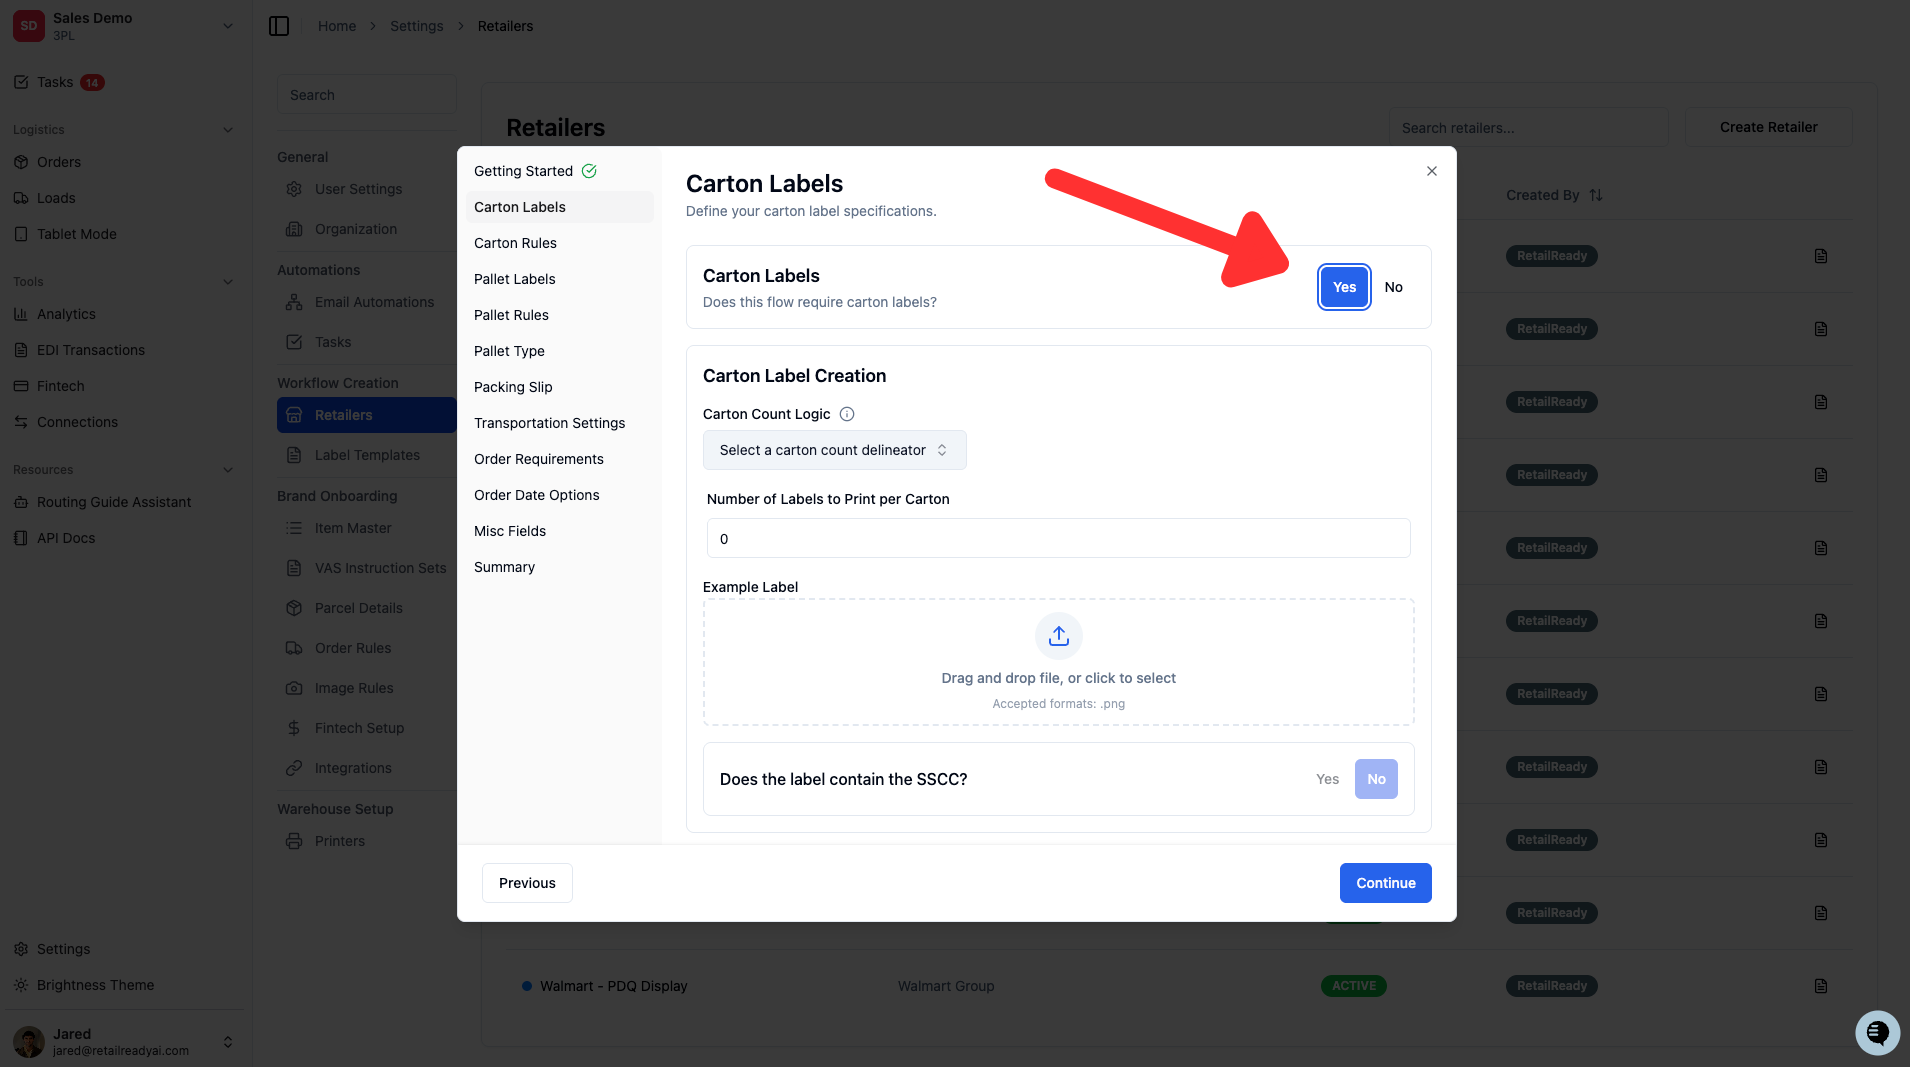
If 'Yes' is selected, fill out the fields that appear. 'Carton Count Logic' is used to determine if cartons are tracked on total carton count basis (ie. Carton 1 of 5), or on a carton per SKU basis (ie Carton 1 of 3 and Carton 1 of 2).
'Number of labels per Carton' should be the number of labels required and printed per carton. You should upload an example image of the carton label. Lastly select if the carton label should contain an SSCC.
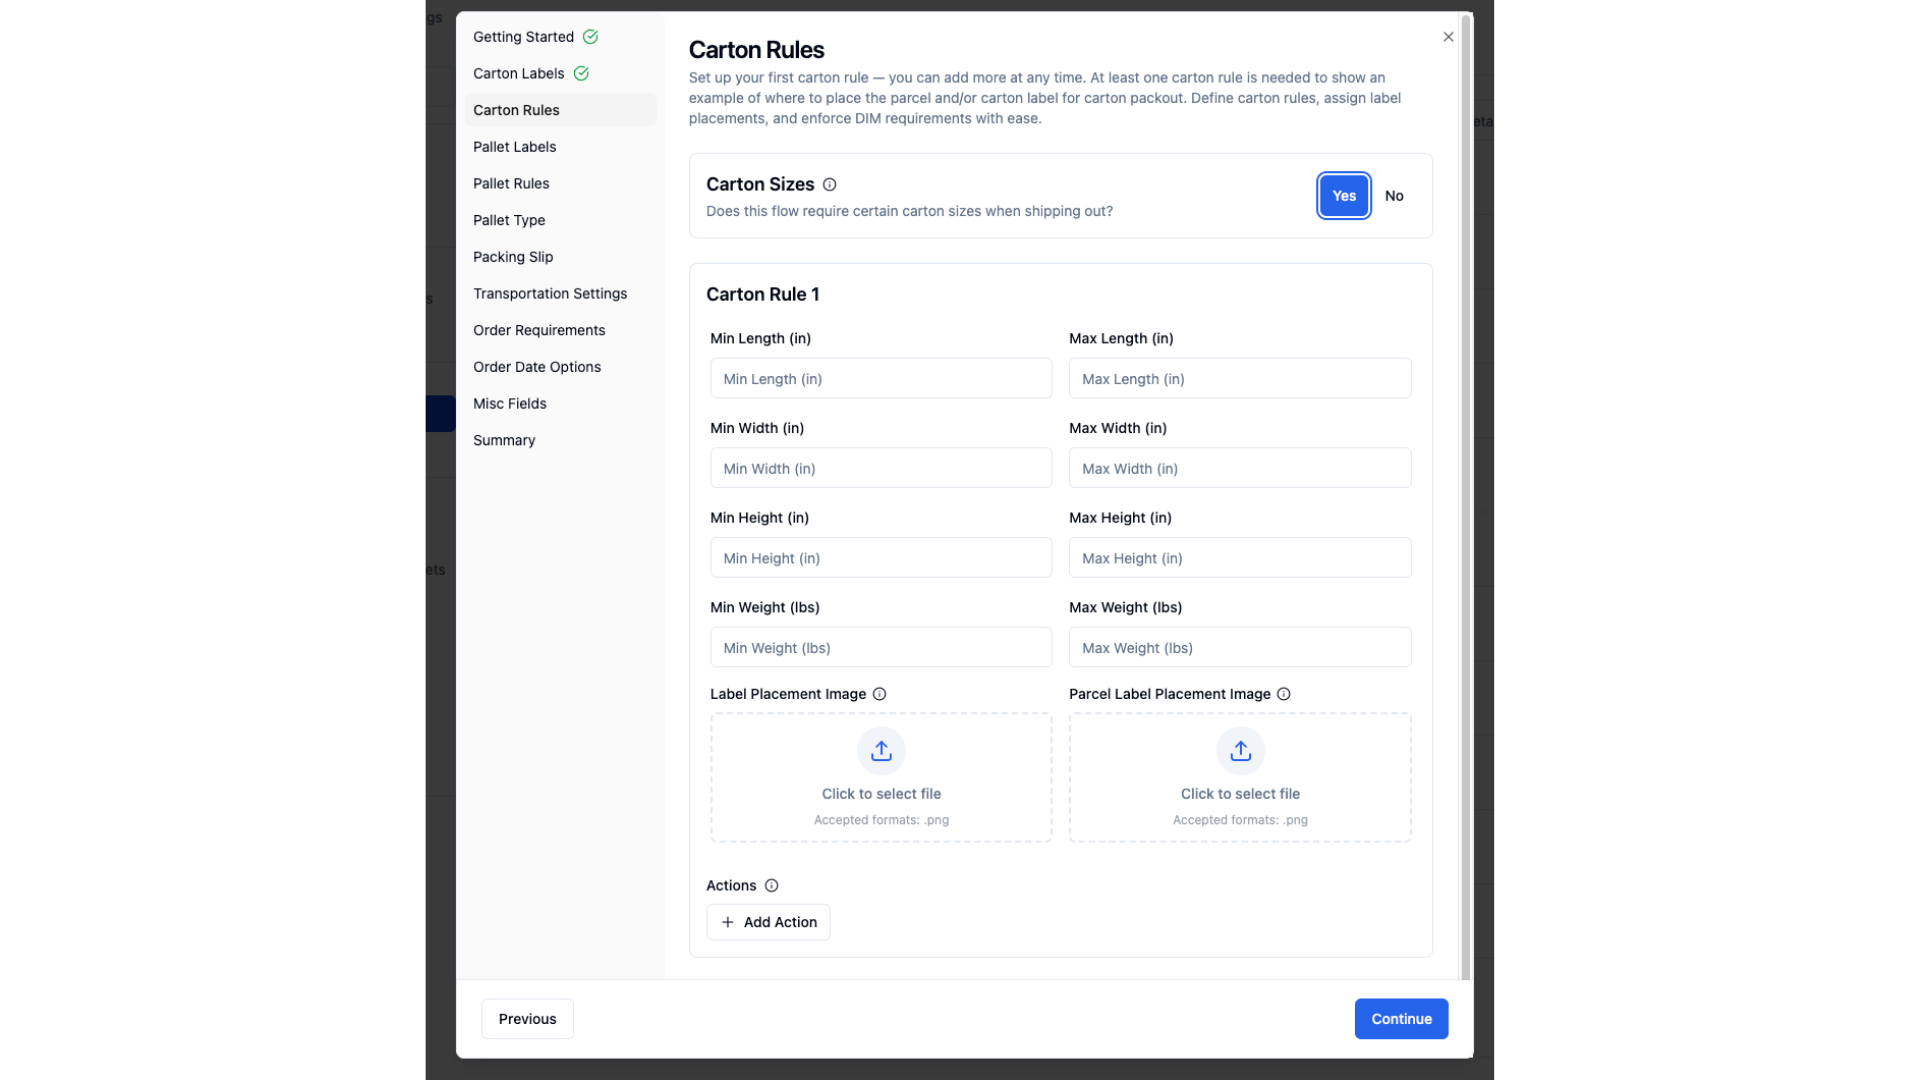
If cartons must be a certain size, select yes and assign the requirements in the fields below. The label placement image fields will be shown to the packer during pack out. These should display where on the carton the labels will be placed. Actions can be used to include instructions for the packer during pack out.
If you are creating more than one carton rule, please note that only one will be shown per carton during pack out. The rule shown is determined by the dimension and weight requirements that the chosen carton falls within. Rules should be set up as mutually exclusive to prevent more than one rule set from applying to a single carton.
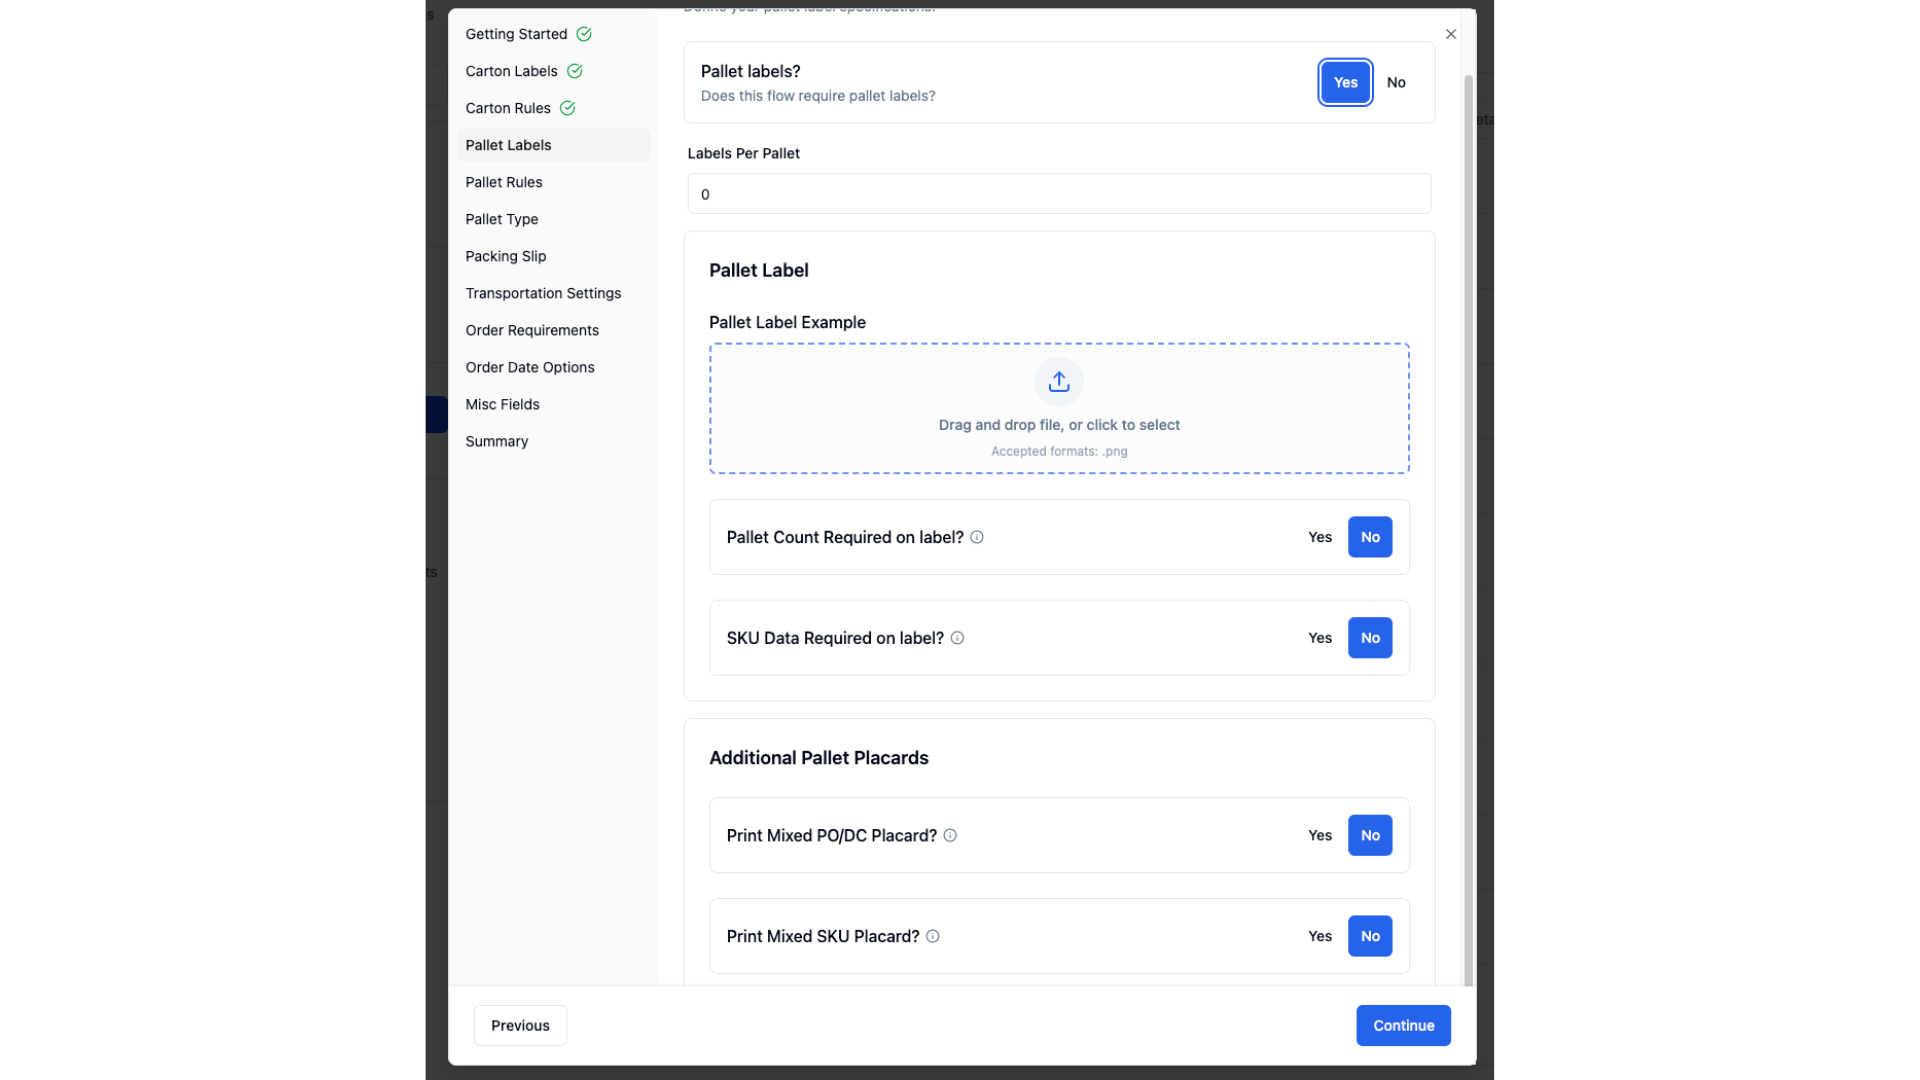
If pallet labels are required, select yes. You can then input the label count and an example image. Selecting yes for pallet count or sku data being required on label will require this to be included on the label. Pallet Placards are additional labels printed signifying that the pallet is Mixed PO/DC or Mixed SKU. If either of these are necessary, click 'Yes'.
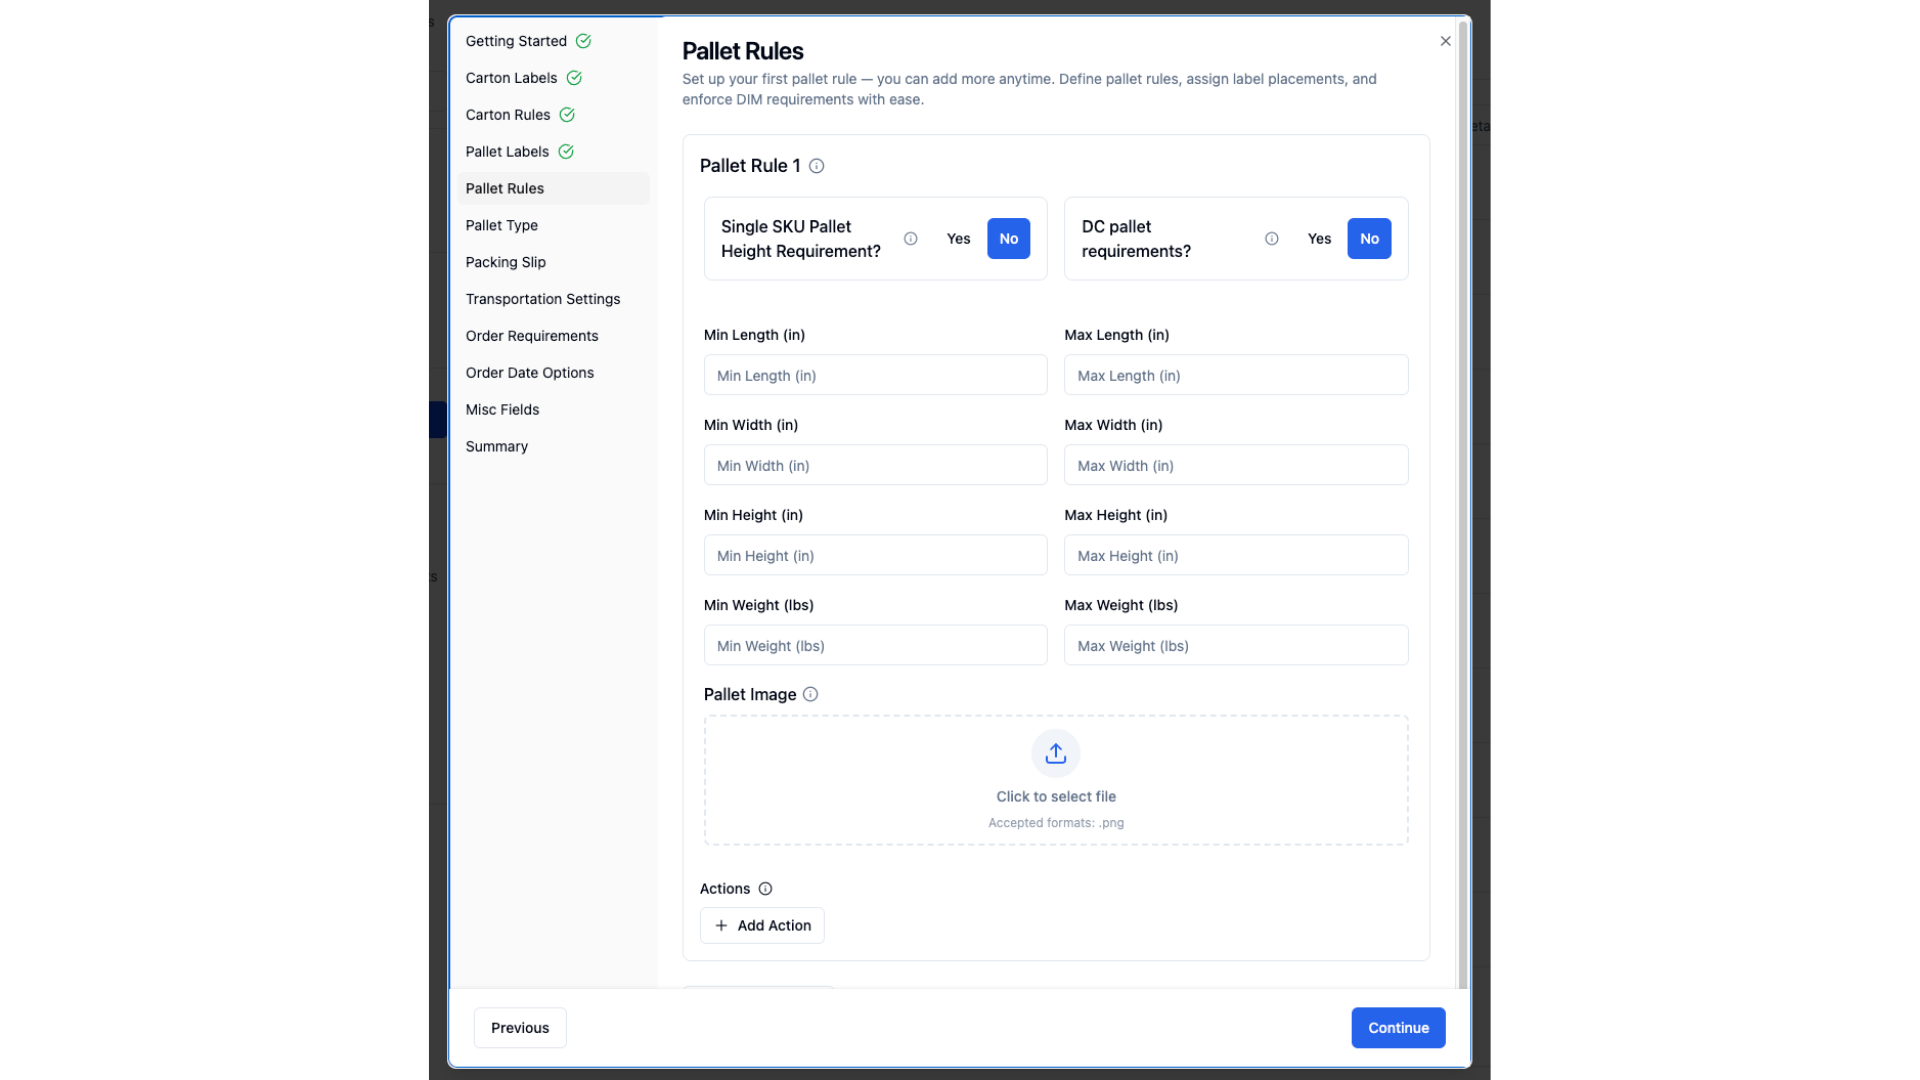
Pallet Rules is similar to Carton Rules but used for pallet guidelines. You can select if there are 'Single SKU' or 'DC' specific requirements and input those below. If neither are selected, the rules will apply to all pallets. You can then add an image of where the label is supposed to be placed. Any instructions can be added using actions.
If you are creating more than one pallet rule, please note that only one will be shown per pallet during pack out. The rule shown is determined by the dimension and weight requirements that the chosen pallet falls within. Rules should be set up as mutually exclusive to prevent more than one rule set from applying to a single pallet.
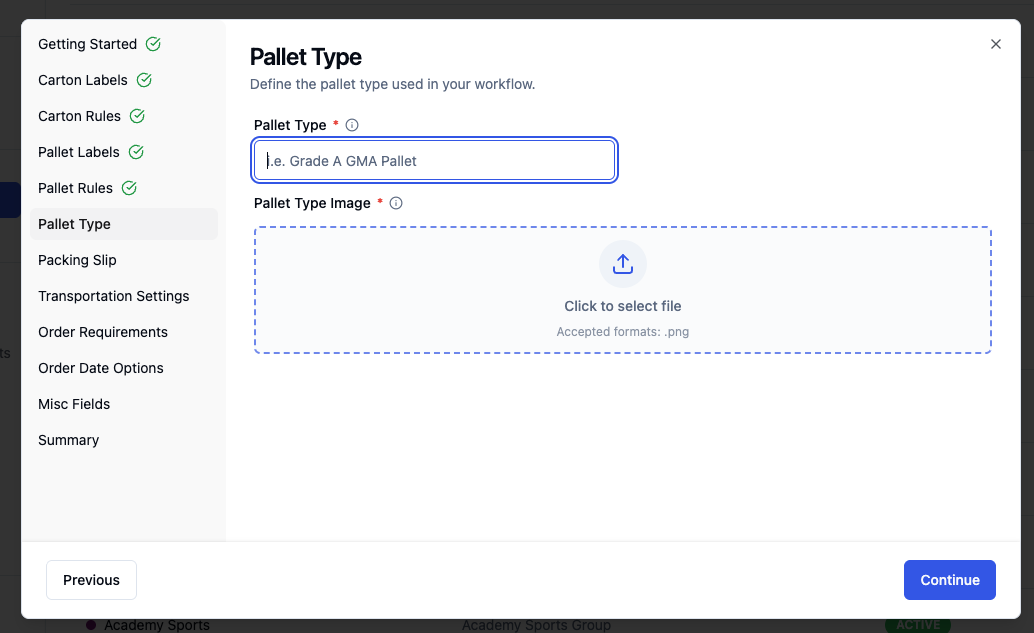
On the Pallet Type form you can input what type of pallet needs to be used for this retailer as well as input an image to show the packer
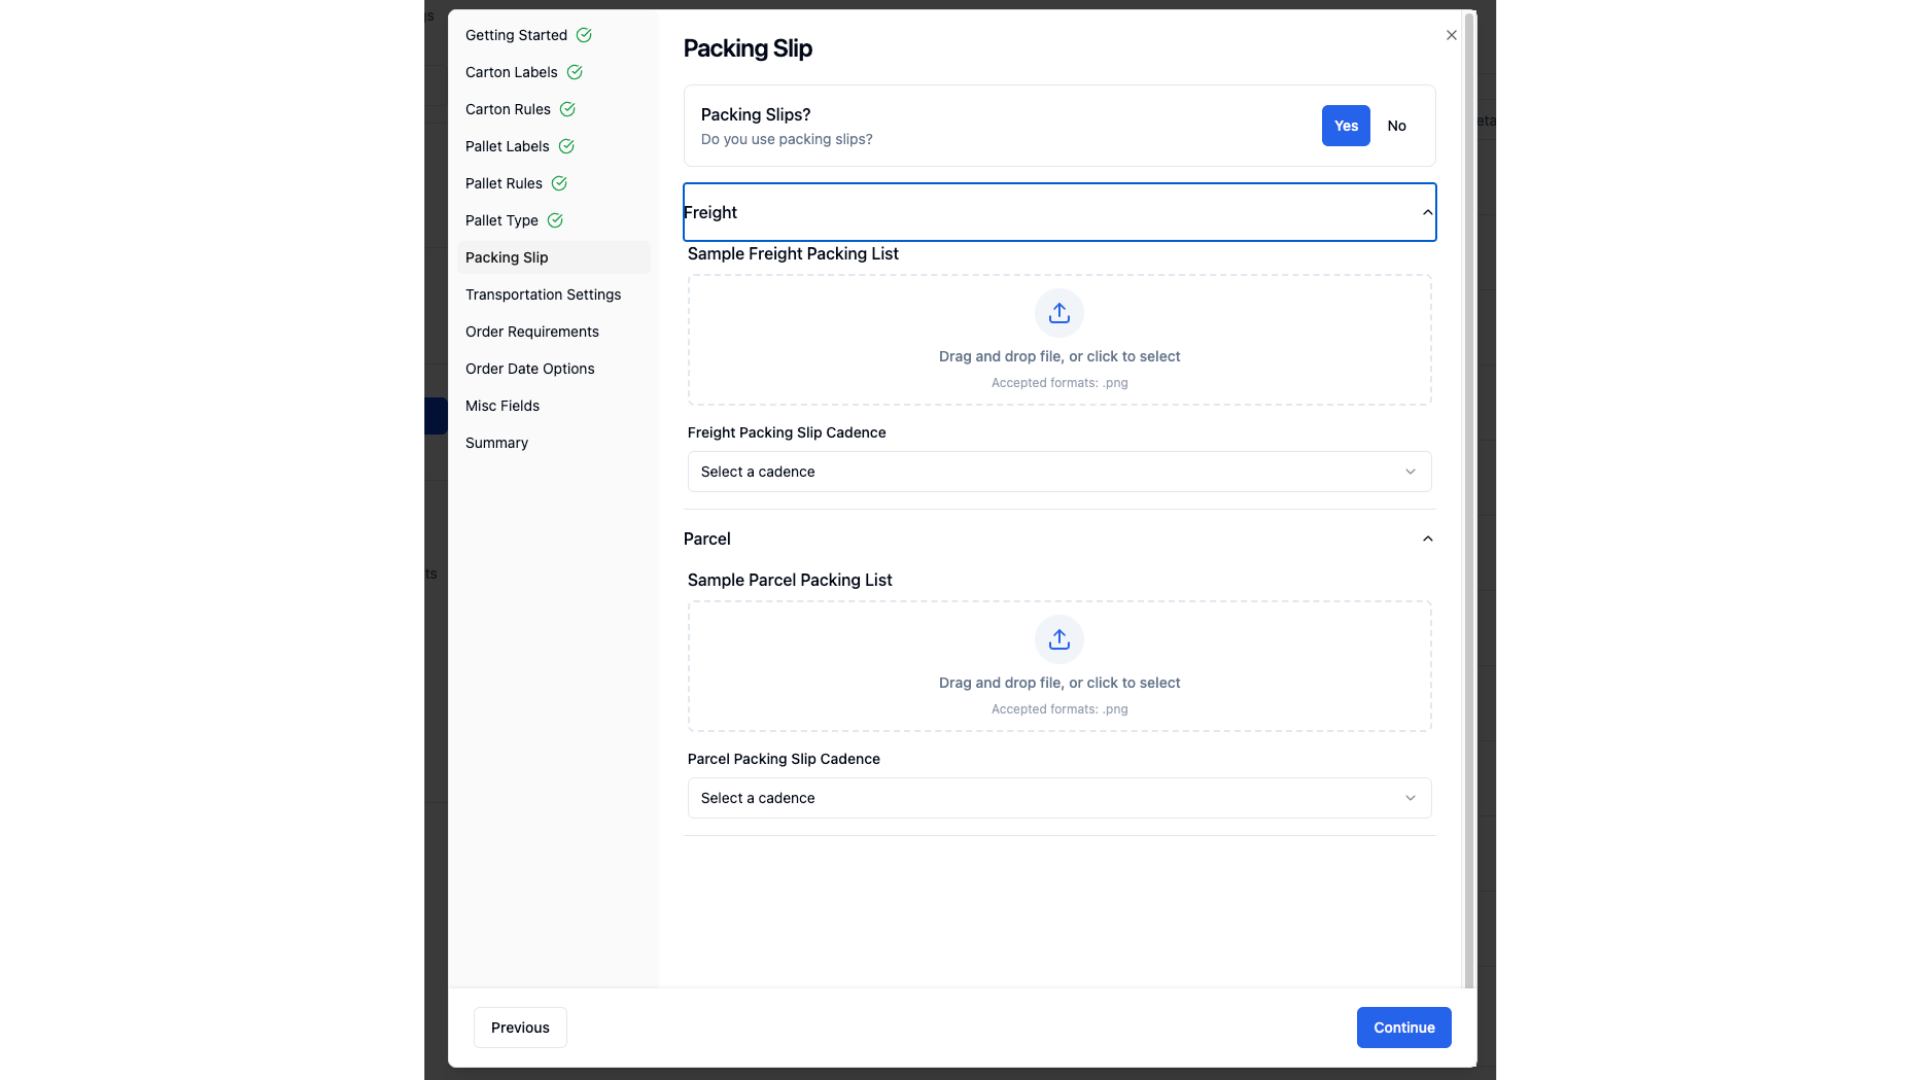
If packing slips are required, you may input an image as well as select when they need to be included (ie. first carton, all pallets, etc.)
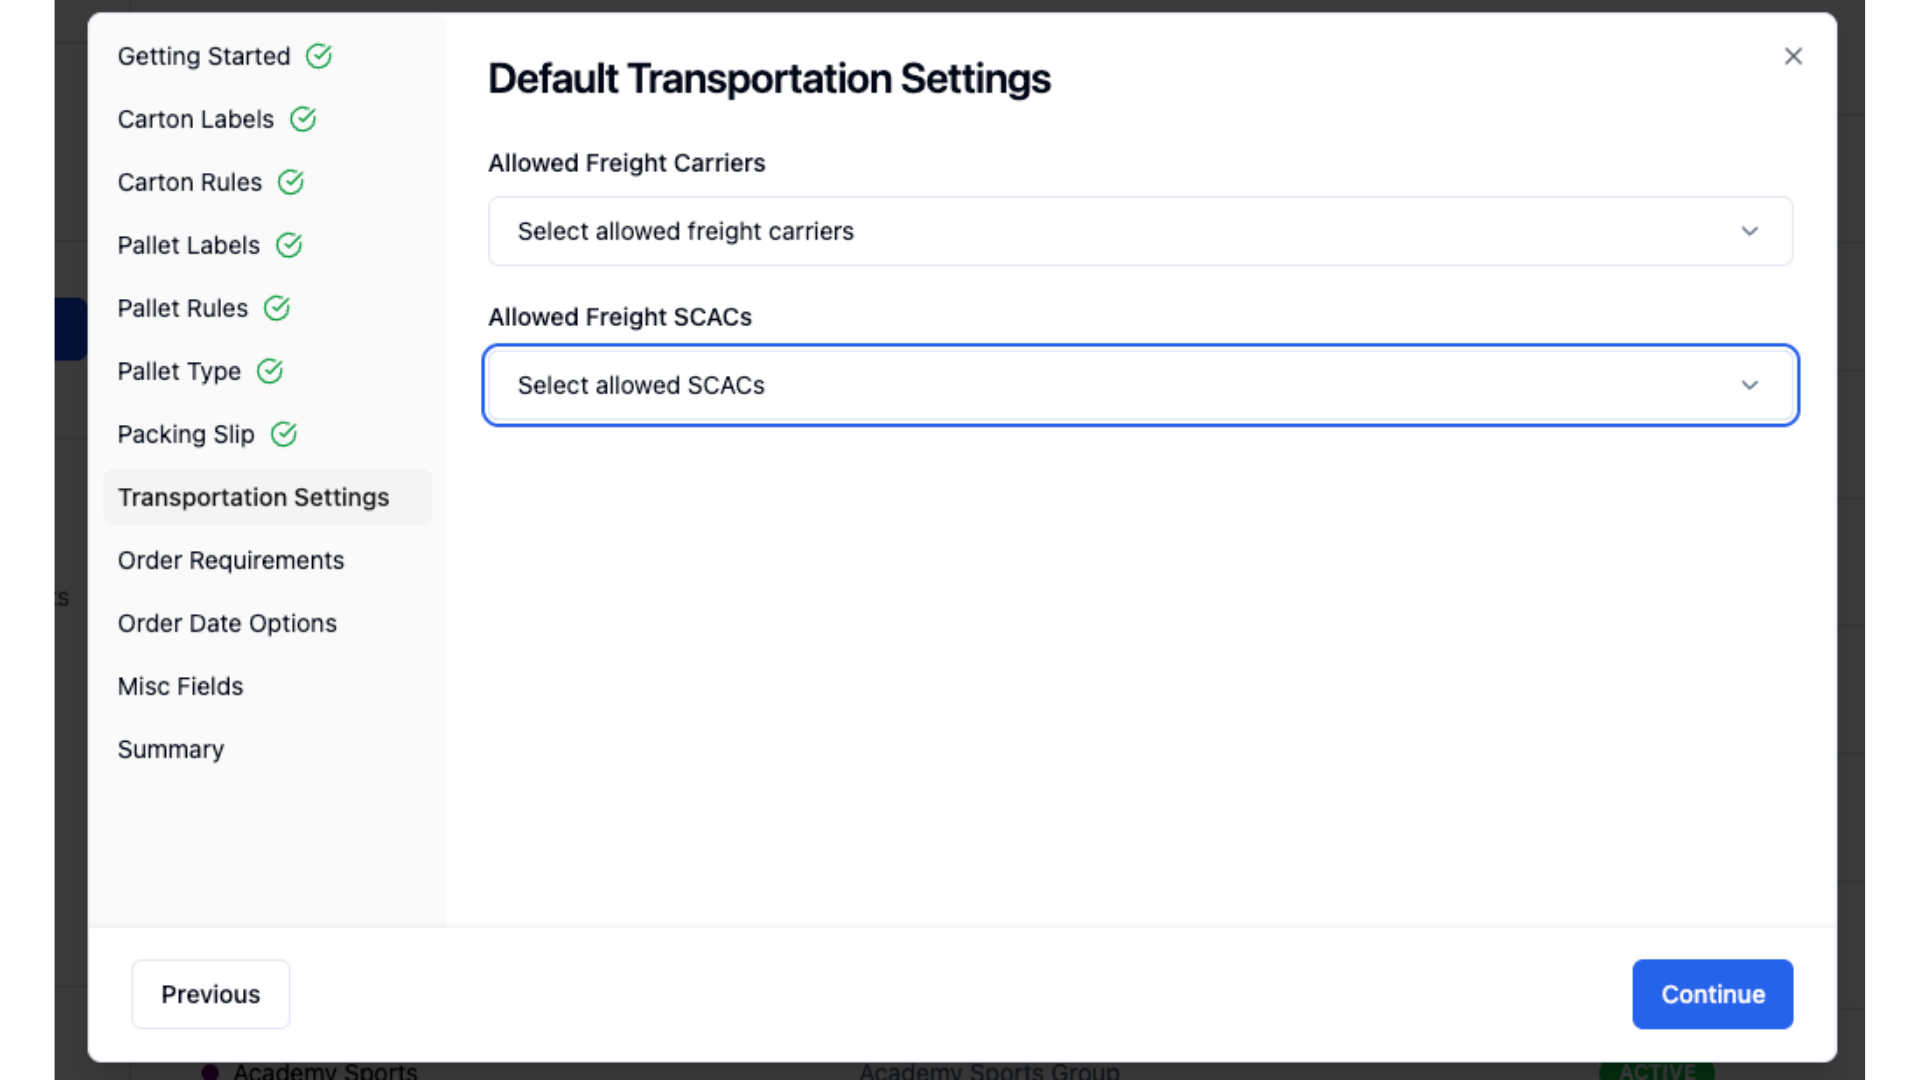
From the 'Default Transportation Settings' form, you can input the allowed Freight Carriers and SCACs. If none are selected, all will be allowed.
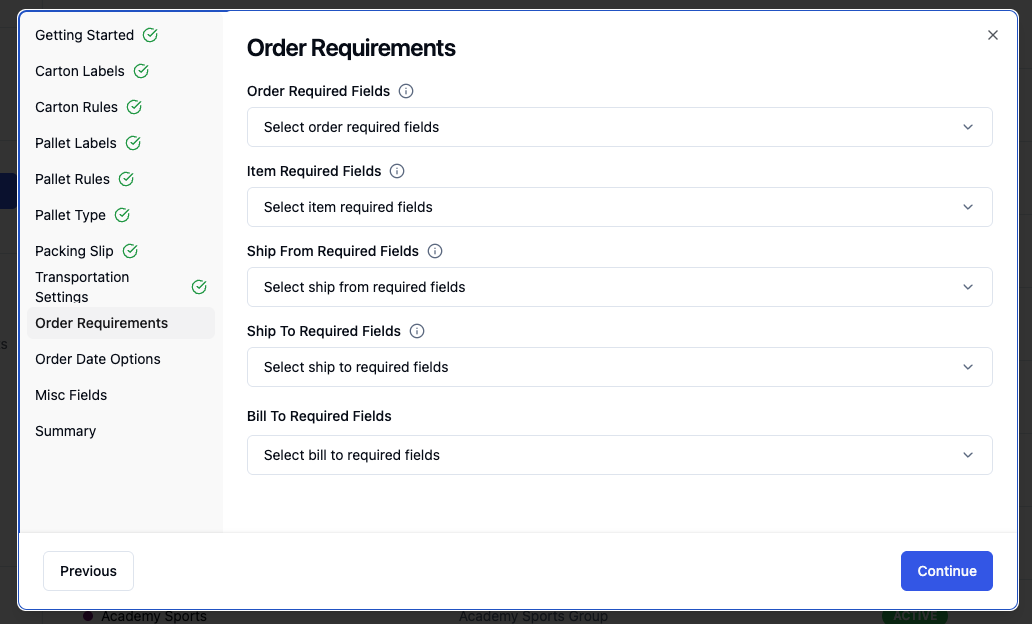
From 'Order Requirements', you can select any fields that are required to be included during order creation. These would be fields that are required on labels, packing slips, etc.
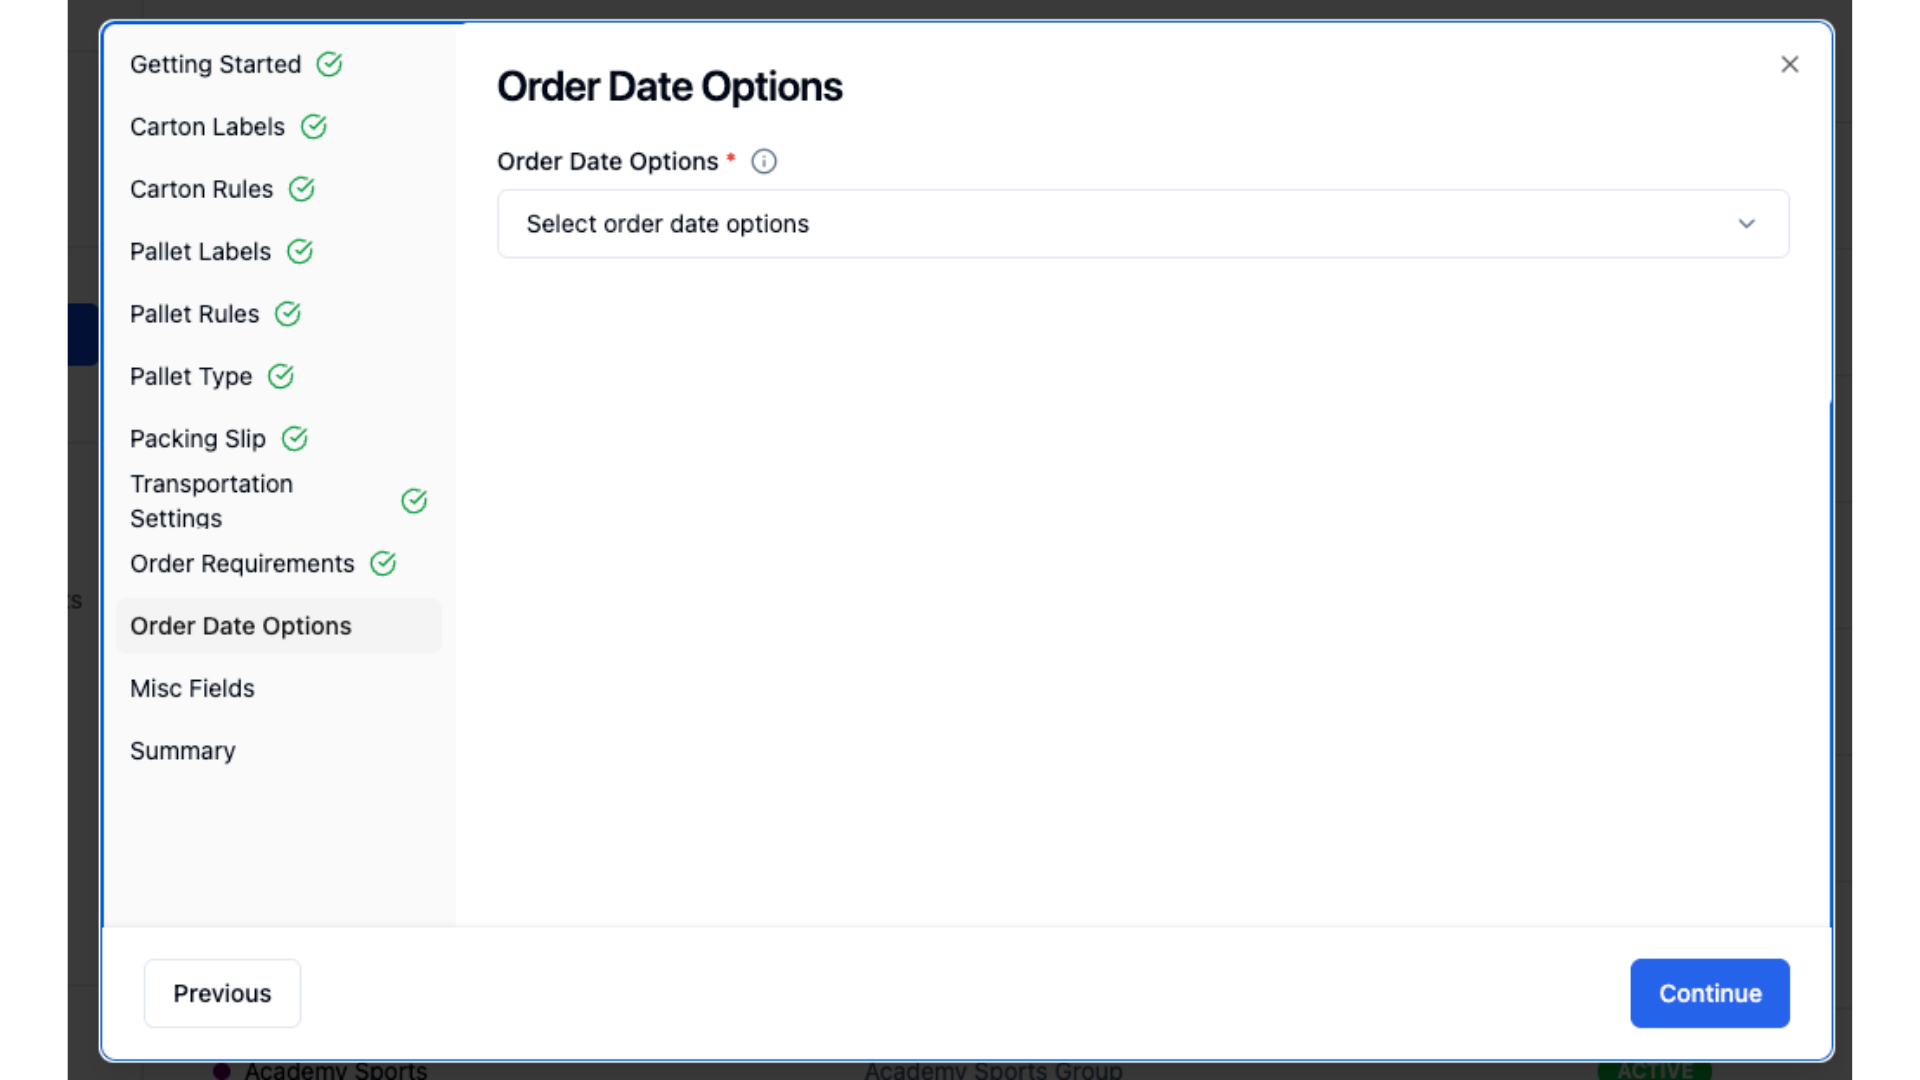
From 'Order Date Options' you can select all order dates that are required upon order creation. This includes requested ship date, latest ship date, cancel by date, etc.
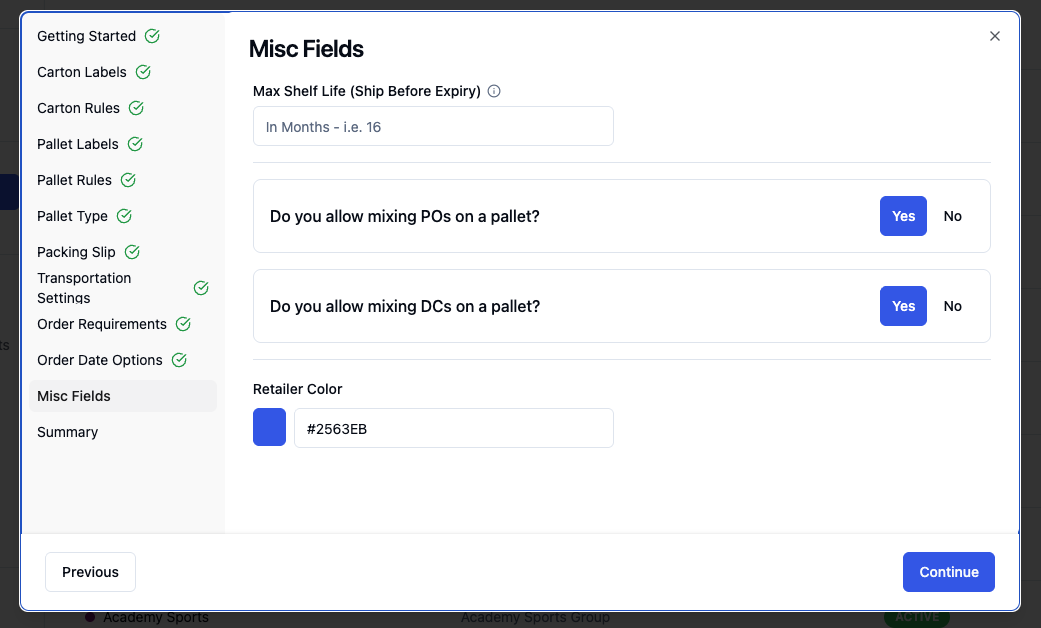
'Misc Fields' has some remaining values that can be input. If this retailer has max shelf life requirements, this can be input here. There are also toggles available for mixing POs or DCs on a pallet. These control if this is allowed during pack out. You can then select the retailers color 🙂
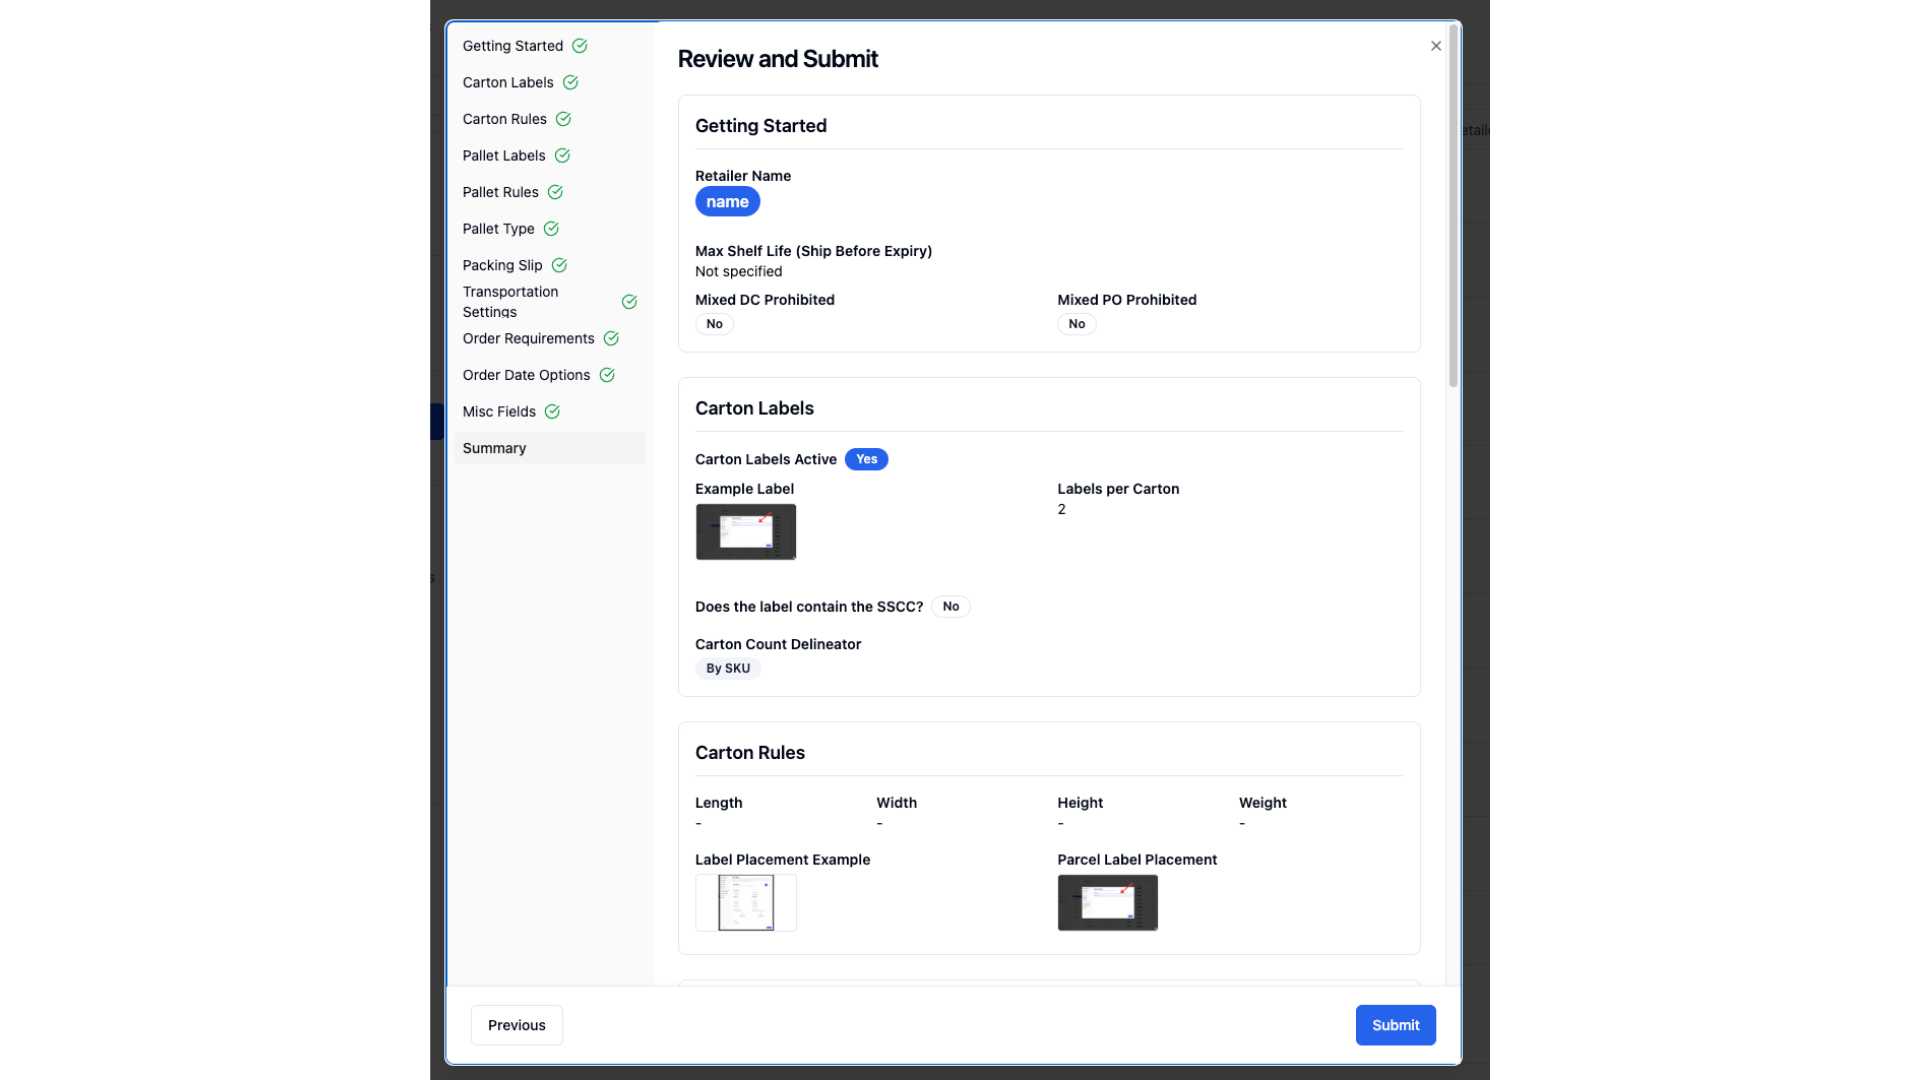
You may review your settings and submit from the 'Summary' page
Requesting a Connection
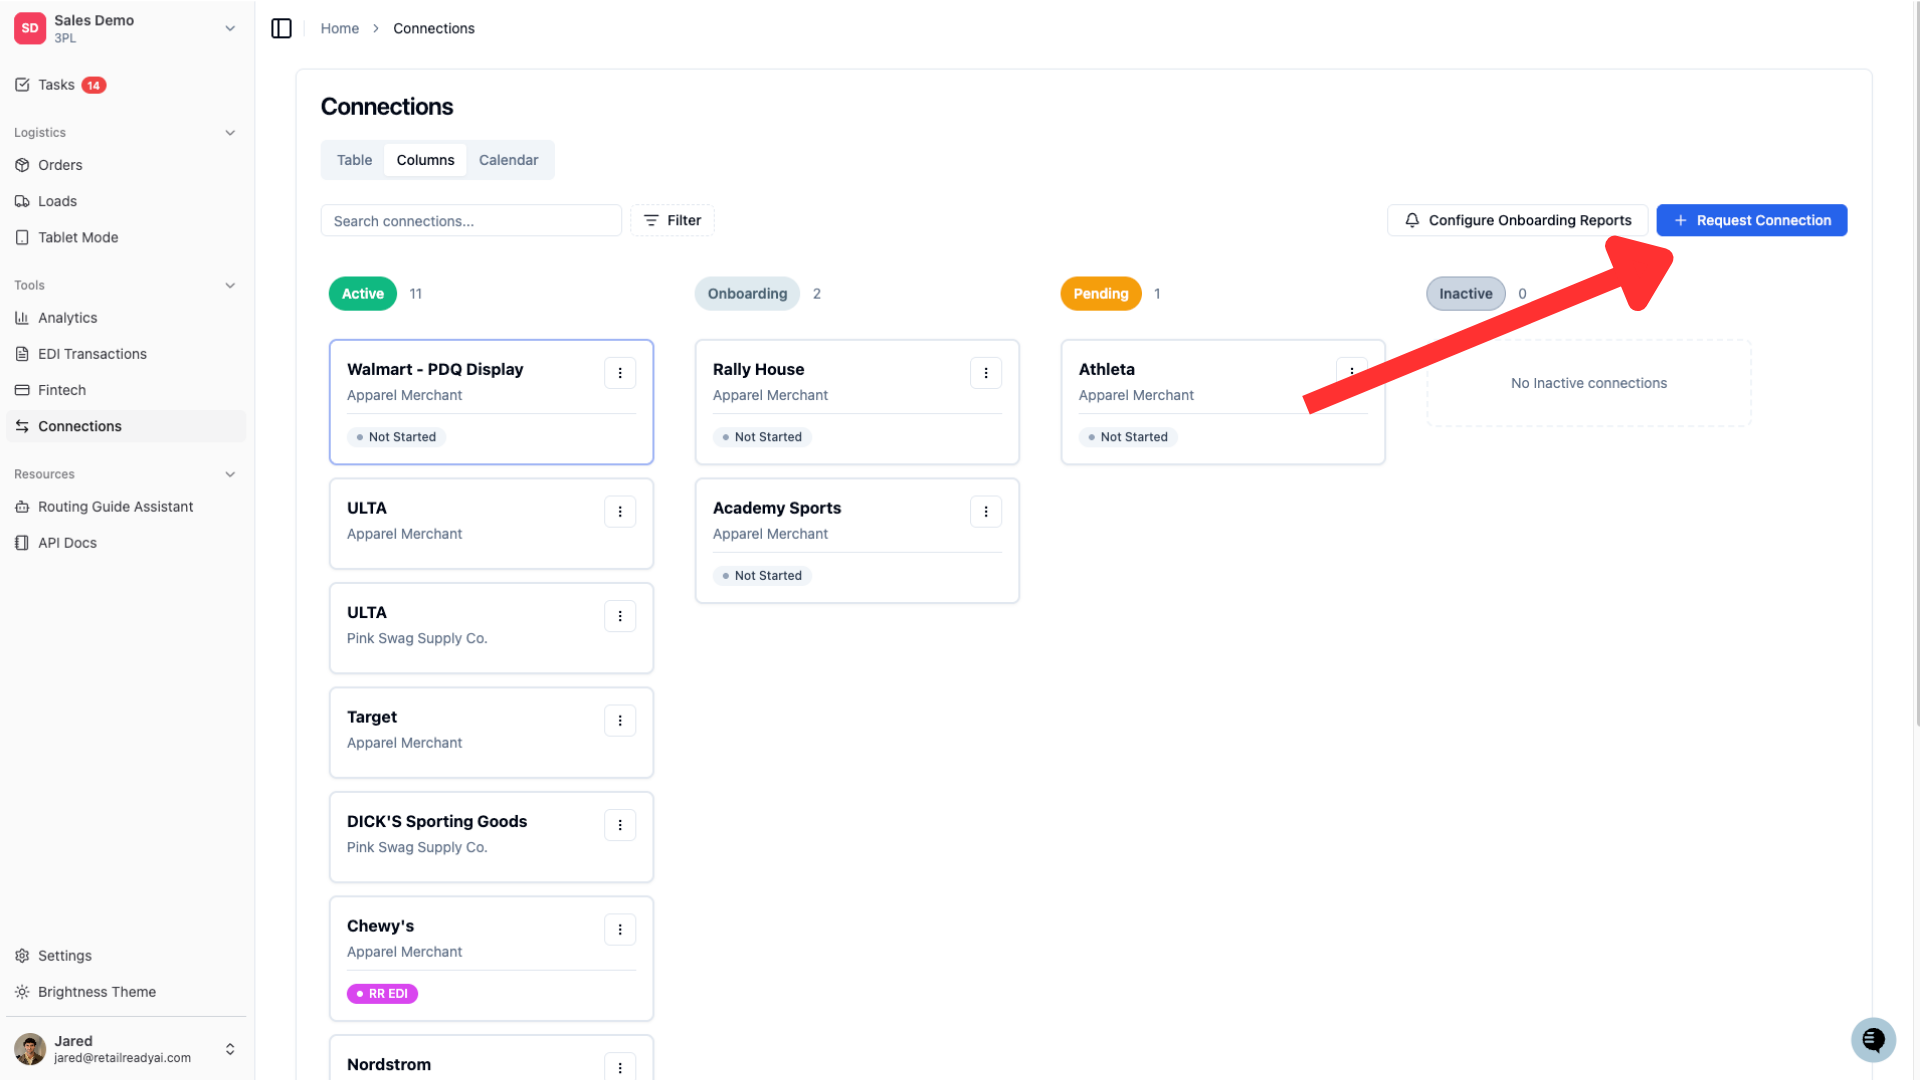
Navigate to the connections tab in the left side bar
Click 'Request Connection' in the upper right corner
Select your brand
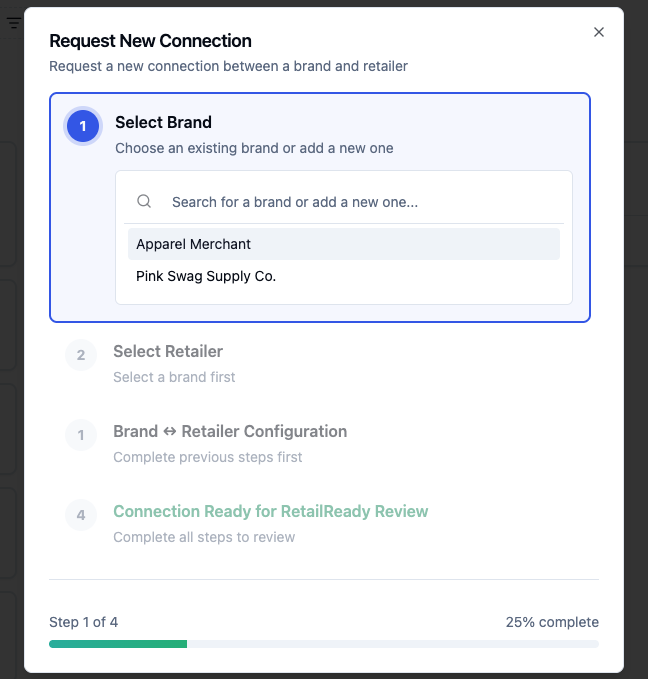
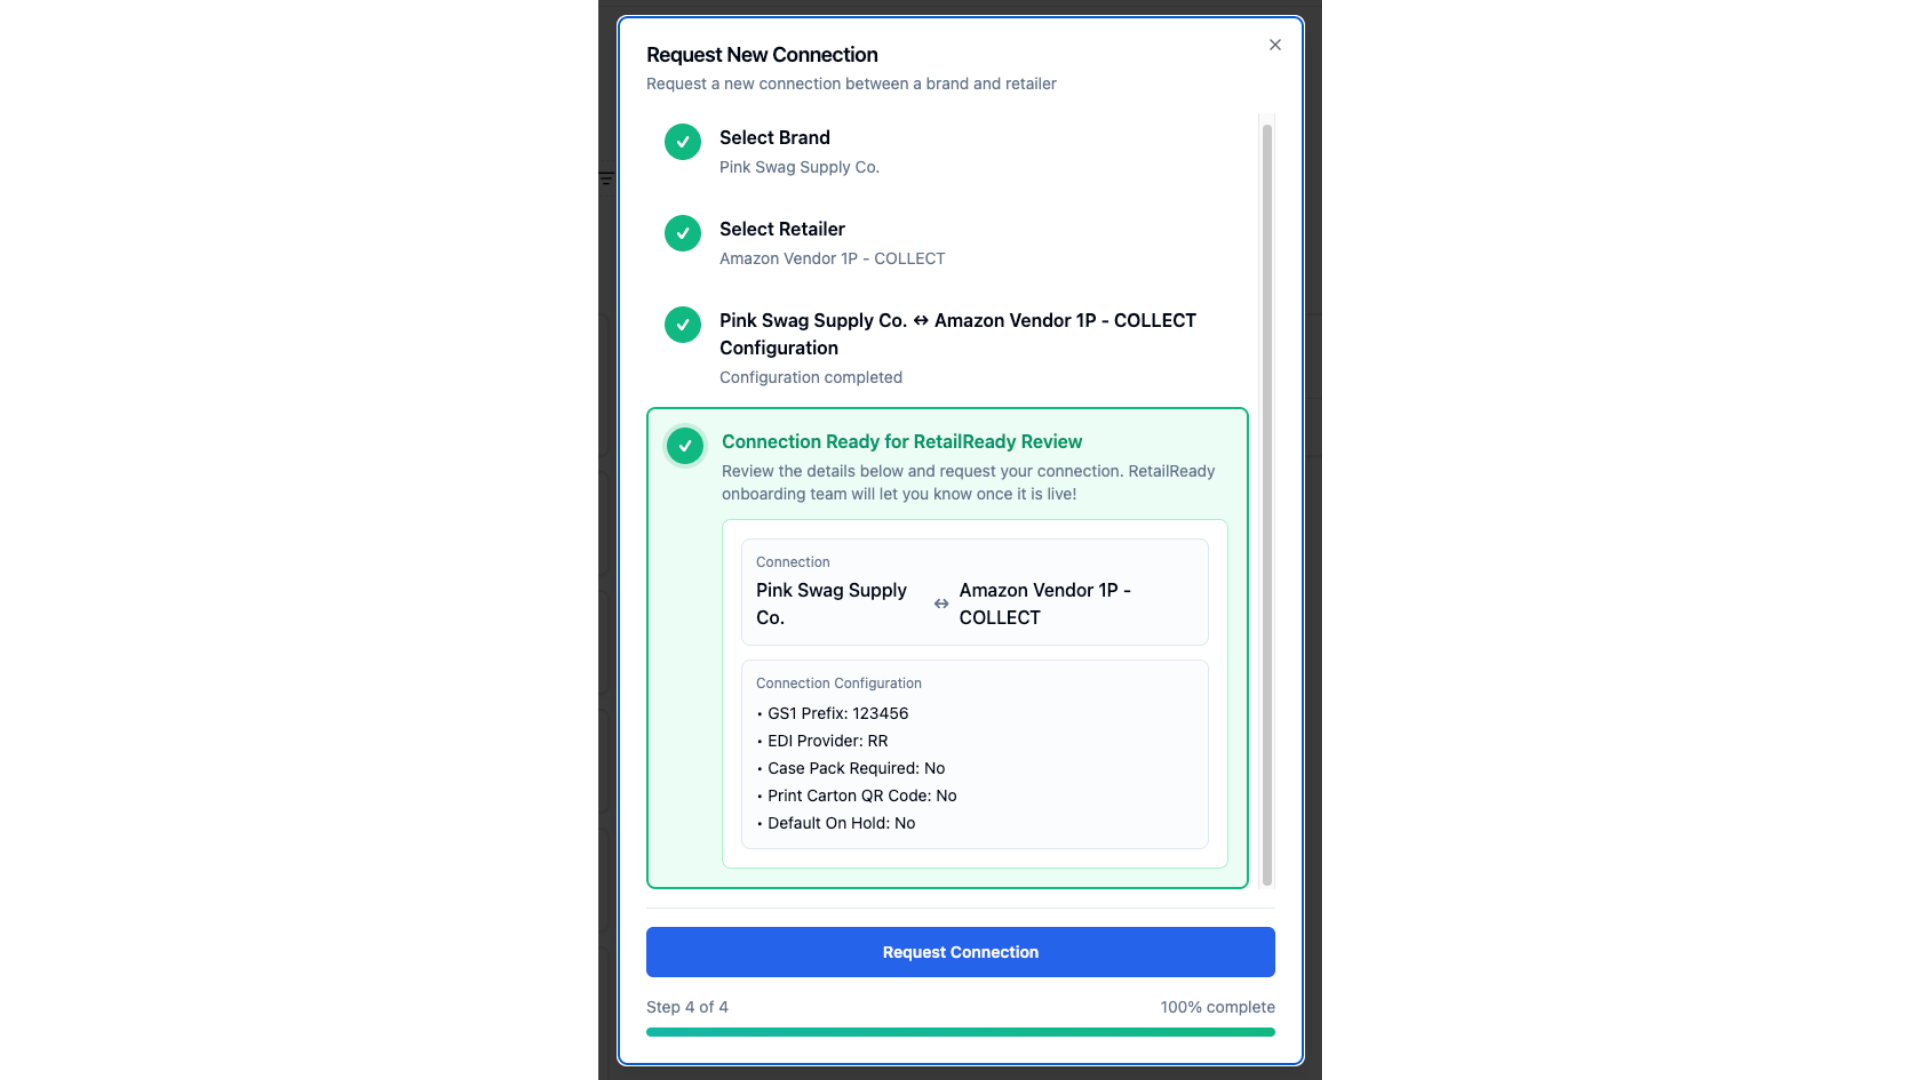
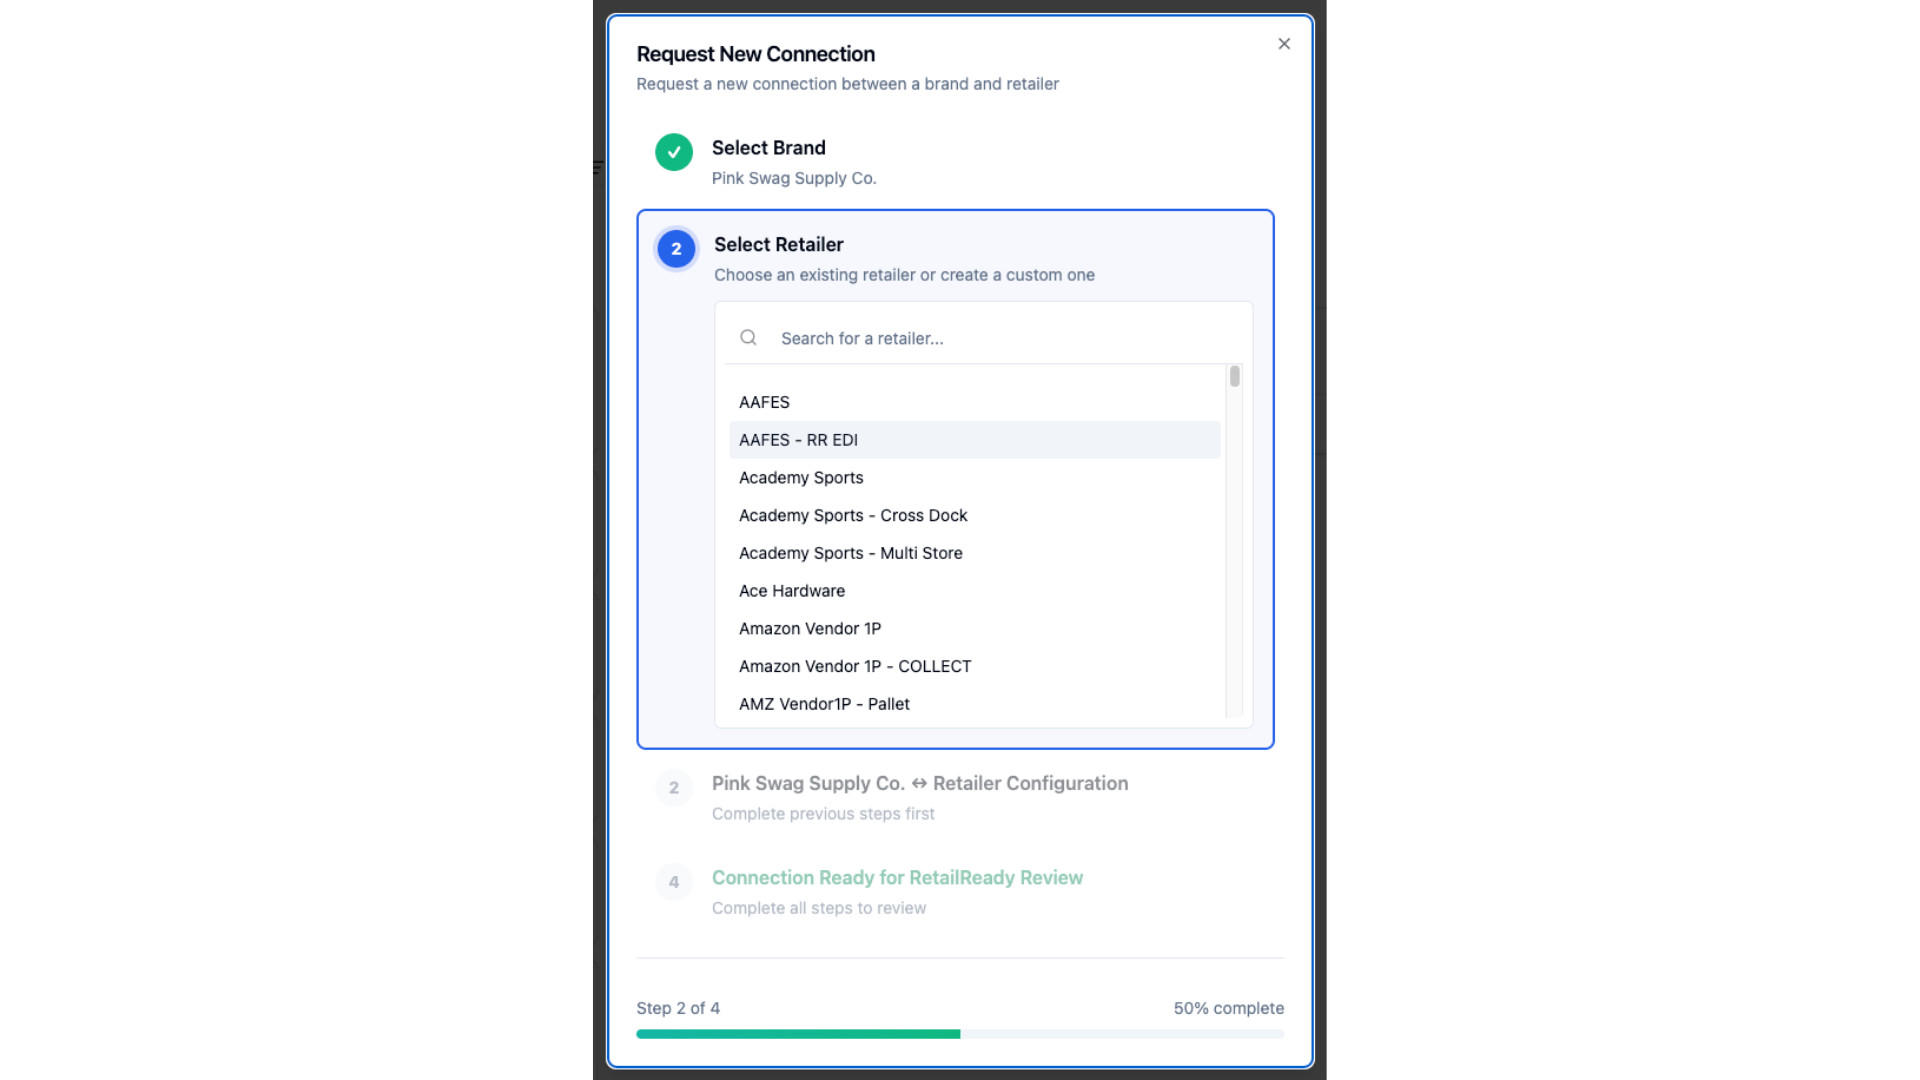
Select your newly created retailer
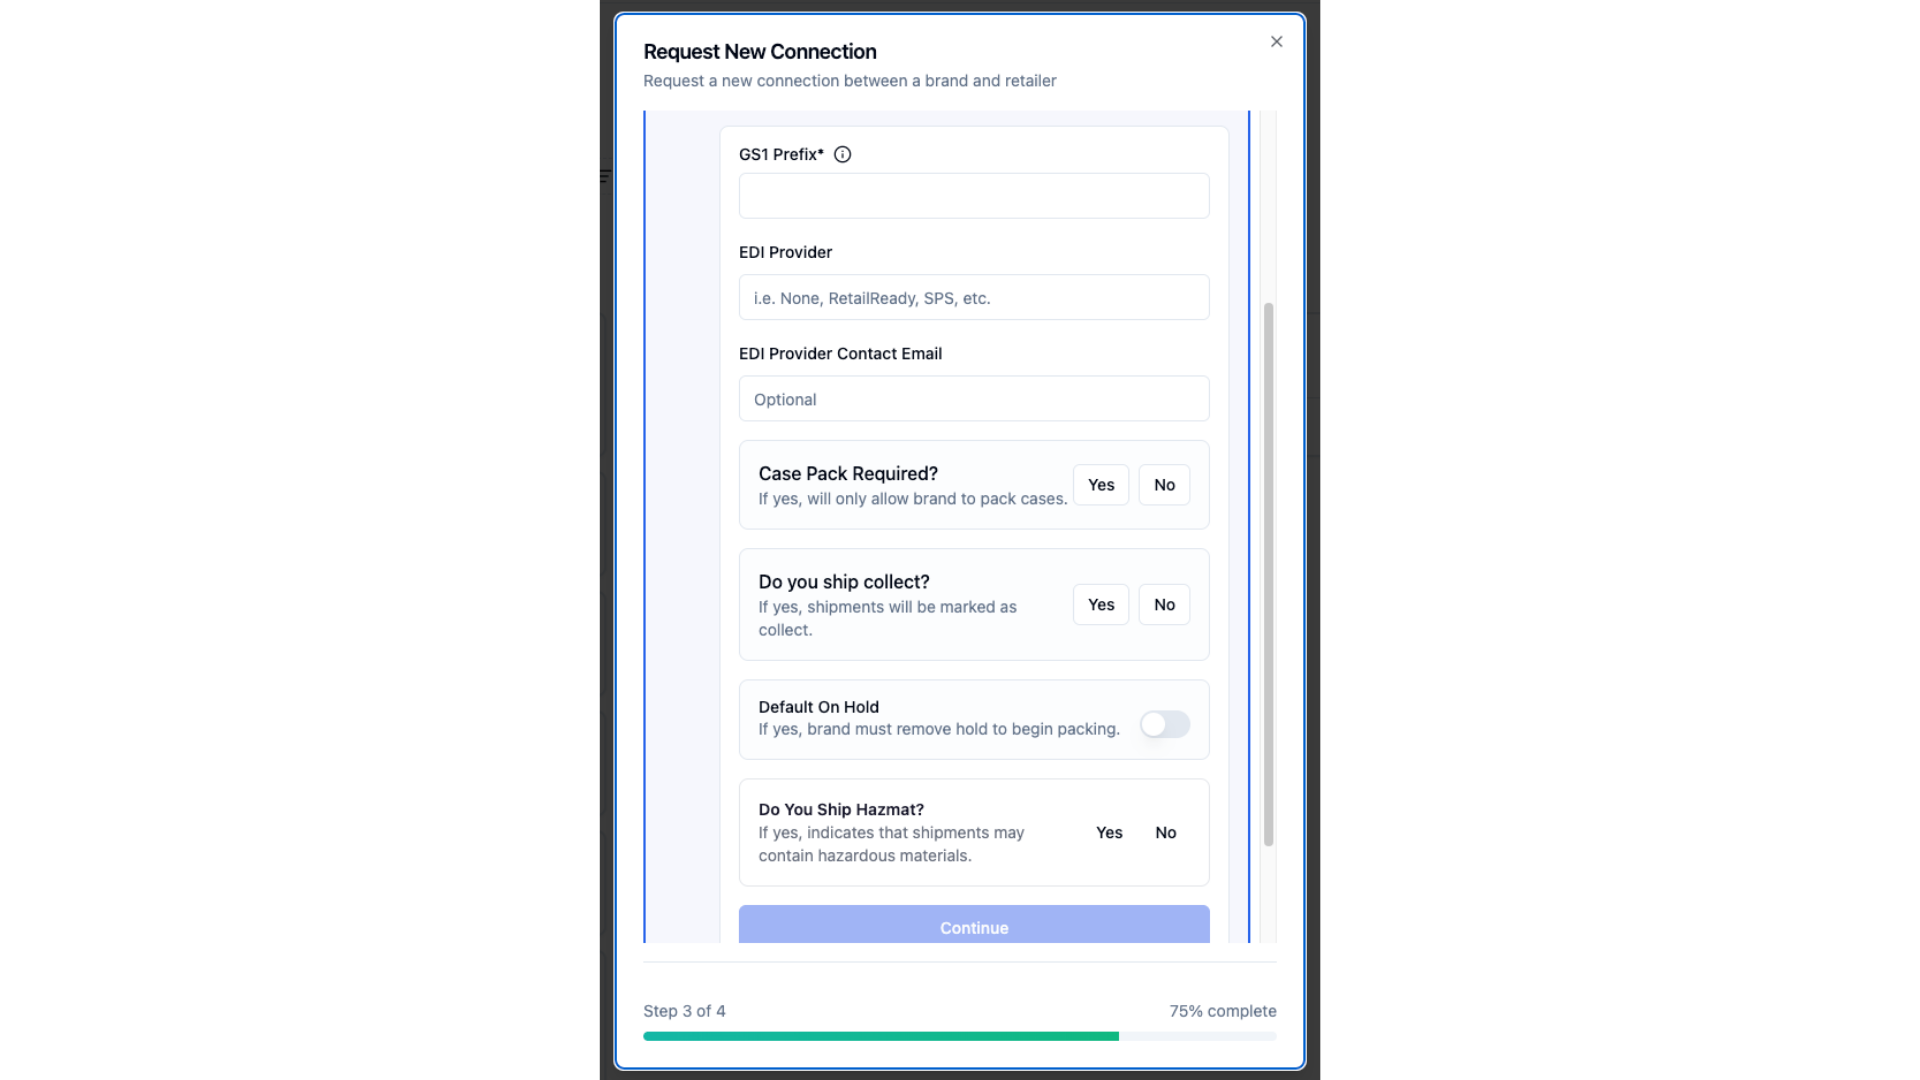
Input the brand GS1 Prefix, this can be gathered from the brand or searched from the GS1 website! You can then input the EDI provider for this connection, and their email. You can then fill out the remainder of the form based what is applicable!
You can then review your connection request and click submit!