Task Assignments
Last updated: May 7, 2026
Task Assignments allow 3PLs and brands to automatically route specific task types to the right team member, complete with priority levels and optional Slack or email notifications.
Once set up, tasks of the configured type will be pre-assigned, reducing manual handoffs and keeping your team aligned.
Setting Up a Task Assignment
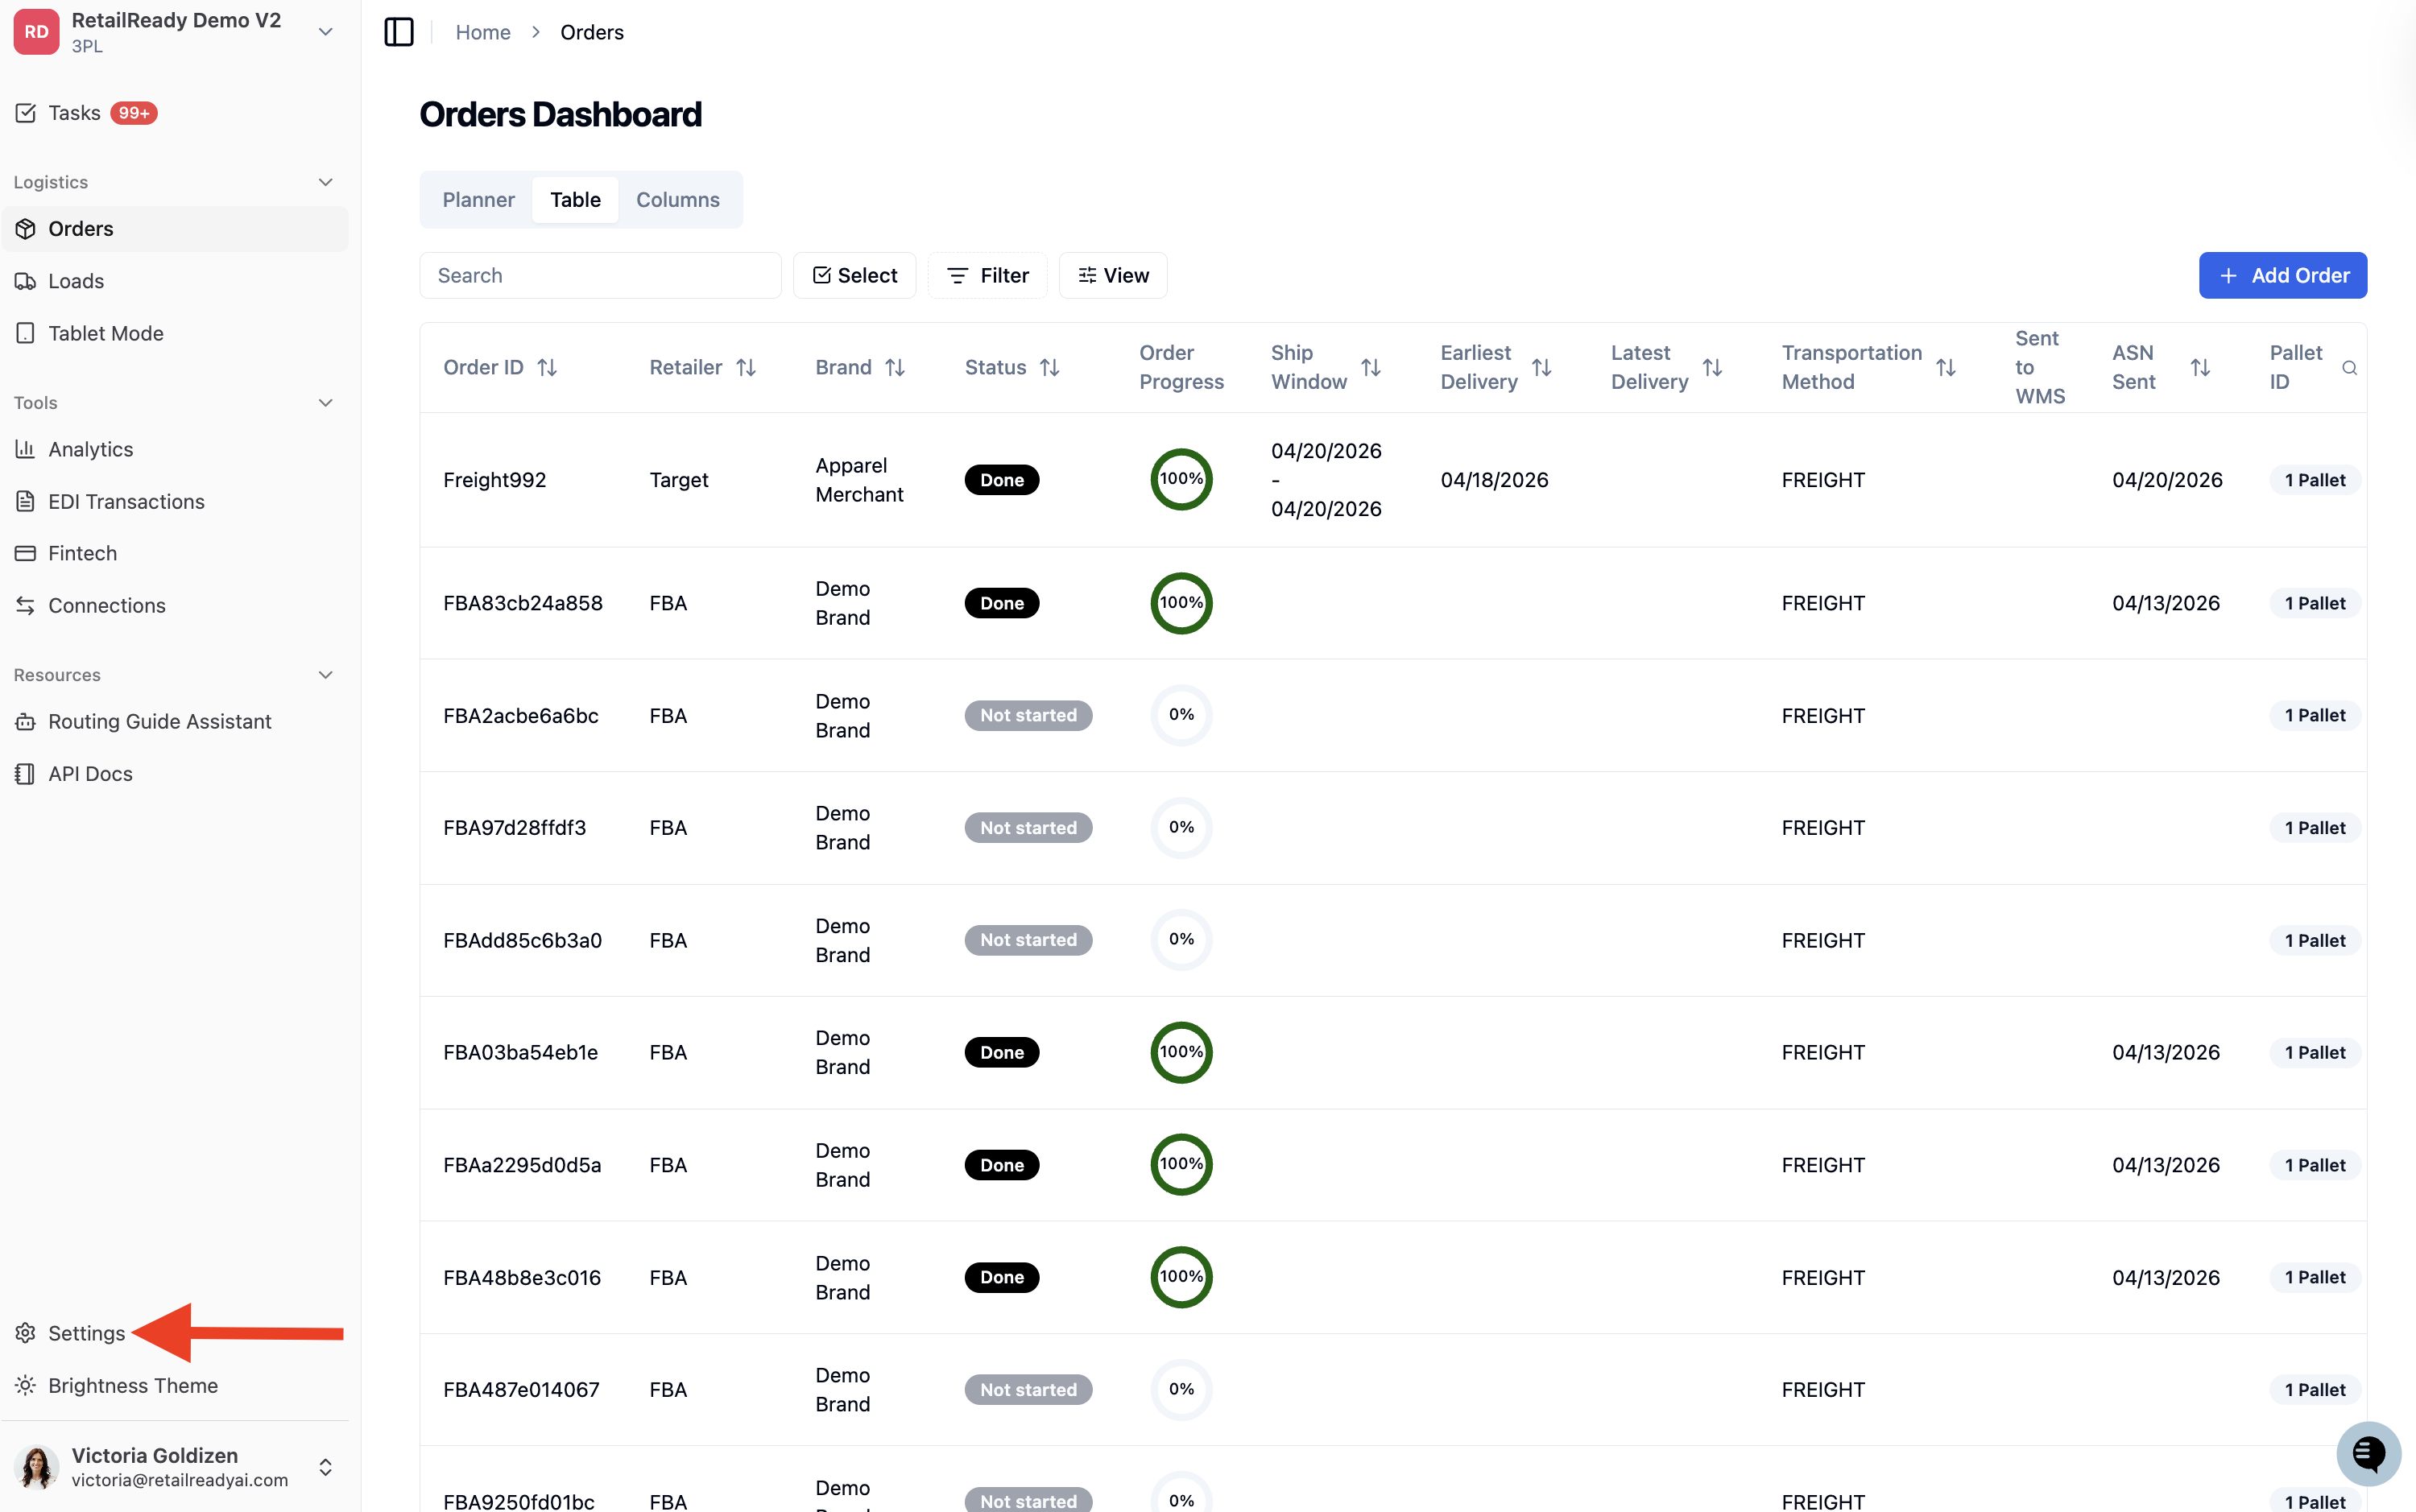
From the left-hand navigation, click 'Settings' at the bottom of the sidebar.
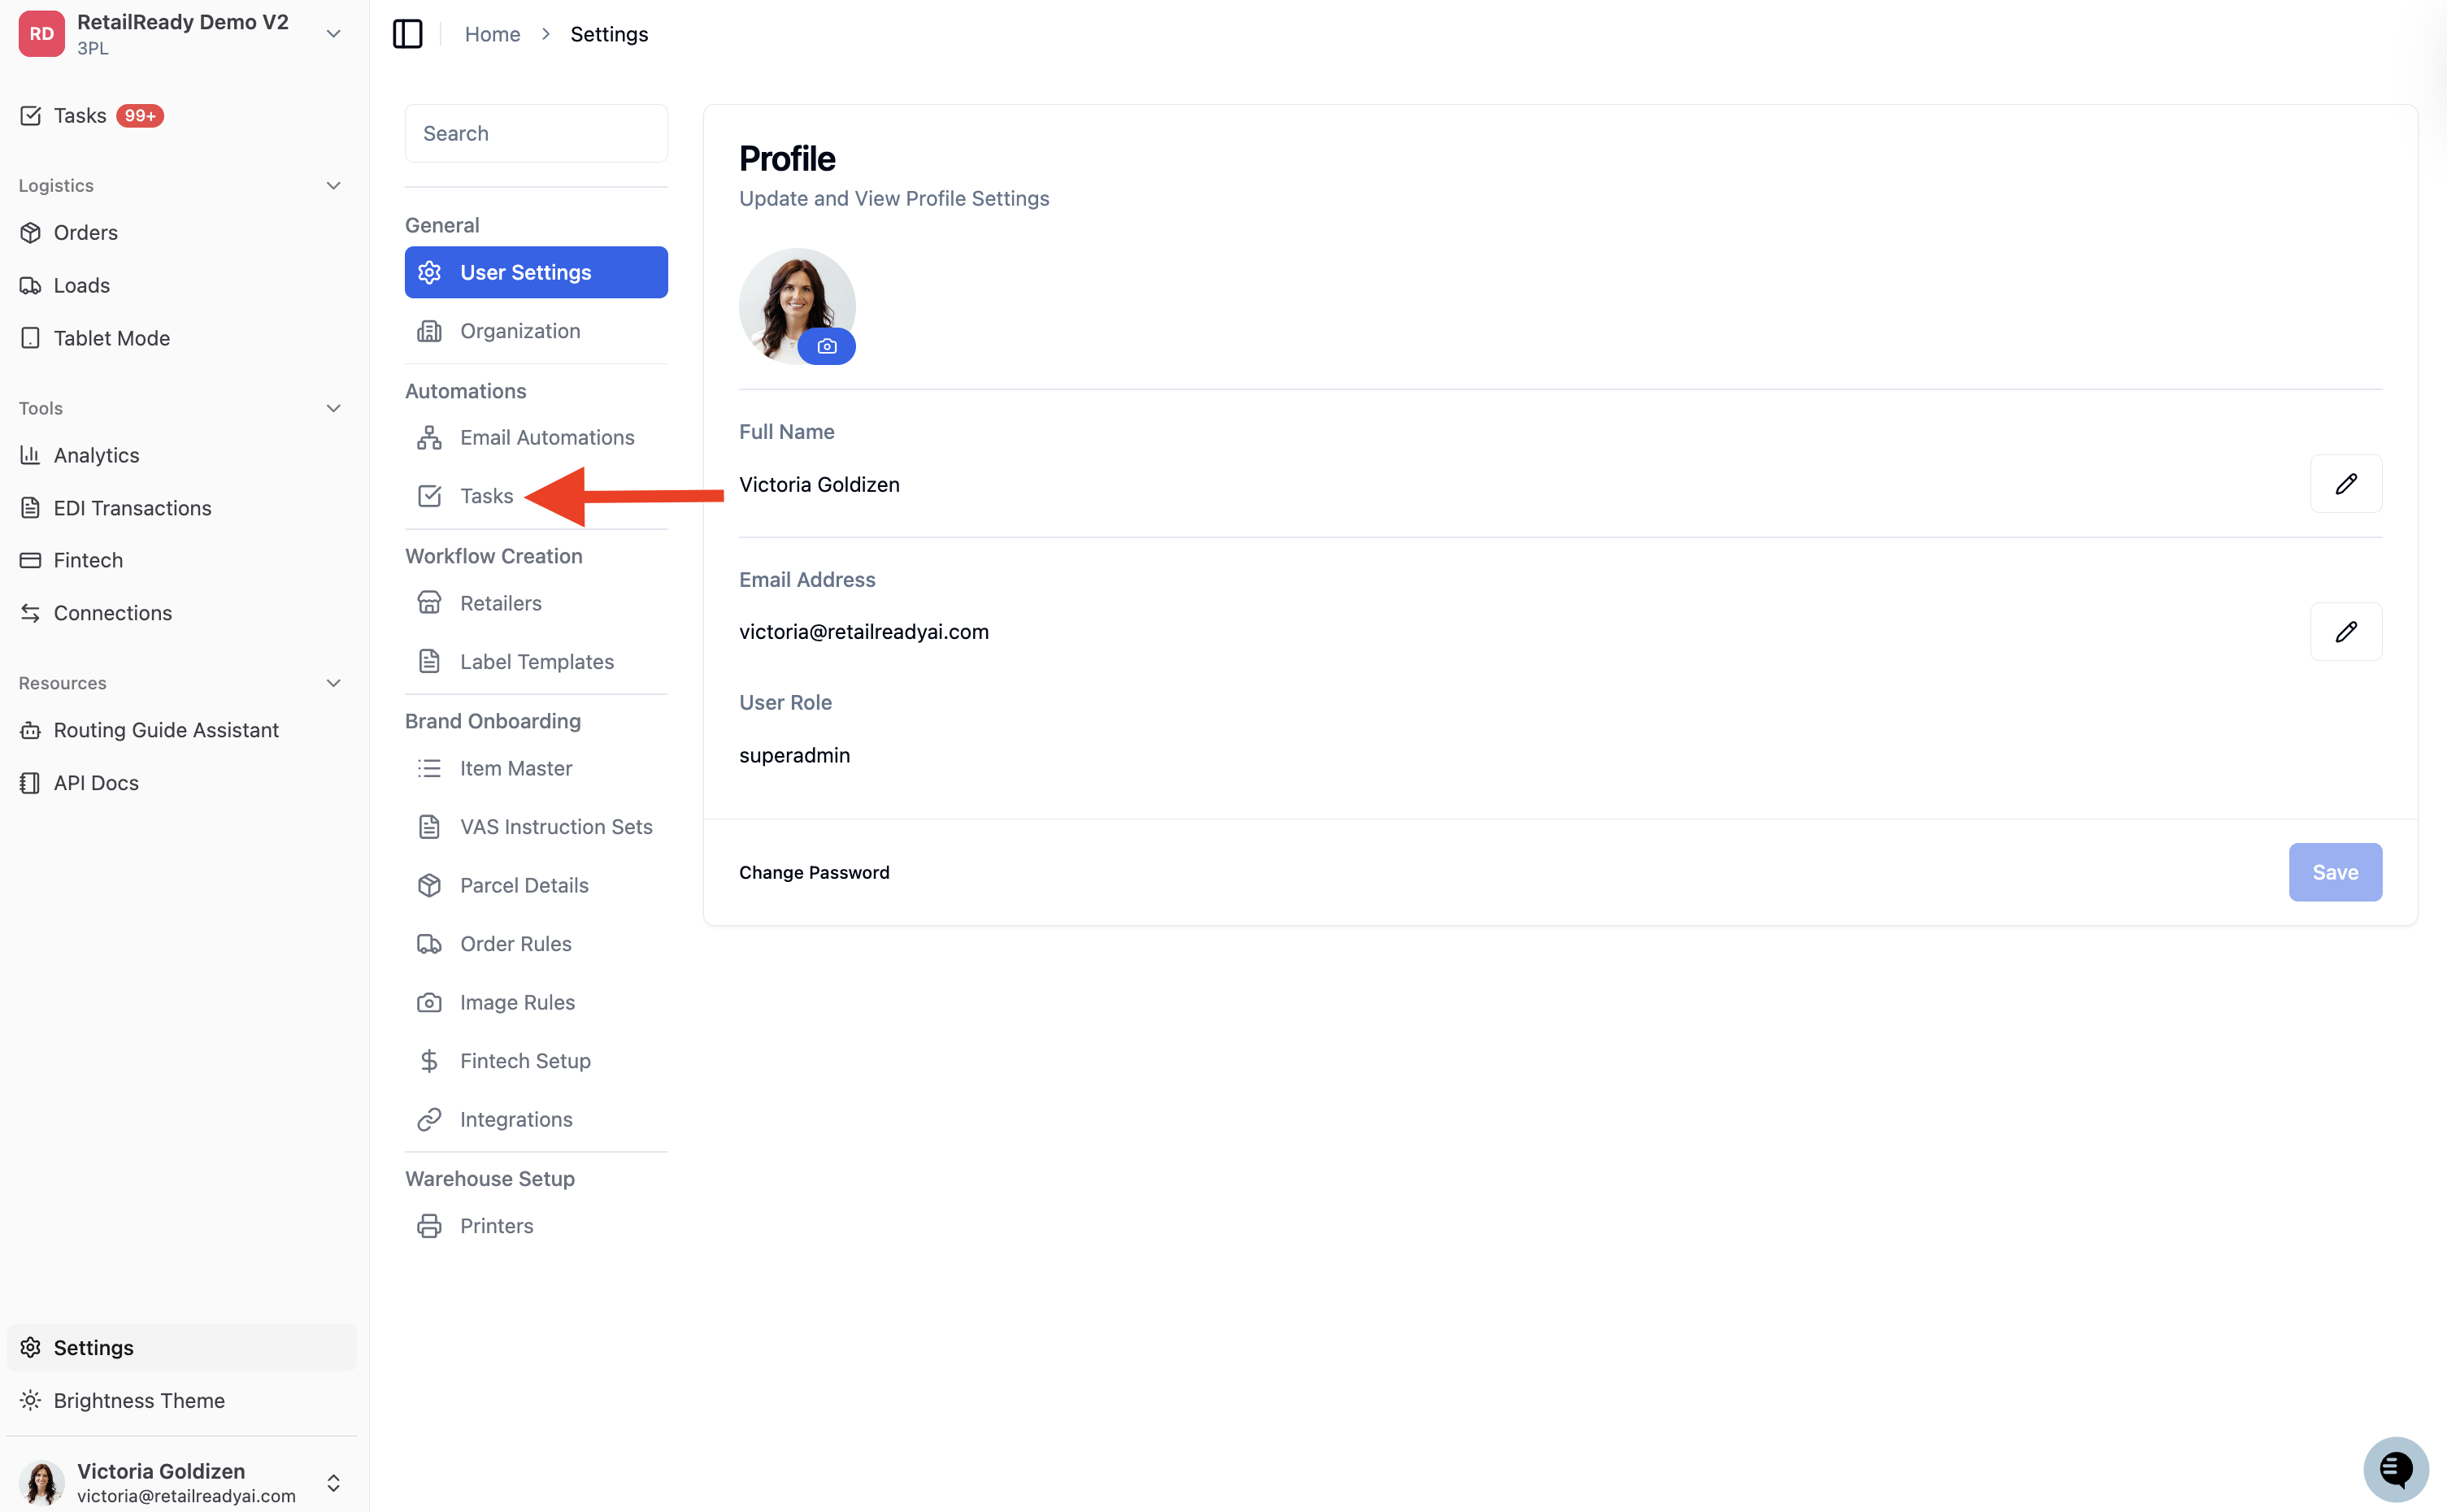
In the Settings menu, scroll down to the Automations section and click 'Tasks'.
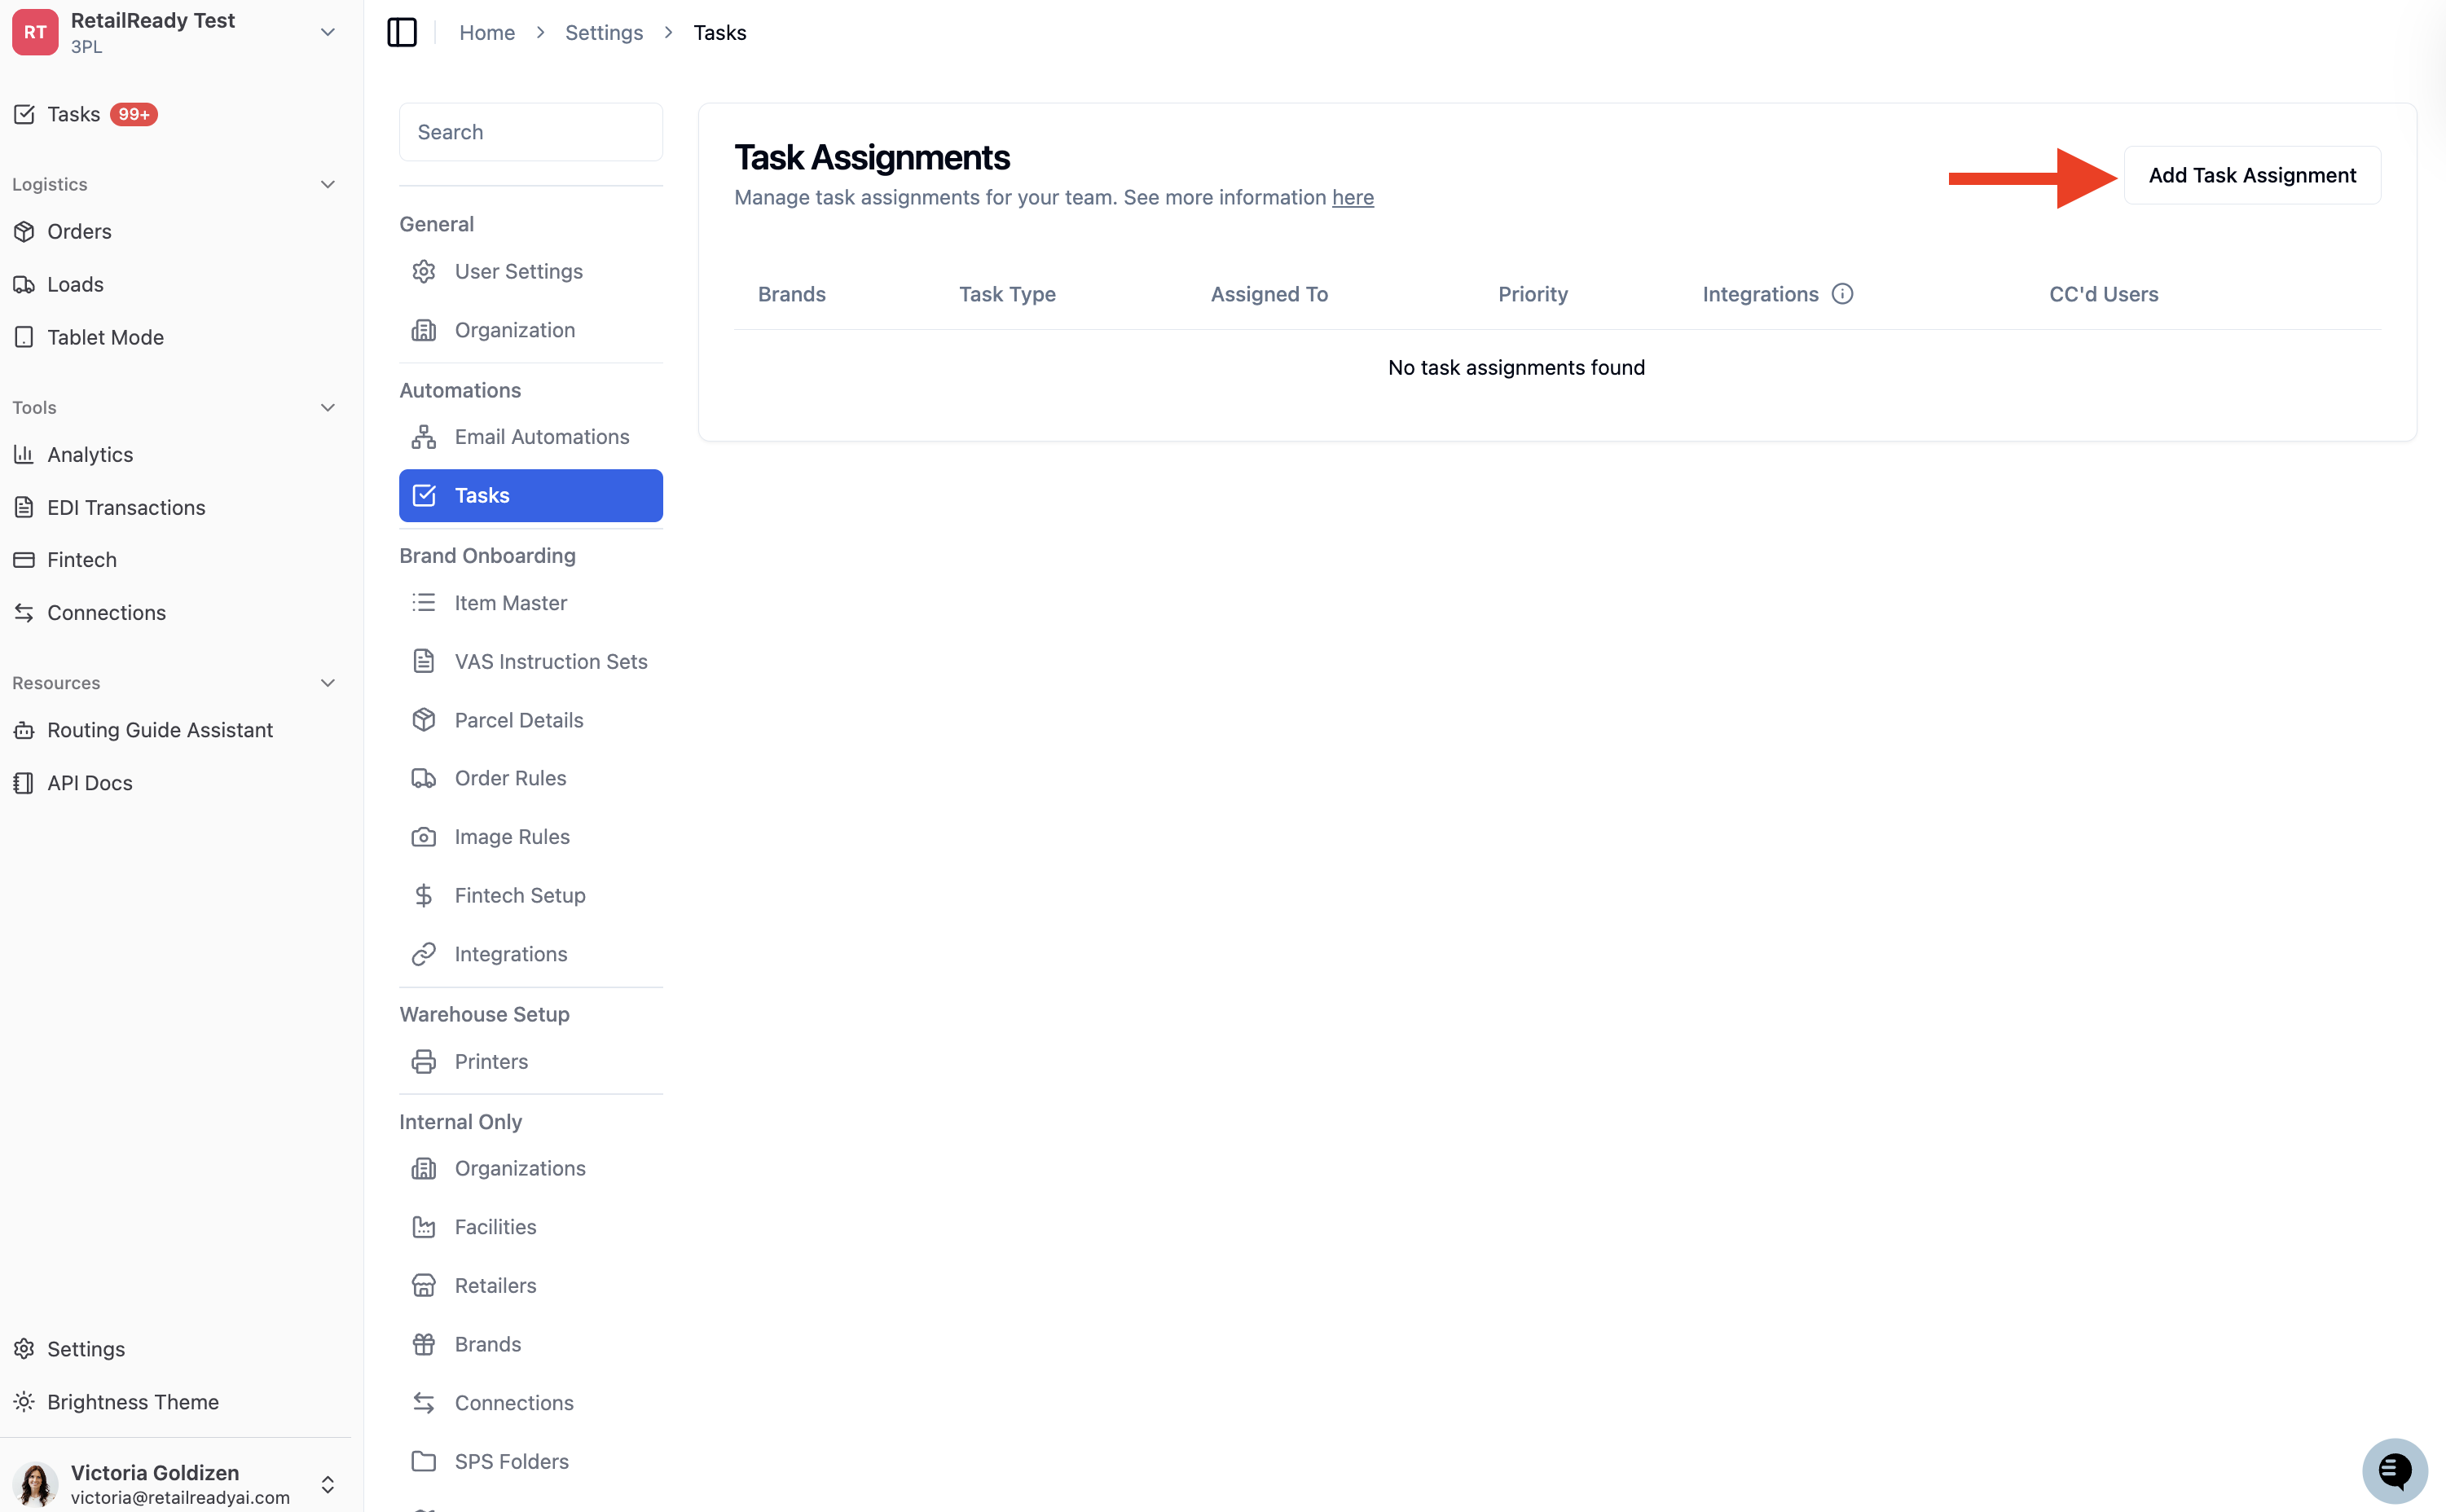
Click 'Add Task Assignment' in the top right corner.
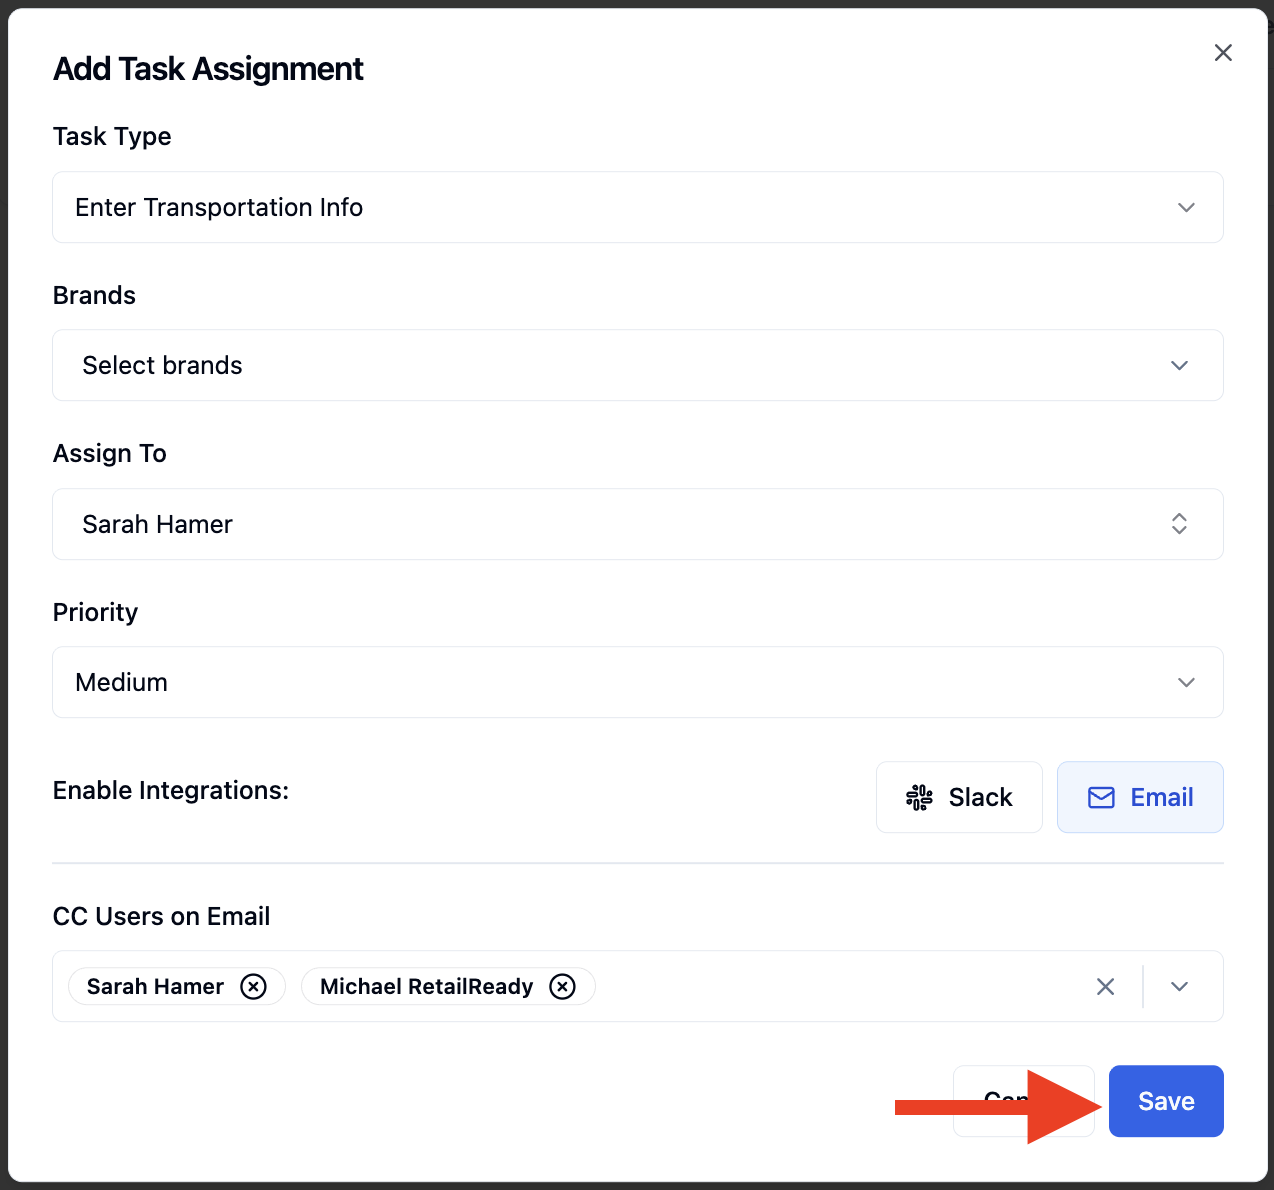
Select a 'Task Type' from the dropdown. This determines which task event triggers the assignment.
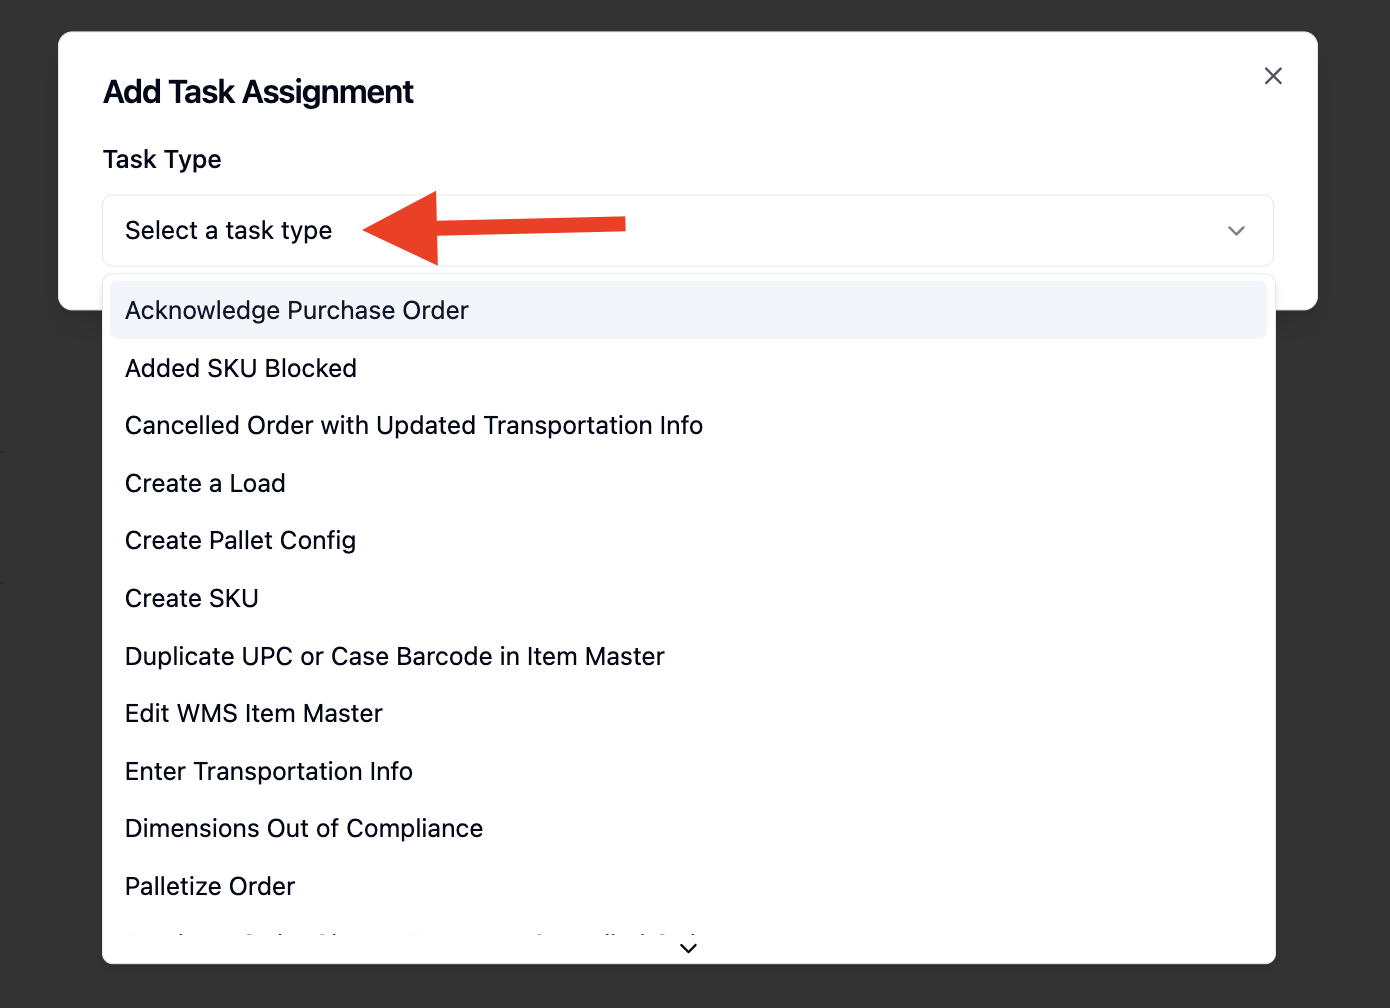
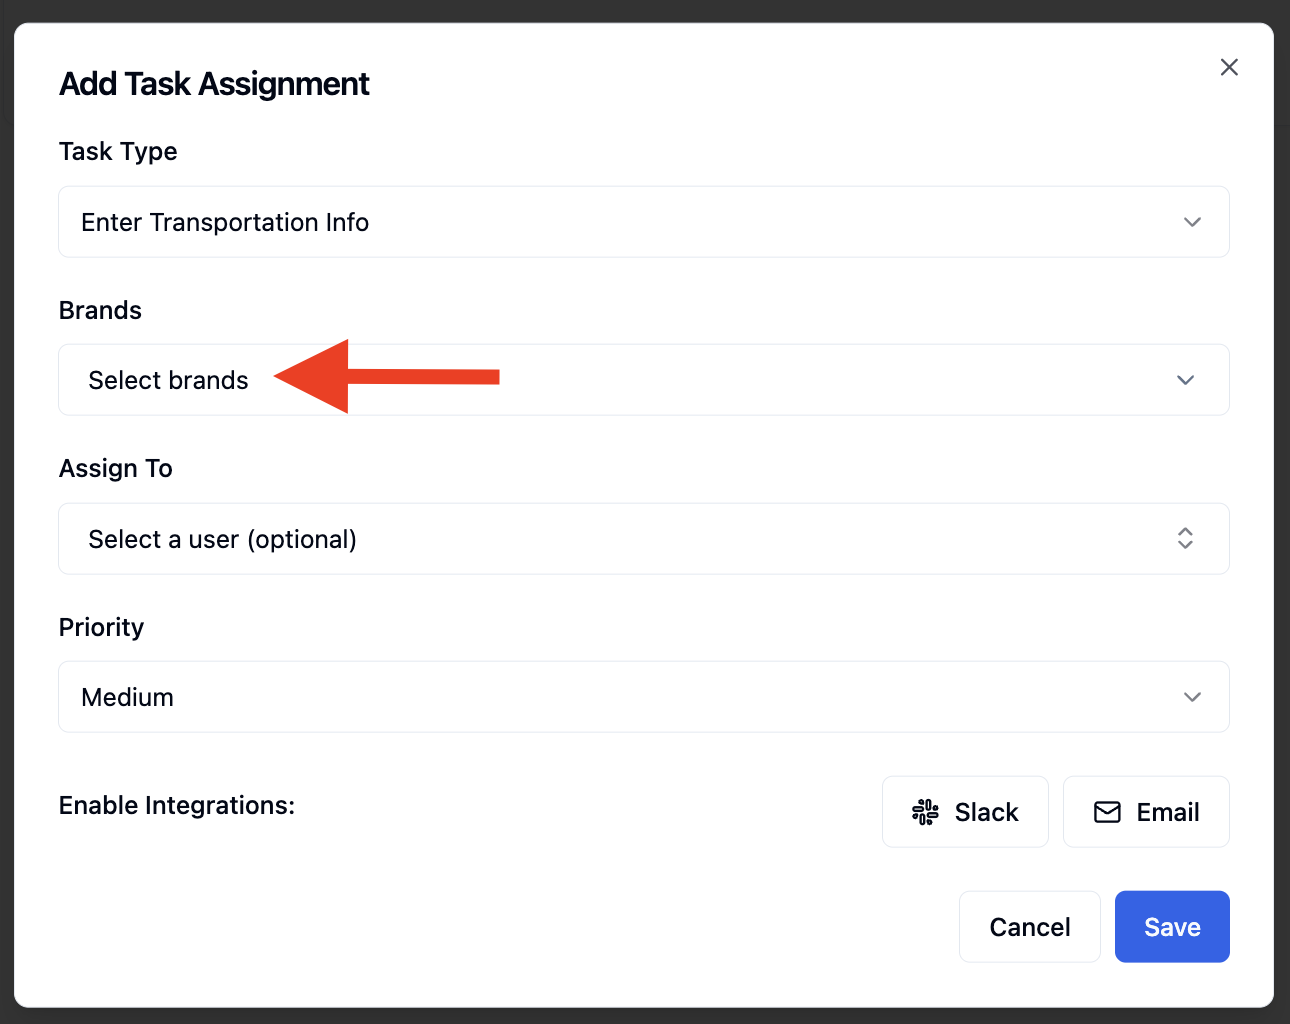
Under 'Brands', select one or more brands this assignment should apply to.
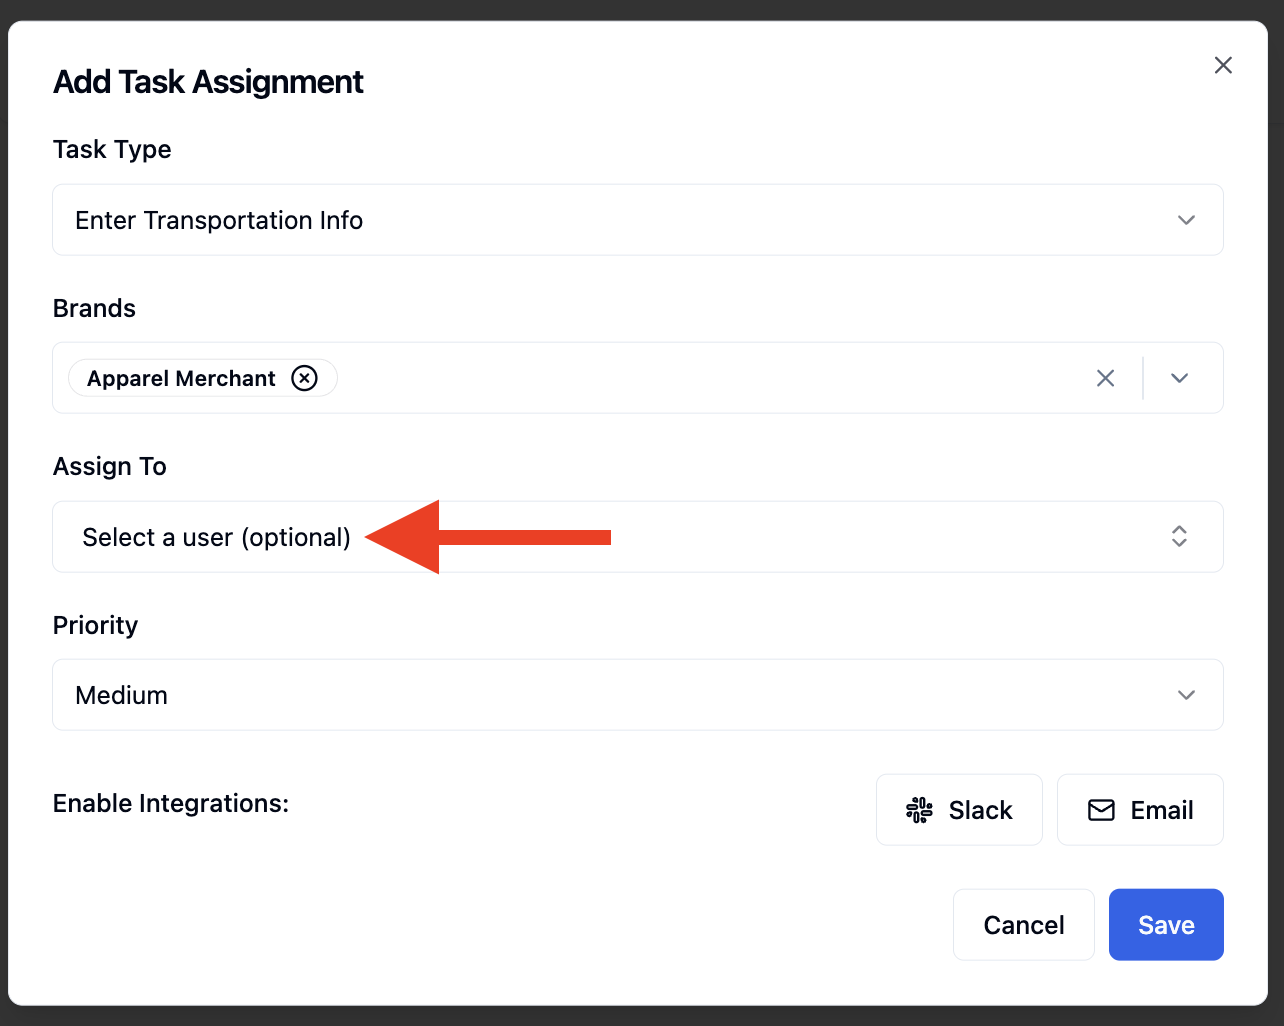
Optionally, use the 'Assign To' field to choose or search the user who should receive this task type.
Set a 'Priority' level: Low, Medium, or High.
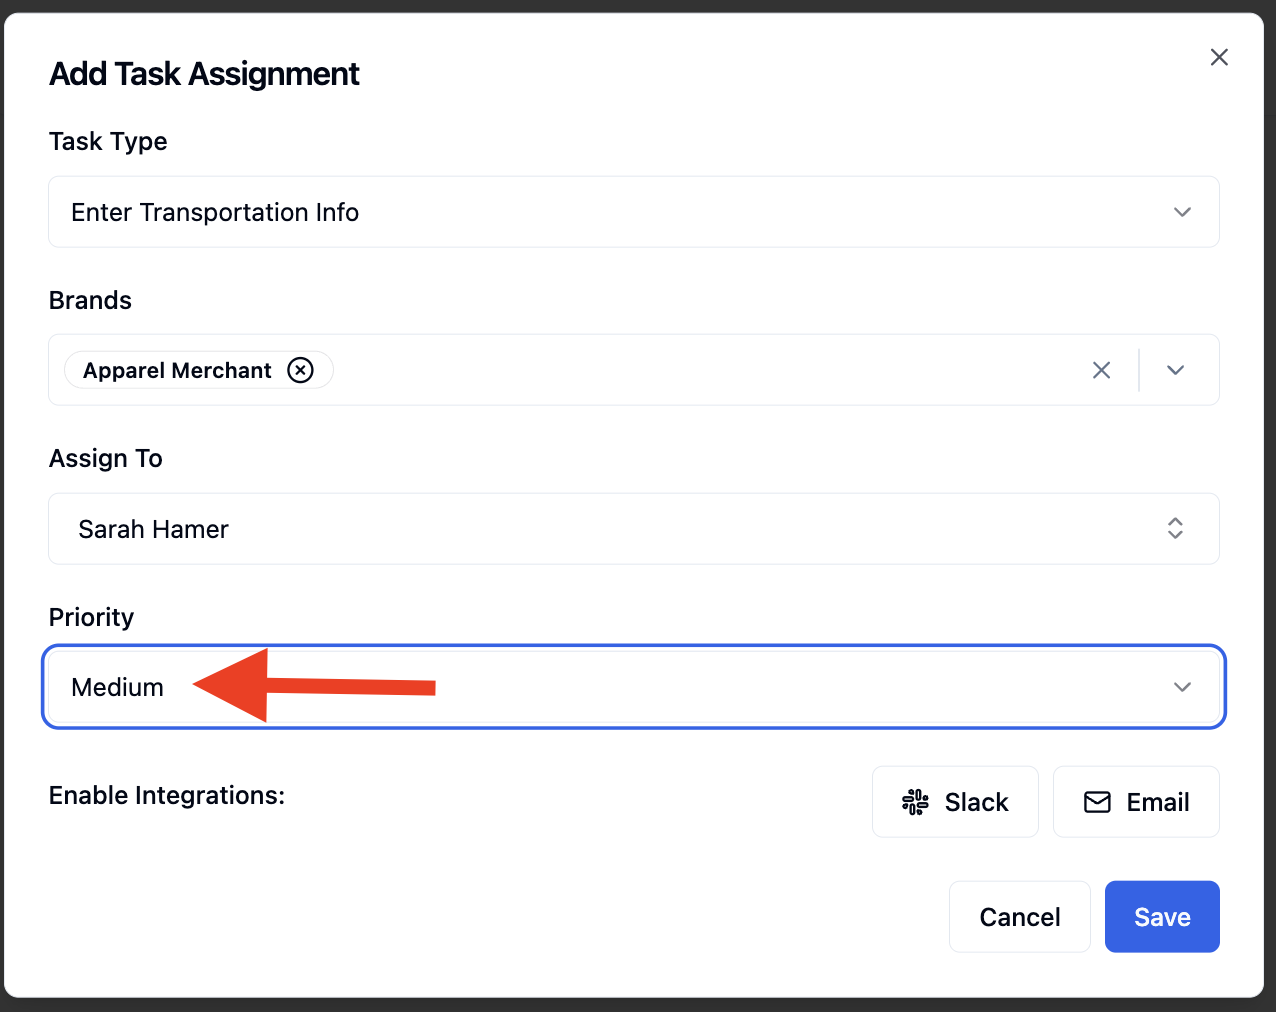
Optionally, enable one or both integrations to notify your team automatically when this task is assigned. Both Slack and Email can be enabled at the same time:
Slack | |
Select a connected Slack workspace and channel to post a notification when the task is assigned. Connect a workspace first under Settings if none appear. 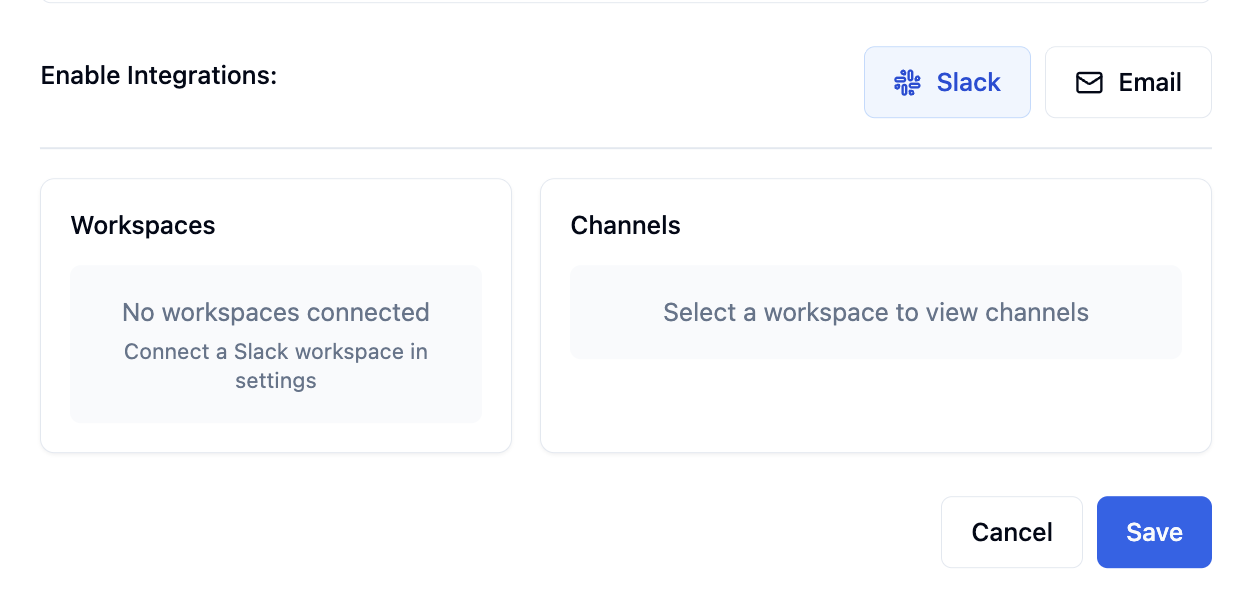 | Use 'CC Users on Email' to add additional recipients who should be copied on the task notification email. 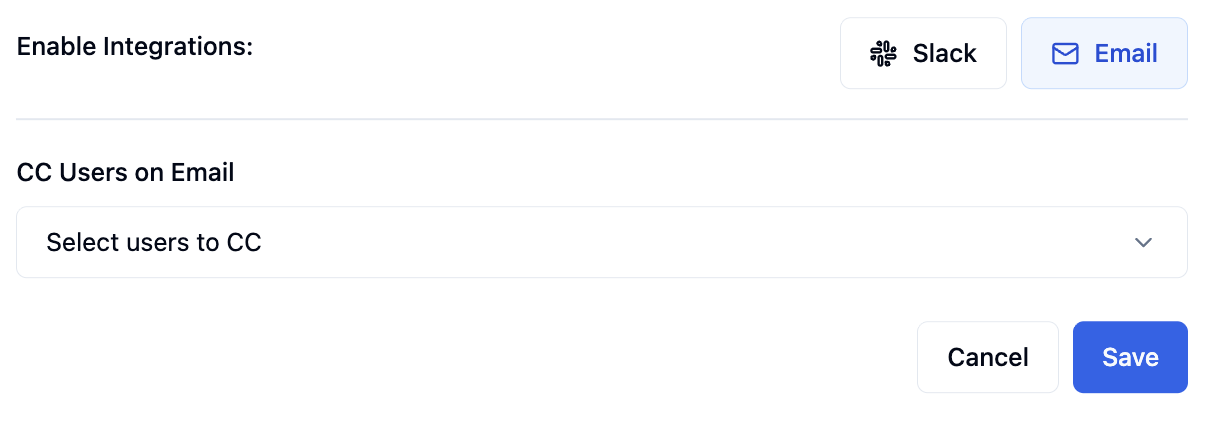 |
Click 'Save' to create the assignment. It will now appear in your Task Assignments list.
Editing or Deleting a Task Assignment
From the left-hand navigation, click 'Settings' at the bottom of the sidebar.
In the Settings menu, scroll down to the Automations section and click 'Tasks'.
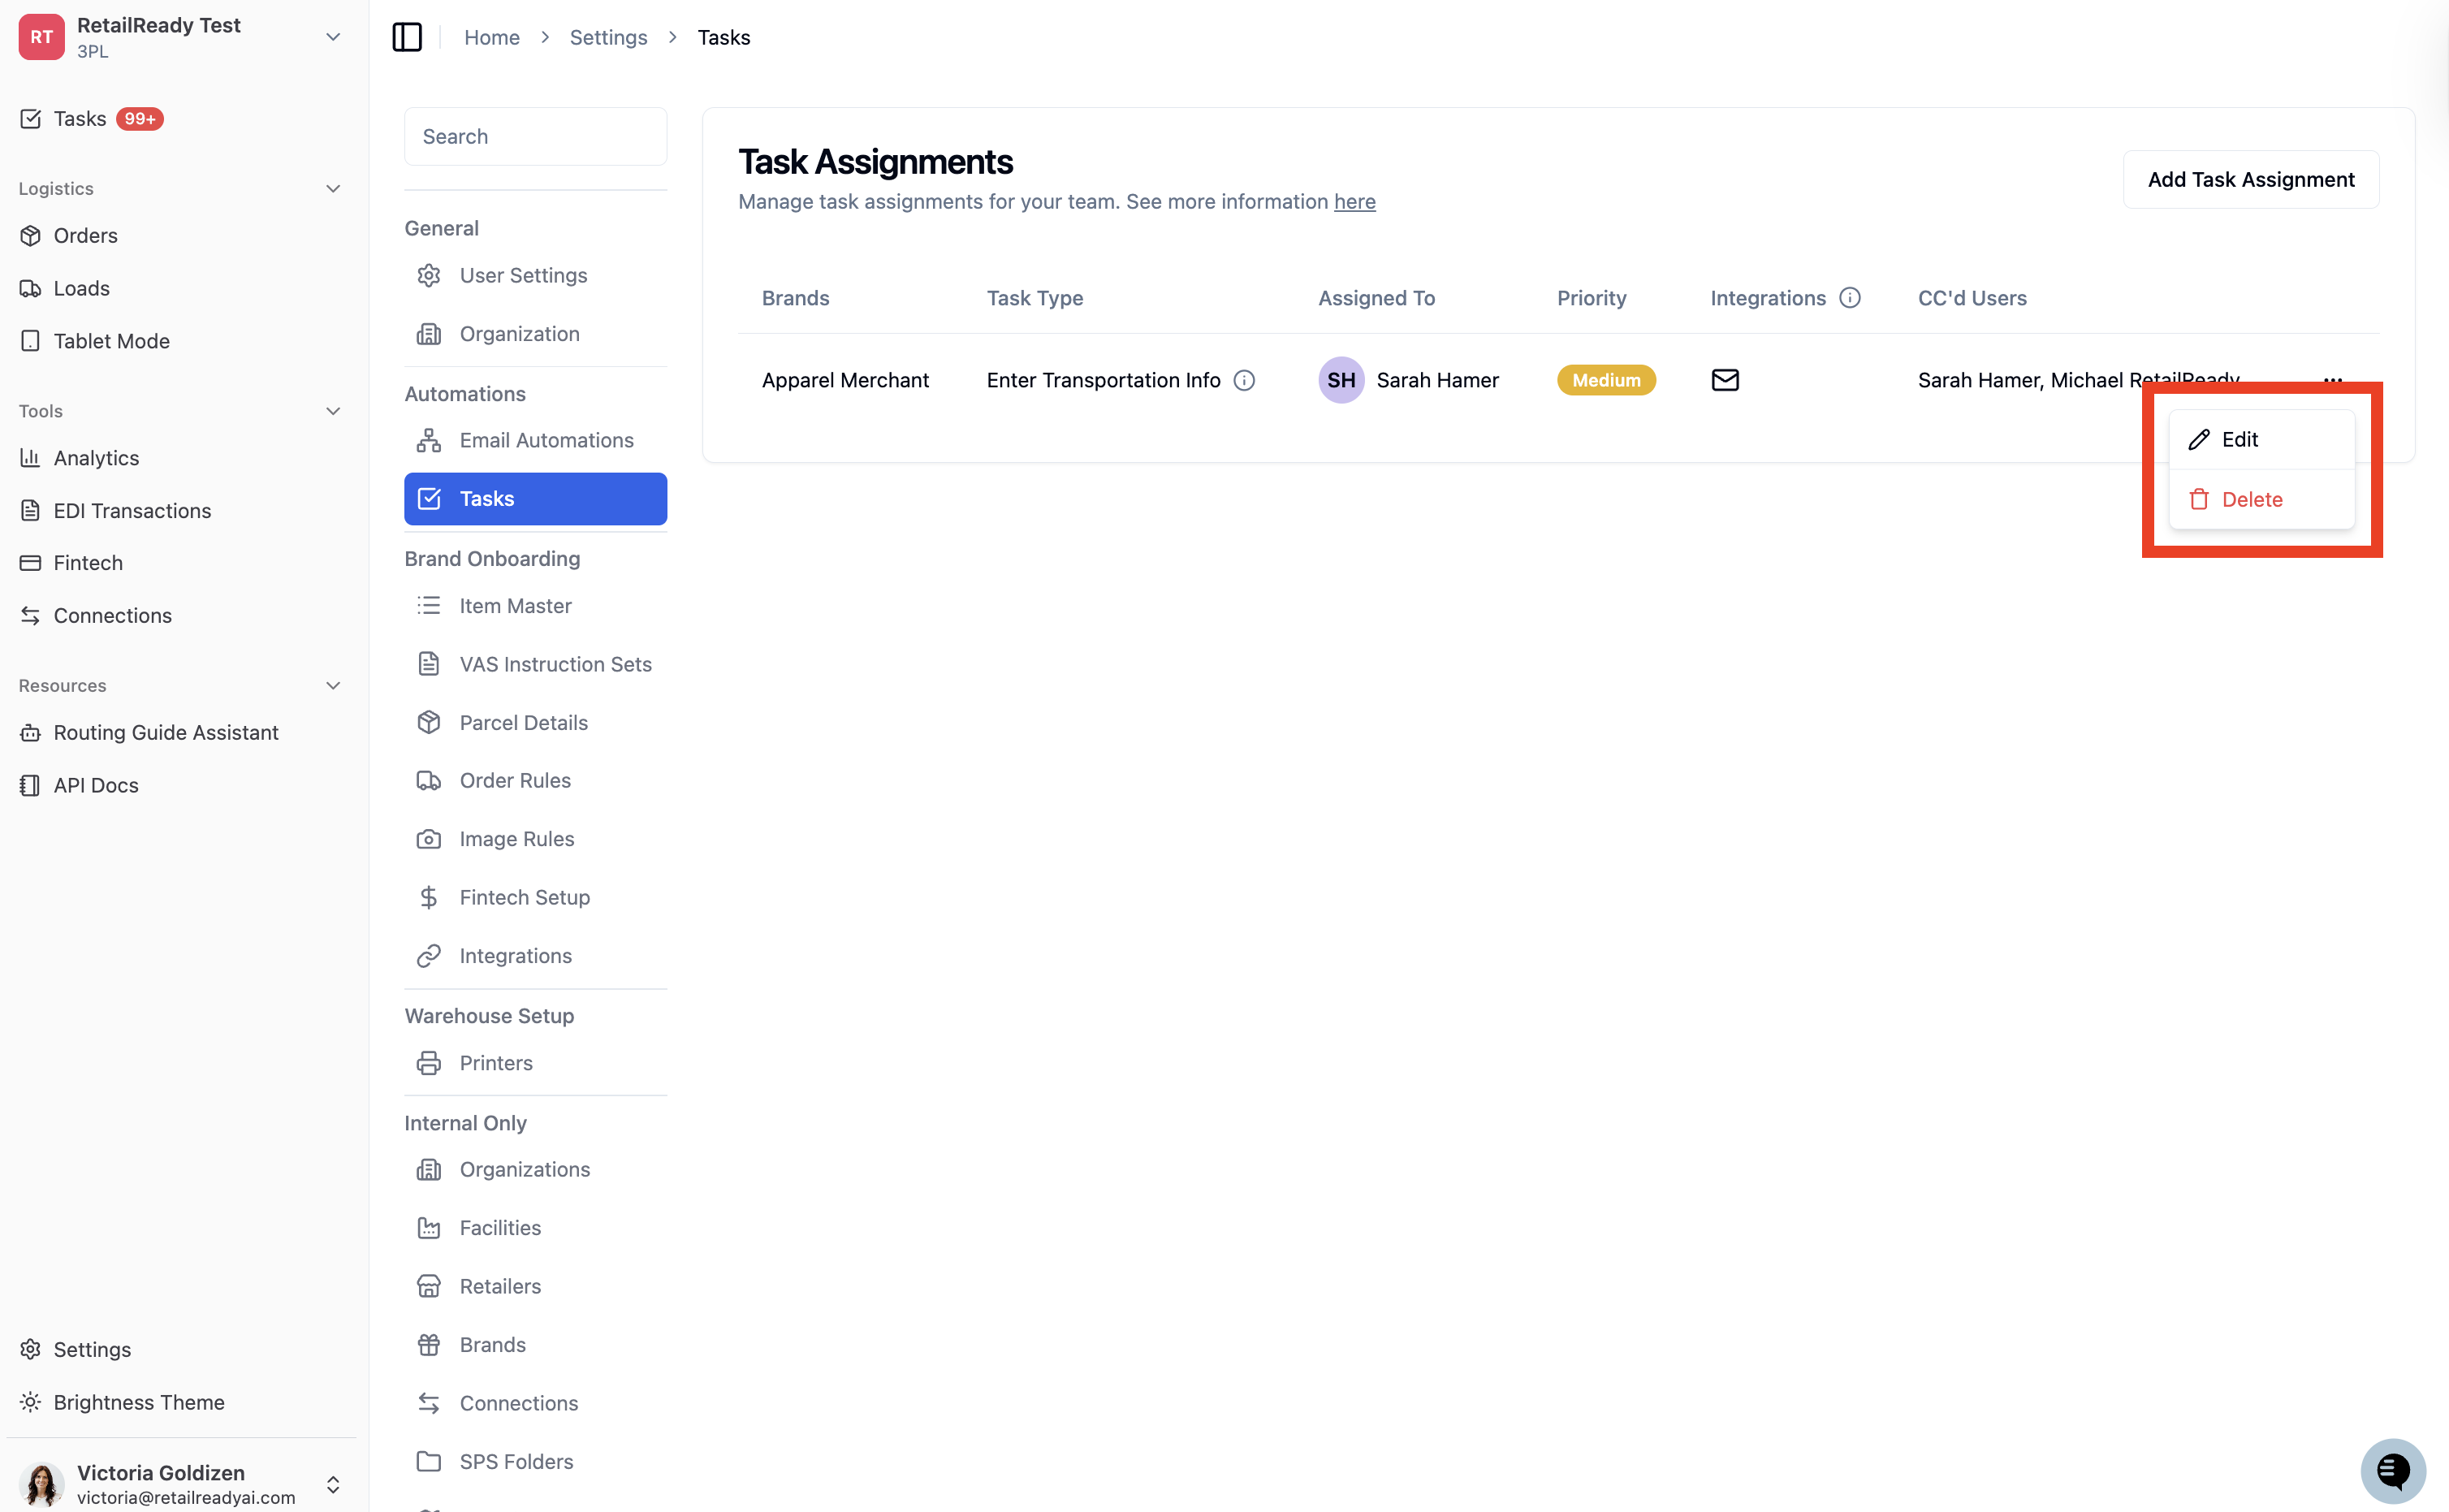
Find the assignment you'd like to update and click the 3 dots '•••' menu on the right side of that row.
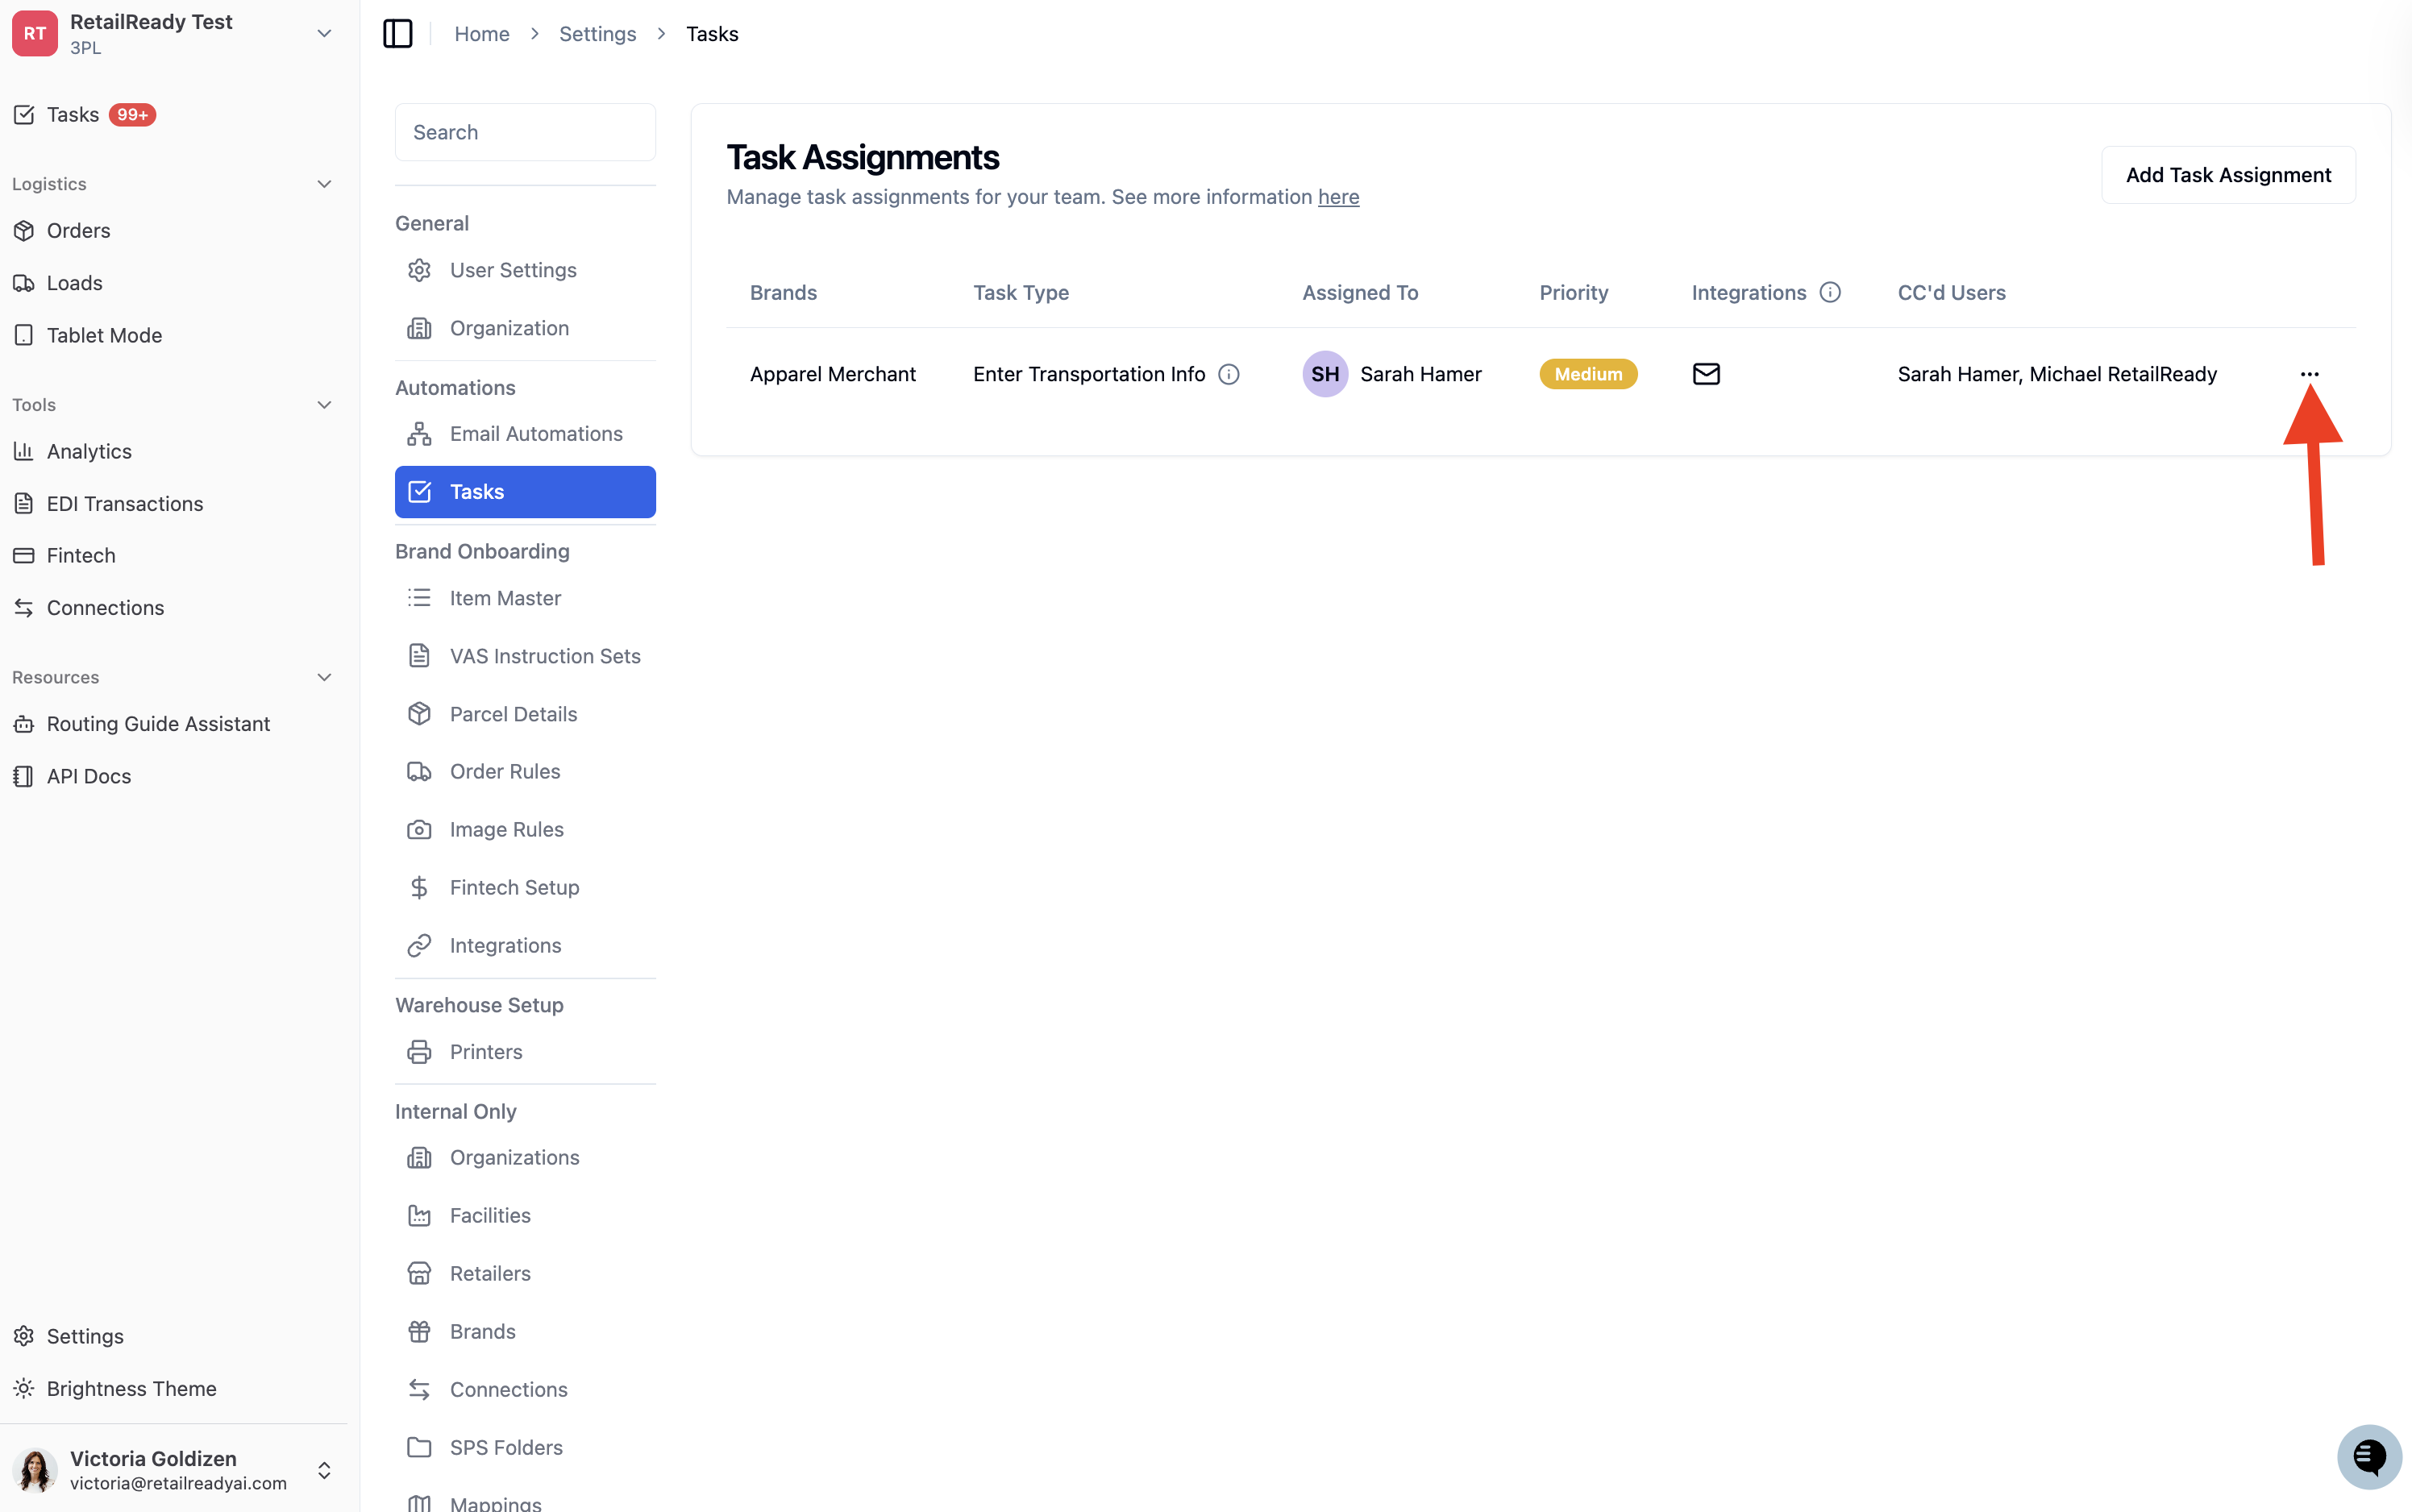
Select an action:
'Edit': opens the assignment to make changes, then click 'Save Changes' when done.
'Delete': permanently removes the assignment. A confirmation prompt will appear asking ""Are you sure you want to delete this task assignment?" click 'Delete' to confirm.