Onboarding 101
Last updated: July 26, 2026
How do I kick off onboarding?
To kick off onboarding, you'll need to request the brand <> retailer connection in RetailReady.
Navigate to the Connections page and select '+ Request Connection'
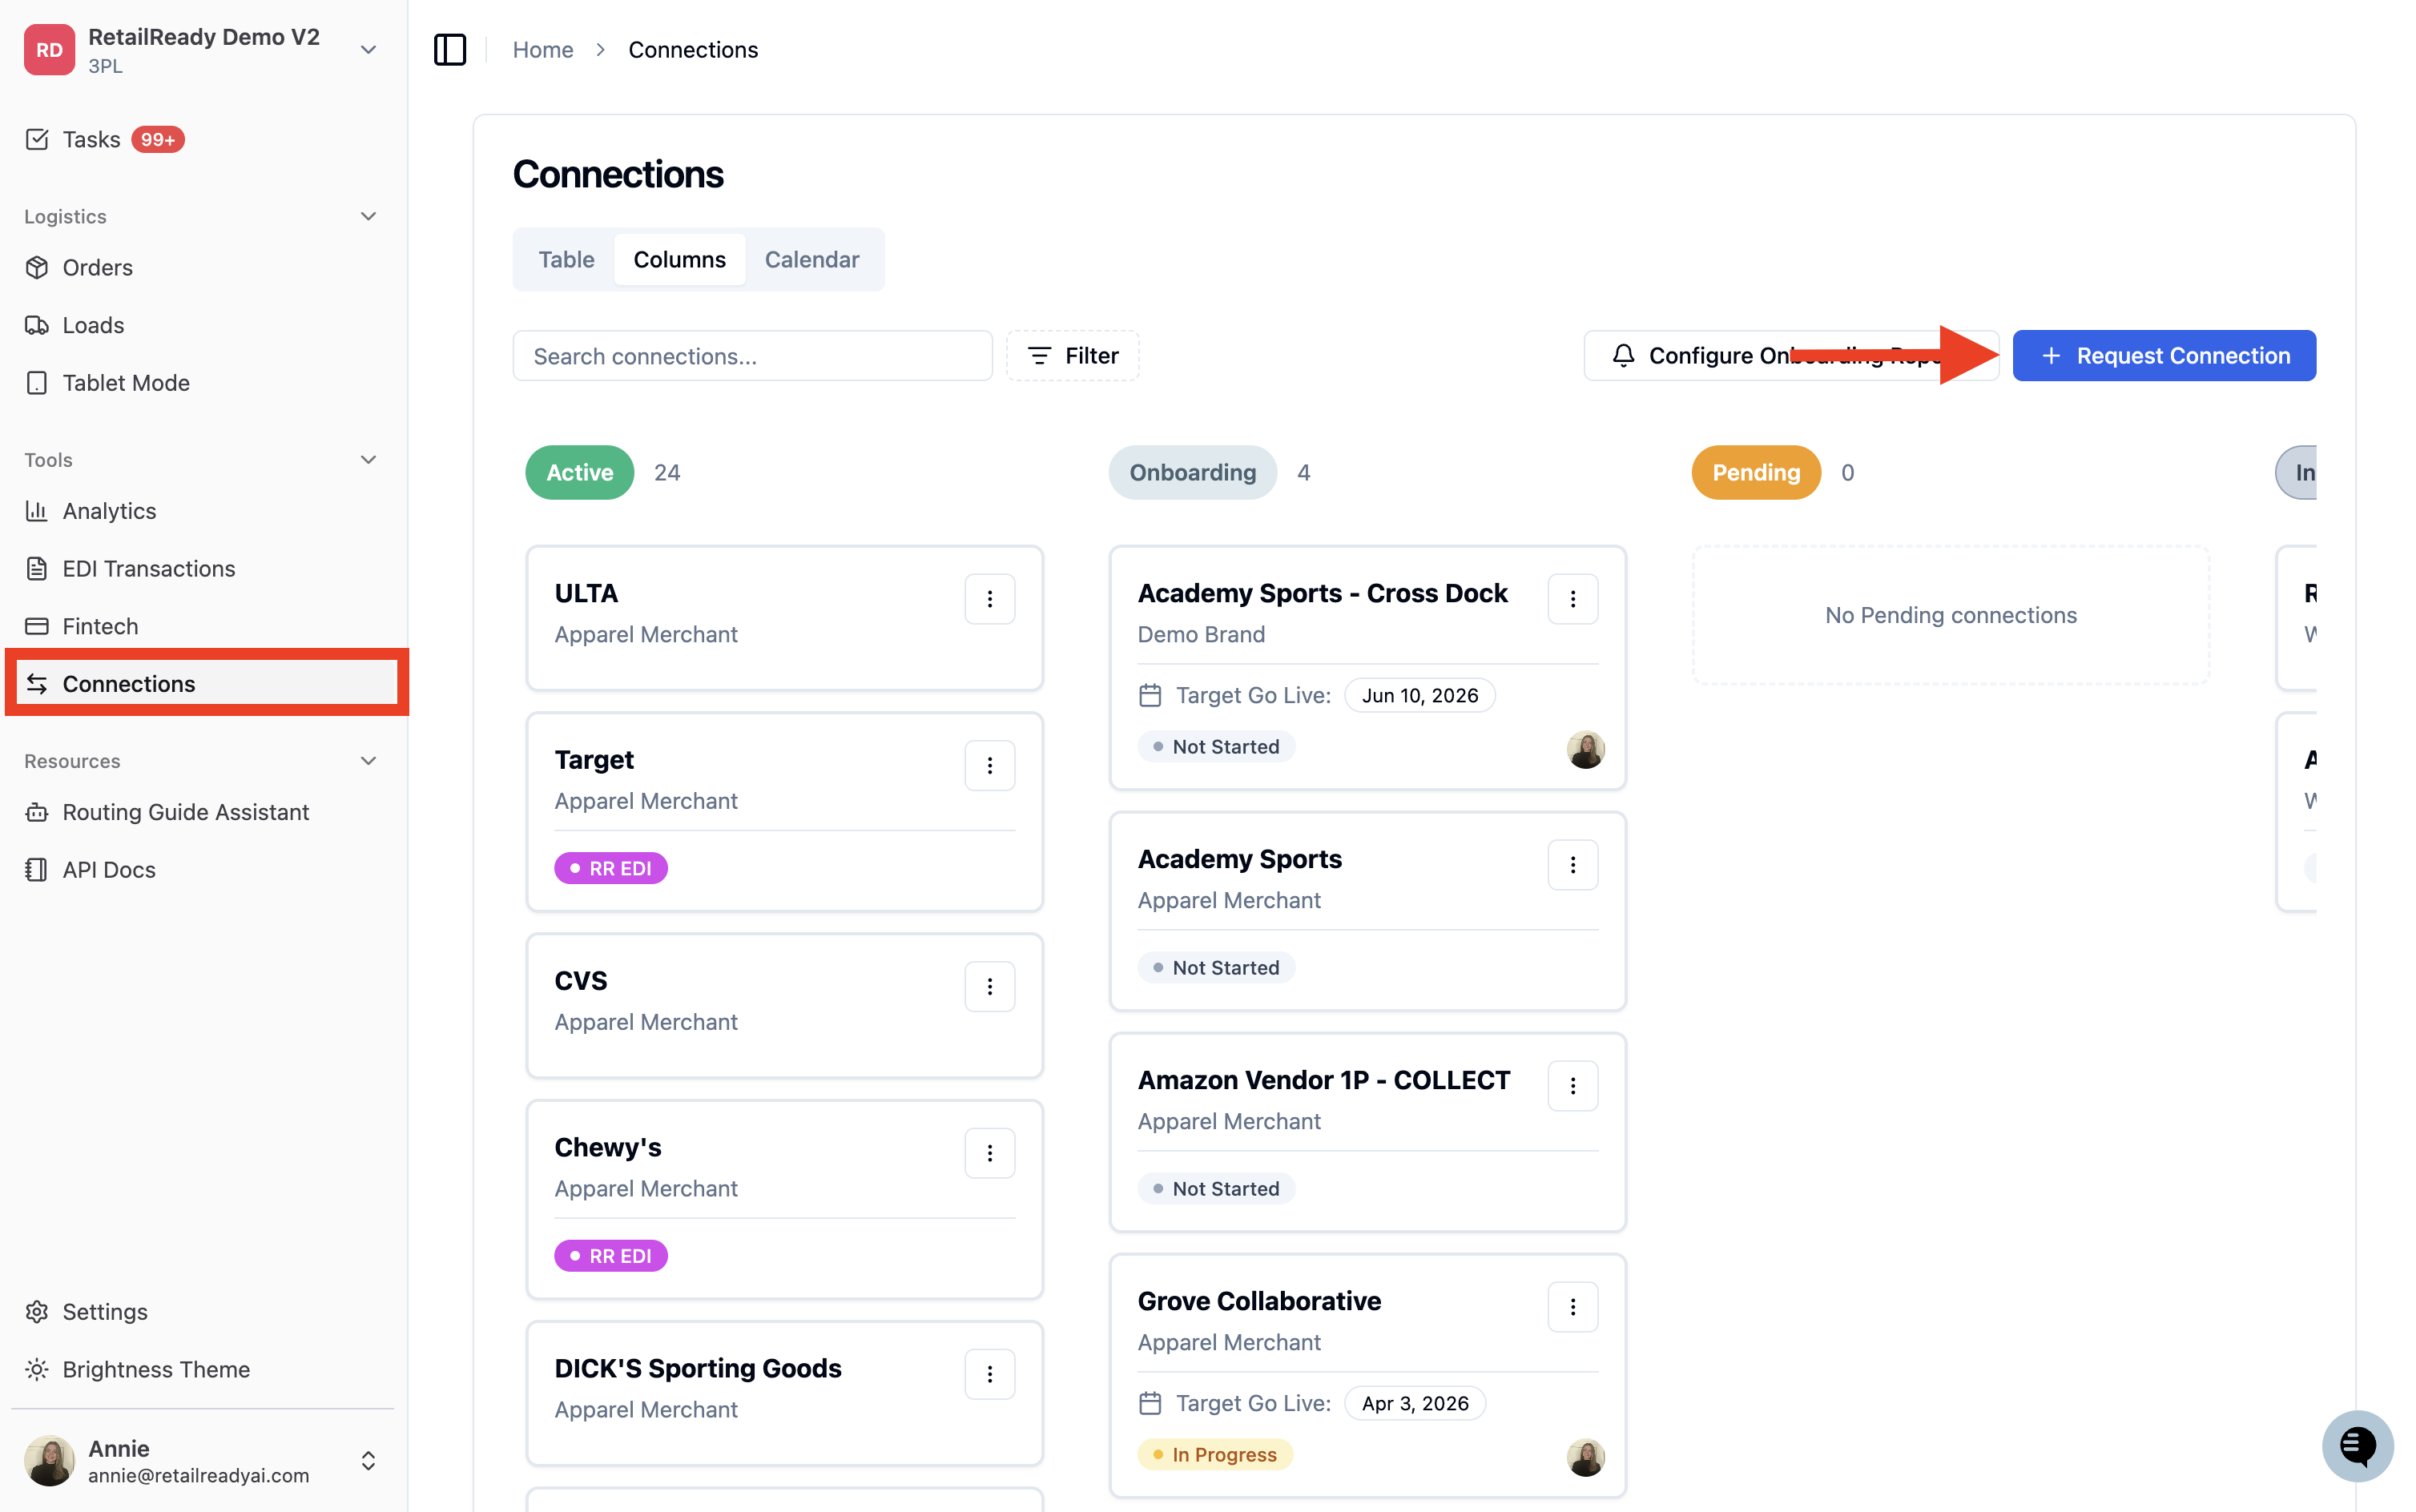
Select Brand — choose an existing brand or enter a new brand name
Select Retailer — choose an existing retailer or enter a new retailer name
Enter the Brand's GS1 Prefix
Search for it in the GS1 Company Database, or request it directly from the brand if unavailable
⚠ This prefix is used on all GS1 labels for the retailer — accuracy is critical
Enter the Brand's EDI Provider
If the brand doesn't require EDI support, enter "Manual"
Enter the Brand's EDI Contact
If working with a third-party EDI provider, the account manager's contact must be listed so we can initiate EDI testing
Case Pack Required — Does the brand only ship full case packs to this retailer?
Yes — full case packs only
Do you need partial case packing optionality? Select Yes if the retailer occasionally orders a few units beyond full cases. Note: SKUs cannot be mixed in a carton if this is enabled
No — the brand ships mixed SKUs or varying quantities per carton
Ship Collect — Select Yes if the brand has negotiated collect shipping terms with the retailer
Default on Hold — Enabling this places all incoming orders on hold until the brand reviews and releases them
Ship Hazmat — Select Yes if any of the brand's SKUs are classified as hazmat
Are the hazmat SKUs considered limited quantity? Select Yes or No accordingly
Select 'Request Connection'
What steps do I need to complete for onboarding?
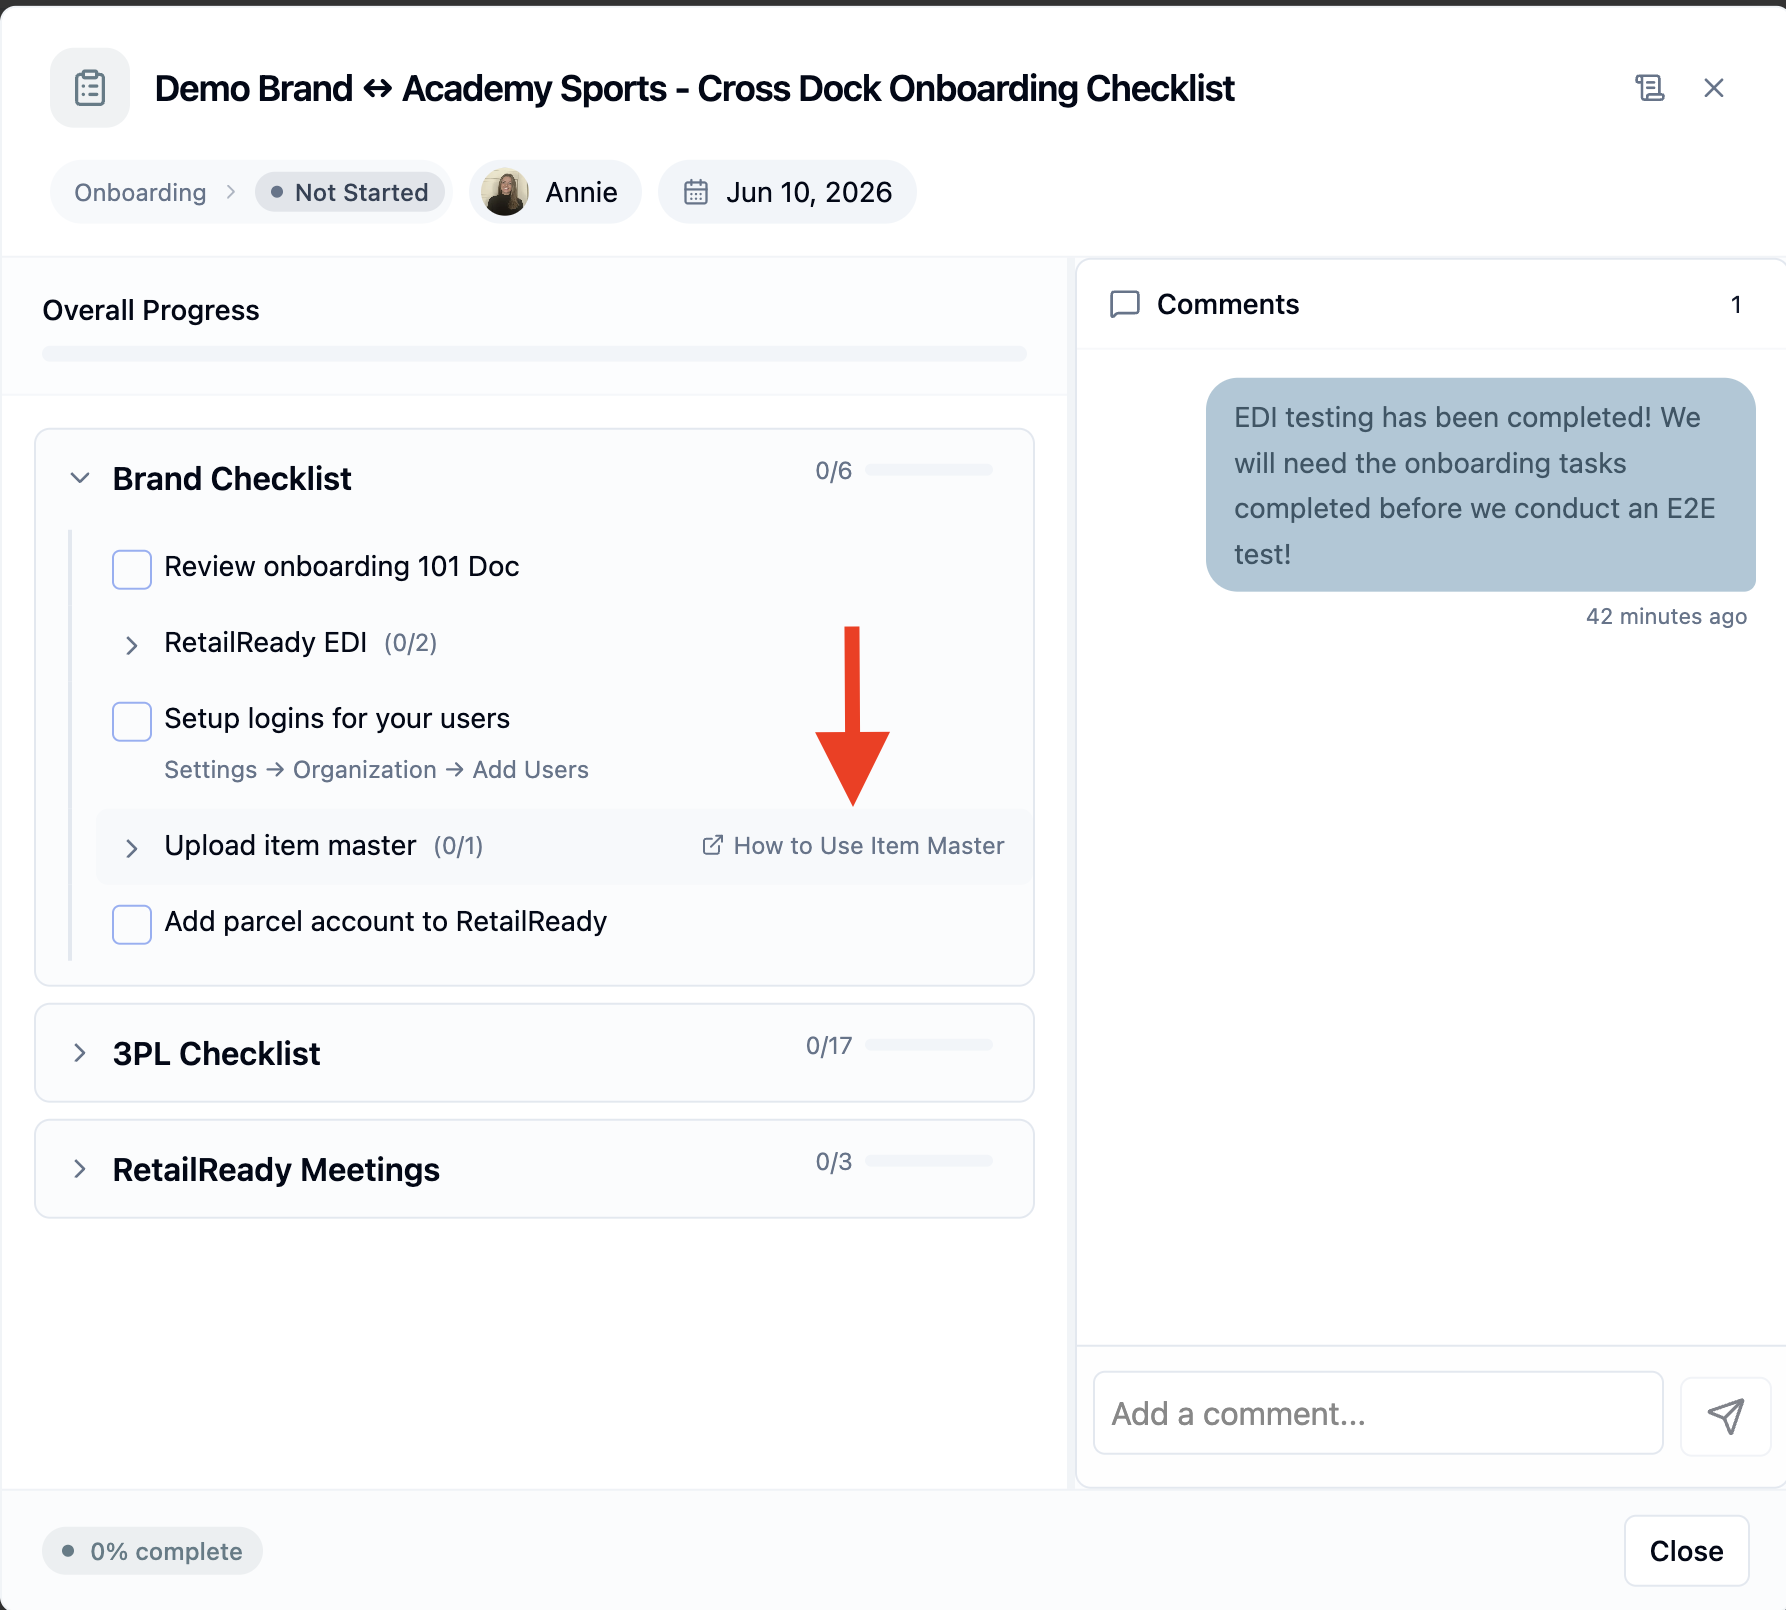
Your onboarding tile contains a checklist of items for each party to complete. Work through them and check things off as you go — all items must be completed before a go-live date can be set. Help articles are linked to each task and can be accessed by hovering over it.
How do I get onboarding updates?
Your onboarding specialist will leave comments in your onboarding tile throughout testing and setup. For any questions or connection-related comments, reply directly in the tile — expect a response within 4 business hours.
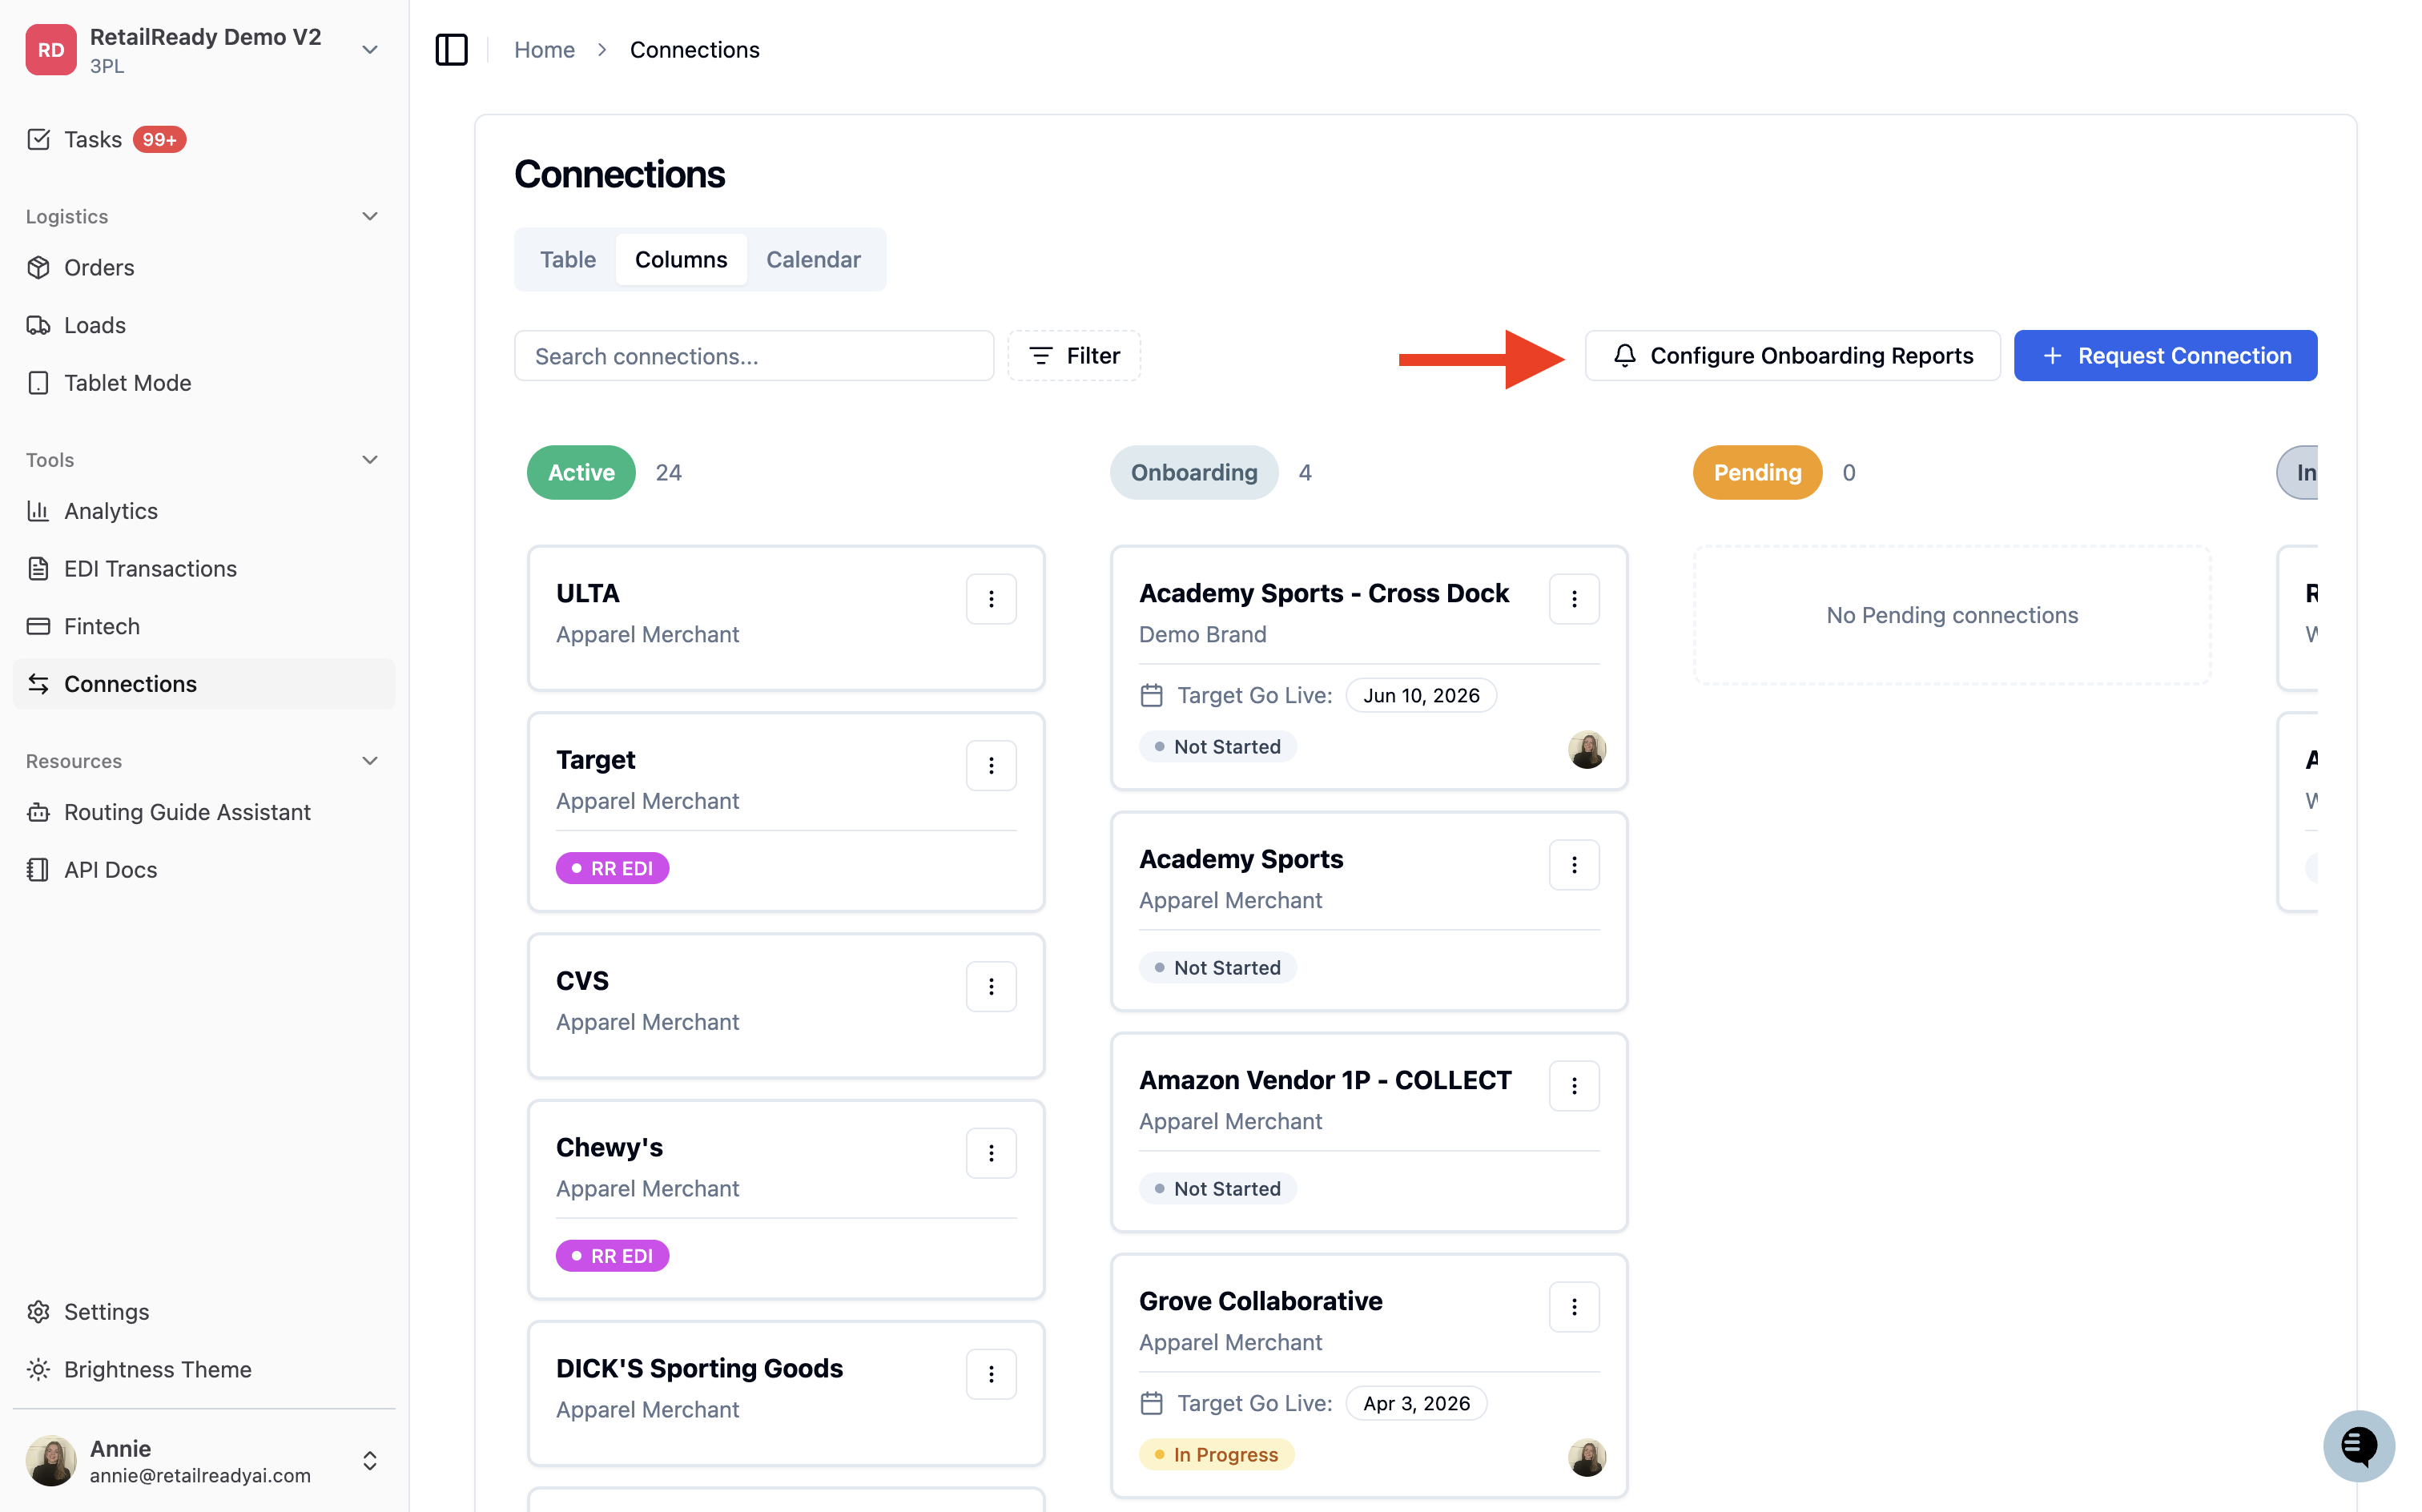
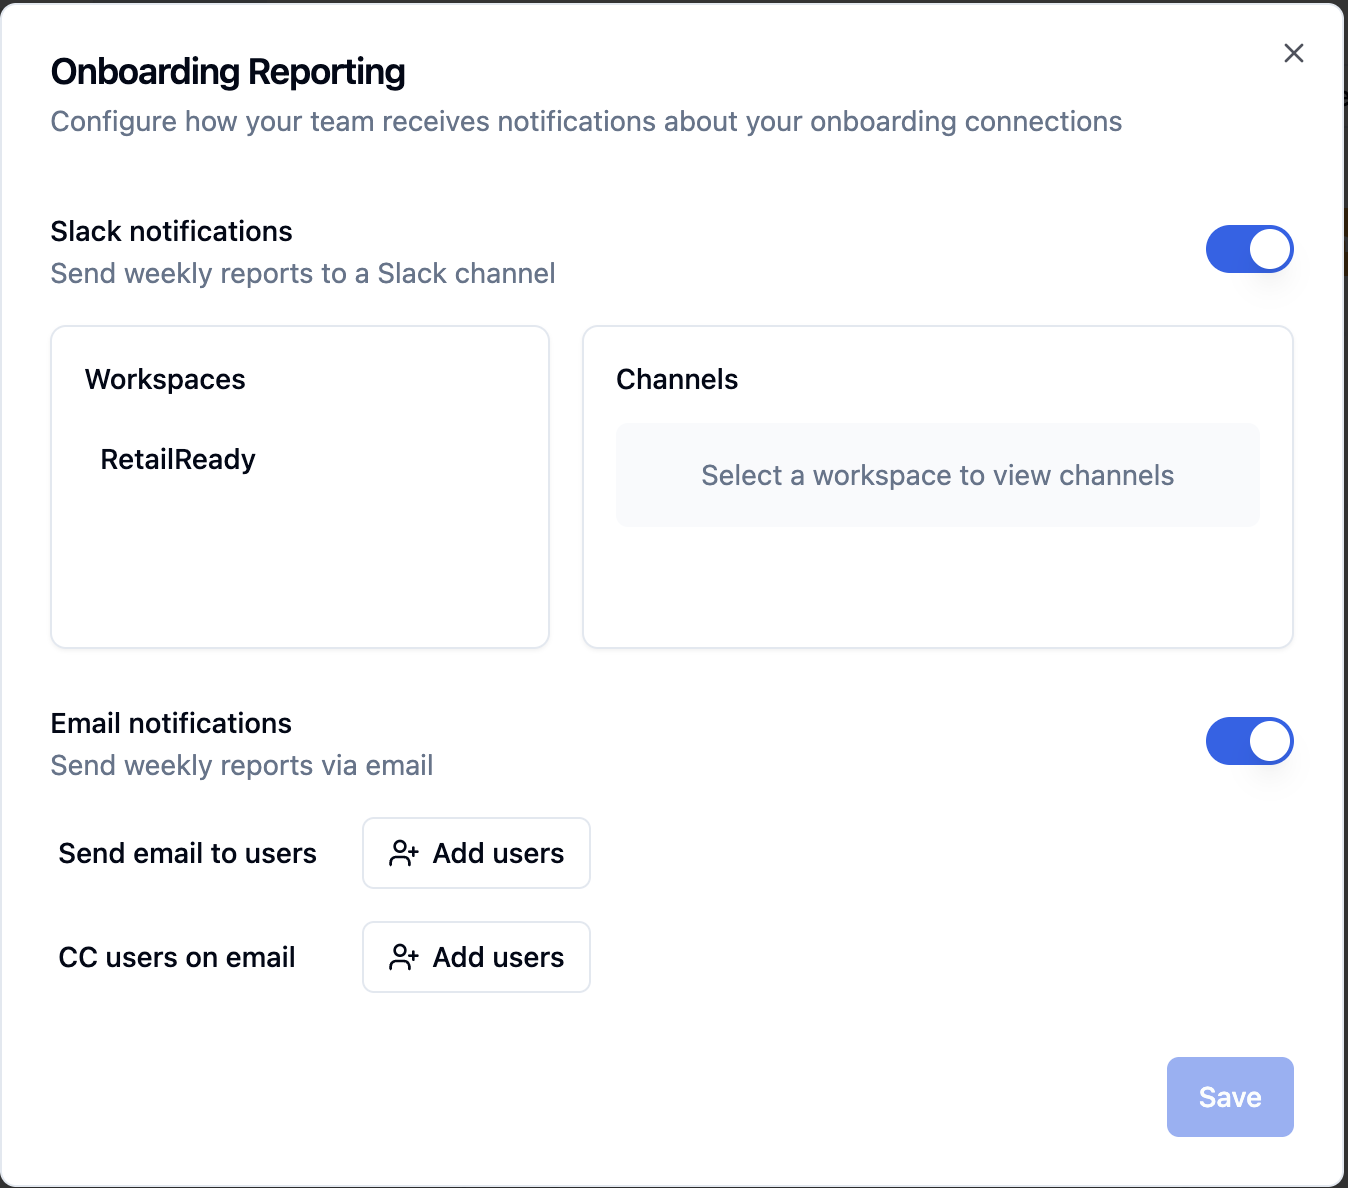
You can also set up weekly onboarding reports delivered to your email or Slack channel. These send every Friday with a summary of that week's comments and completed tasks. To enable, navigate to 'Connections' and select 'Configure Onboarding Reports'.
When will we meet?
We'll start with a kickoff call to align on integration requirements, followed by a training session ahead of your facility's first go-live. After you've completed your first few orders, we'll reconnect for a product review and check-in. Any additional meetings can be scheduled ad hoc as needed.
What does a pack out flow look like in RetailReady?
How do I navigate through the RetailReady dashboard?
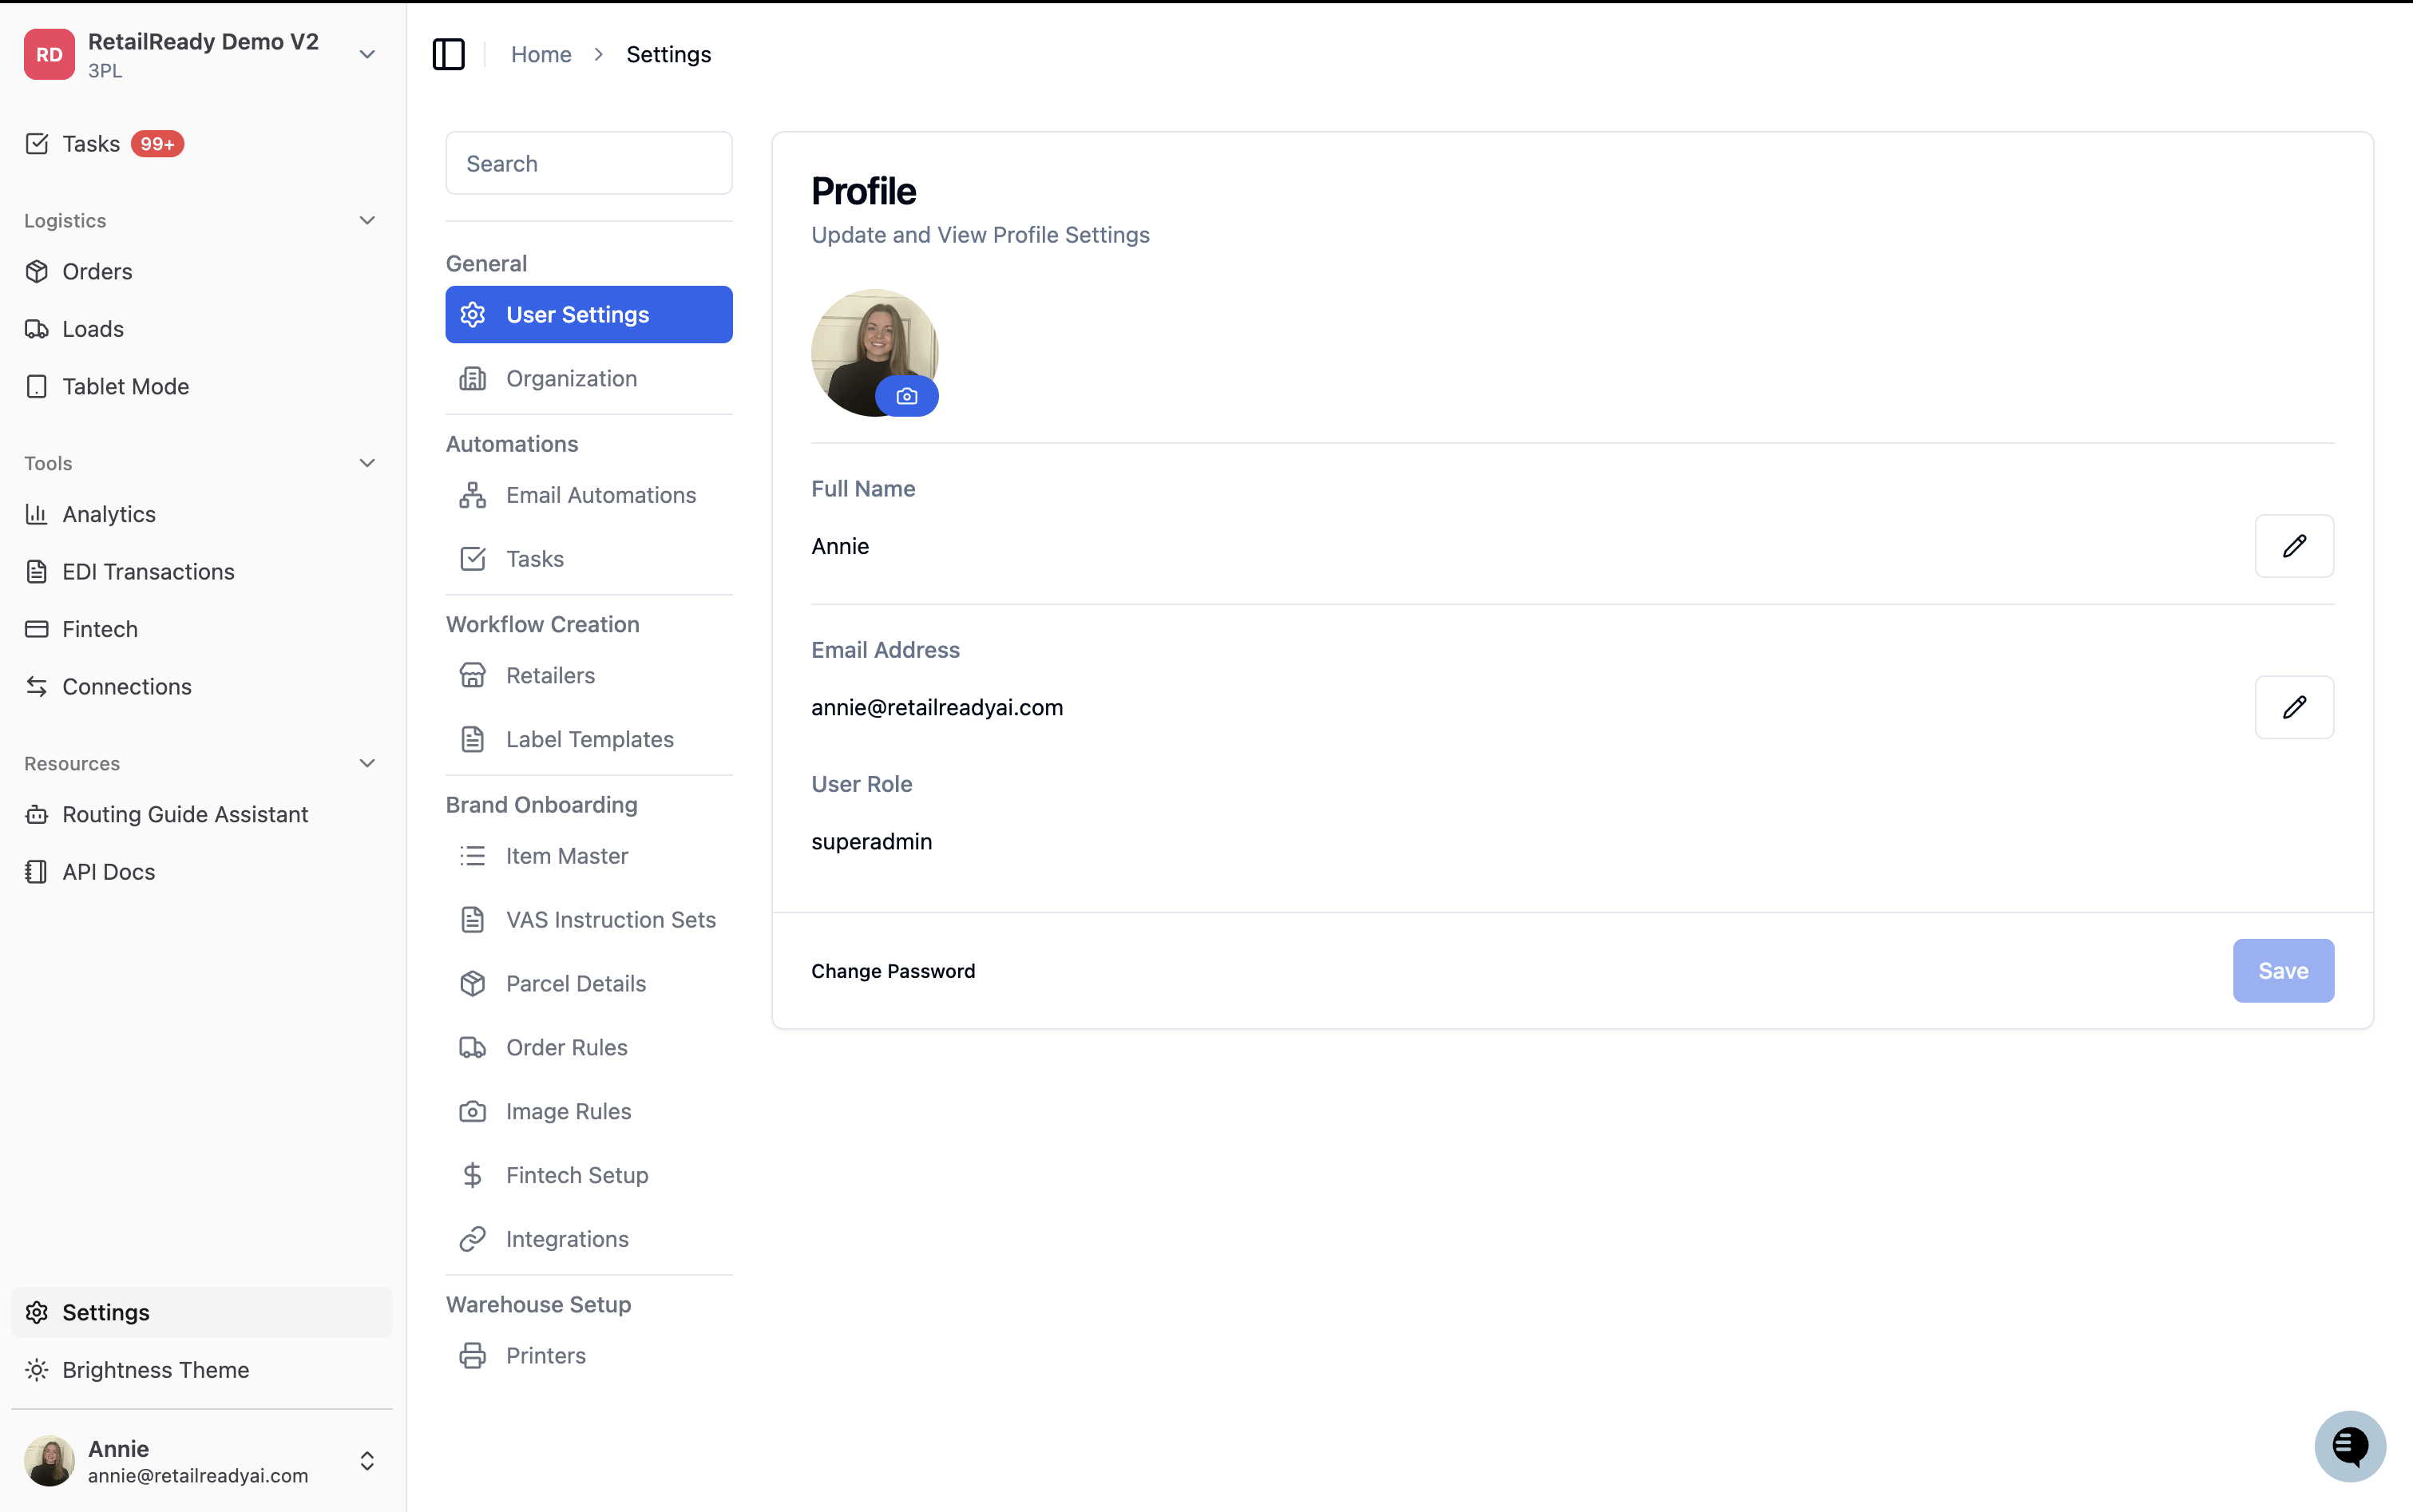
The side tabs in RetailReady are how you'll navigate the dashboard. Here's a quick overview of each:
• Tasks — Your main screen. This shows any tasks that are blocking orders from being completed. Keep an eye on this to make sure orders are processing on time. Clear all your tasks and you'll get to meet Ralph 🐰!
• Orders — All order details in one place. You can monitor orders across multiple views: Column, Planner, and Table.
• Loads — Use this page to create truckloads before freight orders ship out. You can also monitor which orders are going out together and when.
• Analytics — Helpful insights into your team's performance and a high-level overview of order data.
• EDI Transactions — If you're using RetailReady EDI, this tab shows every EDI transaction we send and receive.
• Fintech — Where your invoices live. A new invoice is generated at the start of each month.
• Connections — Your home base during onboarding. This is where you'll find your onboarding checklists and request new connections.
• Routing Guide Assistant — Chat with our AI Routing Guide Assistant for quick, retailer-specific questions.
• API Docs — Looking to pull data out of RetailReady or interact with it directly? Check out our API docs — all you need is a RetailReady login.
• Settings — Configure important settings for your setup. The help articles linked in your onboarding checklist will walk you through everything.
• Brightness Theme — Light mode or dark mode? Your call!
How do I reach out to the RetailReady team?
You've got a few options:
Email us — onboarding@retailreadyai.com for onboarding questions, success@retailreadyai.com for ongoing support
Slack — drop a message in your dedicated channel
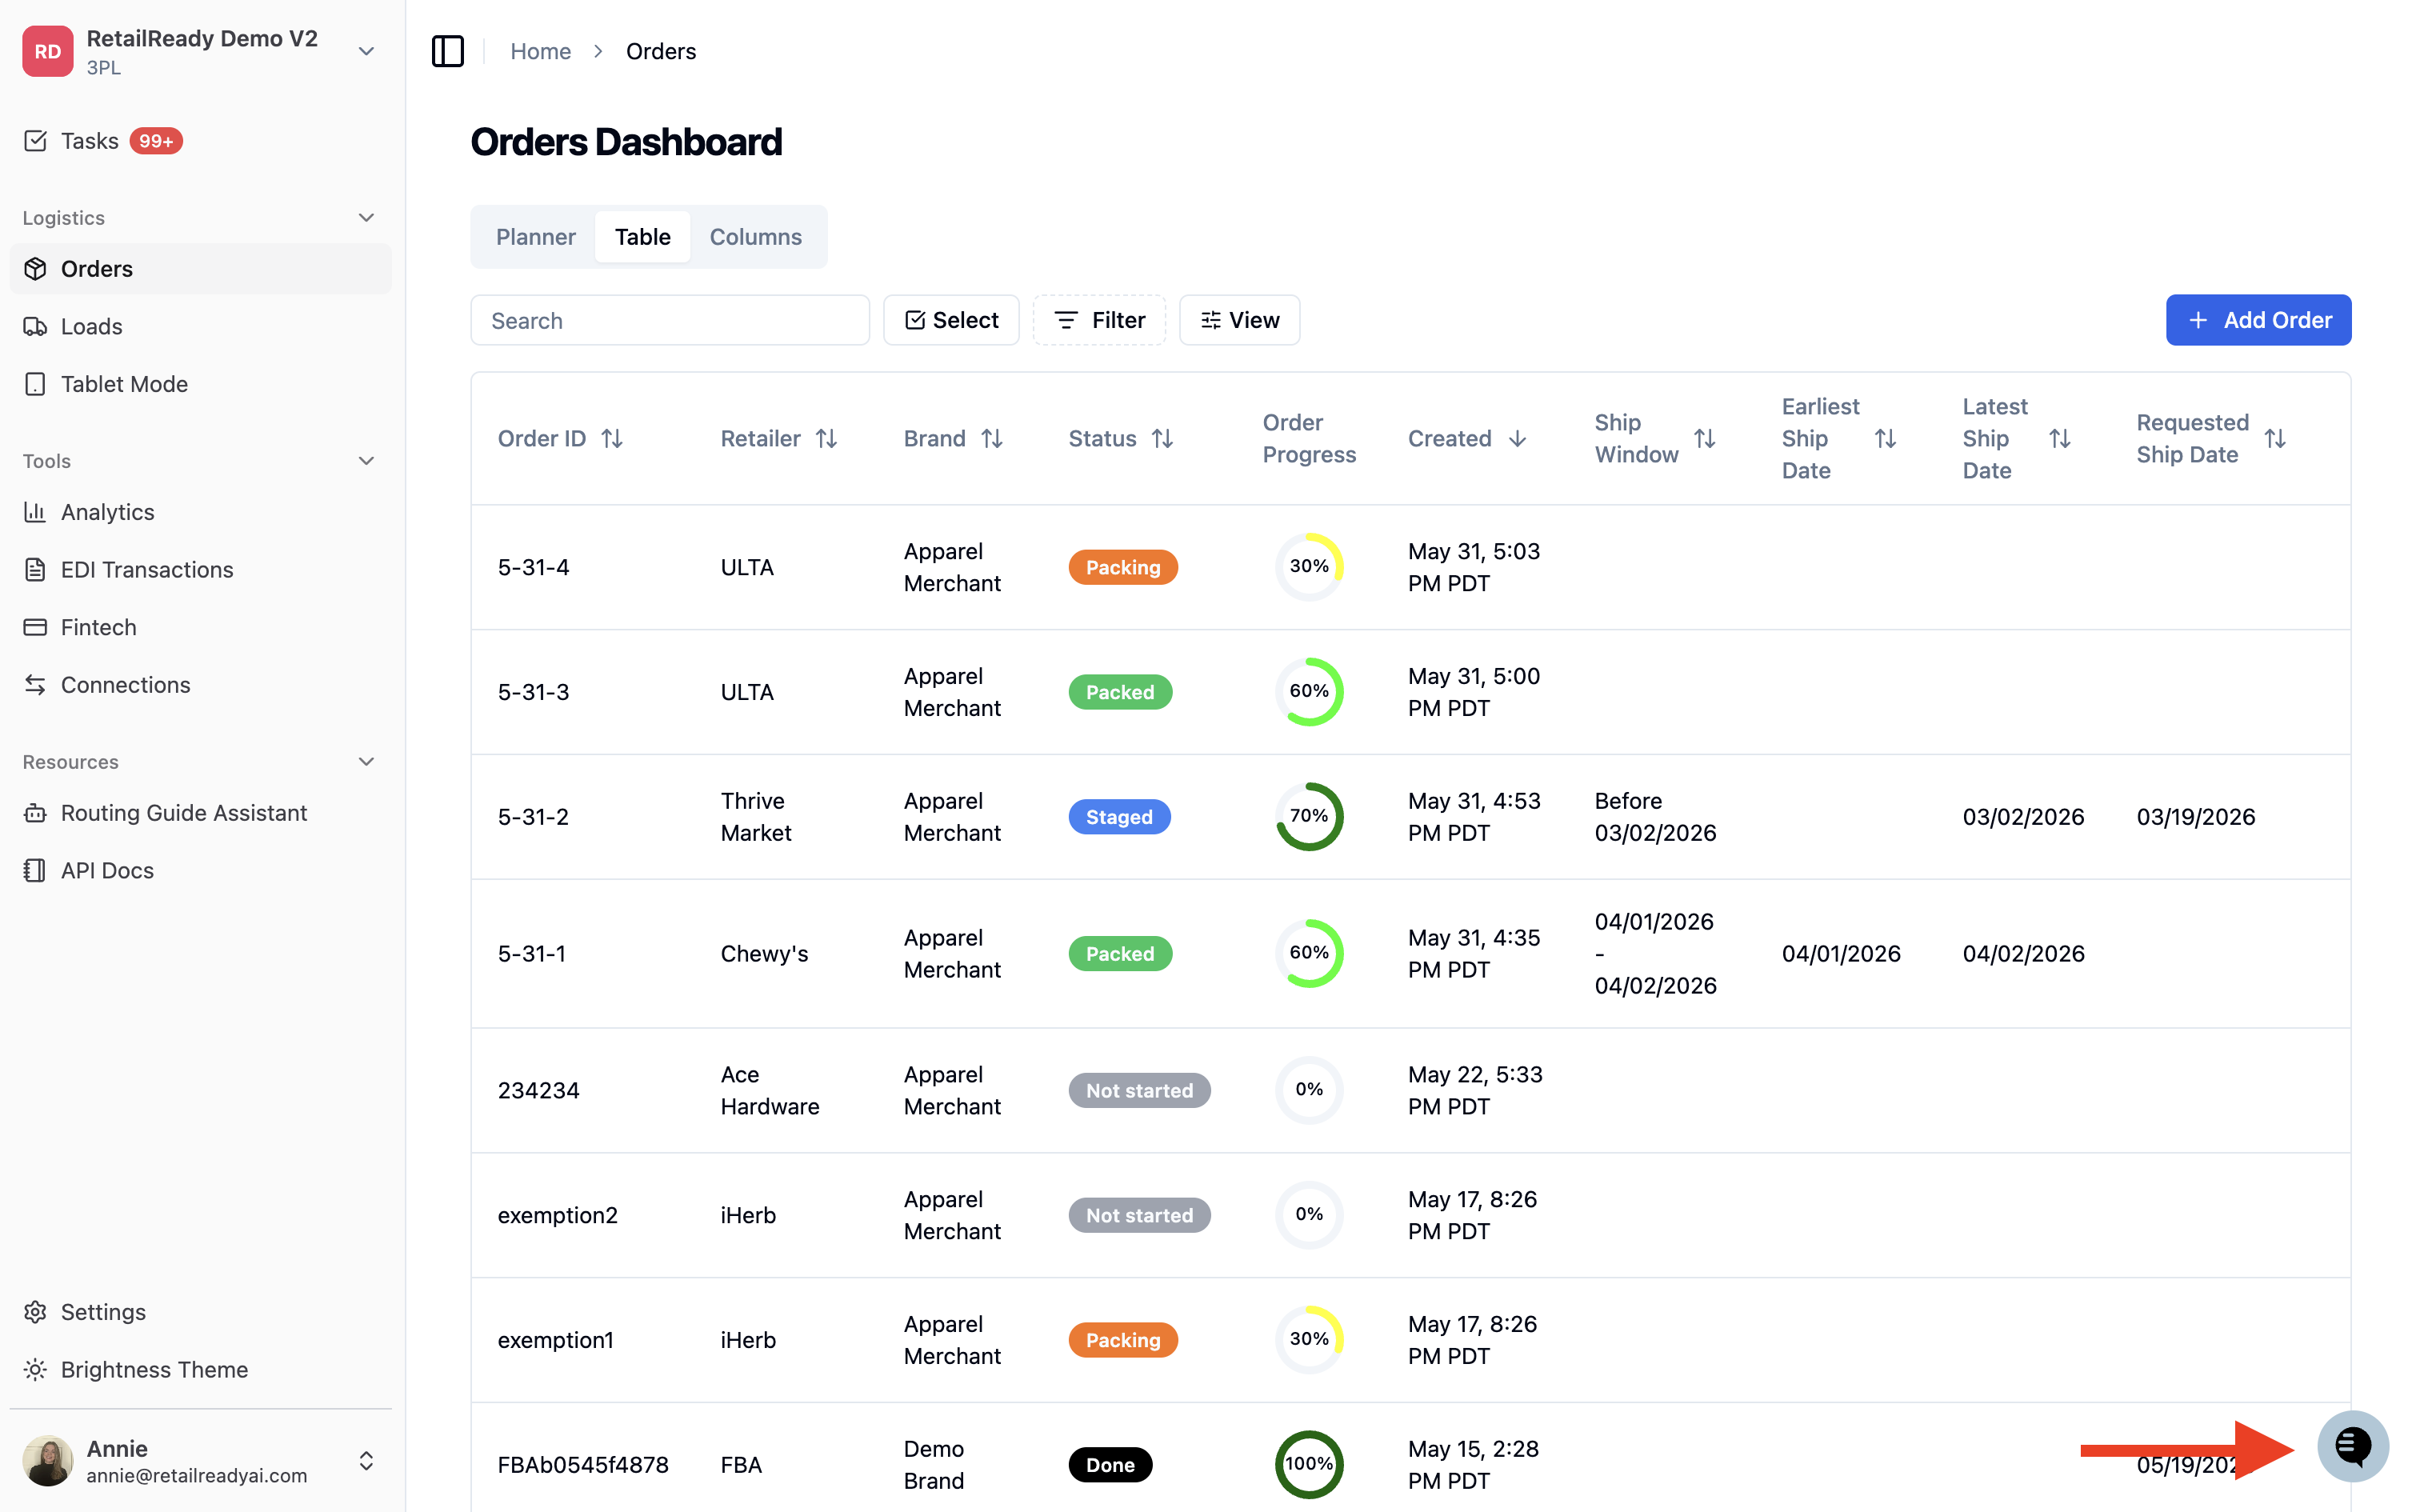
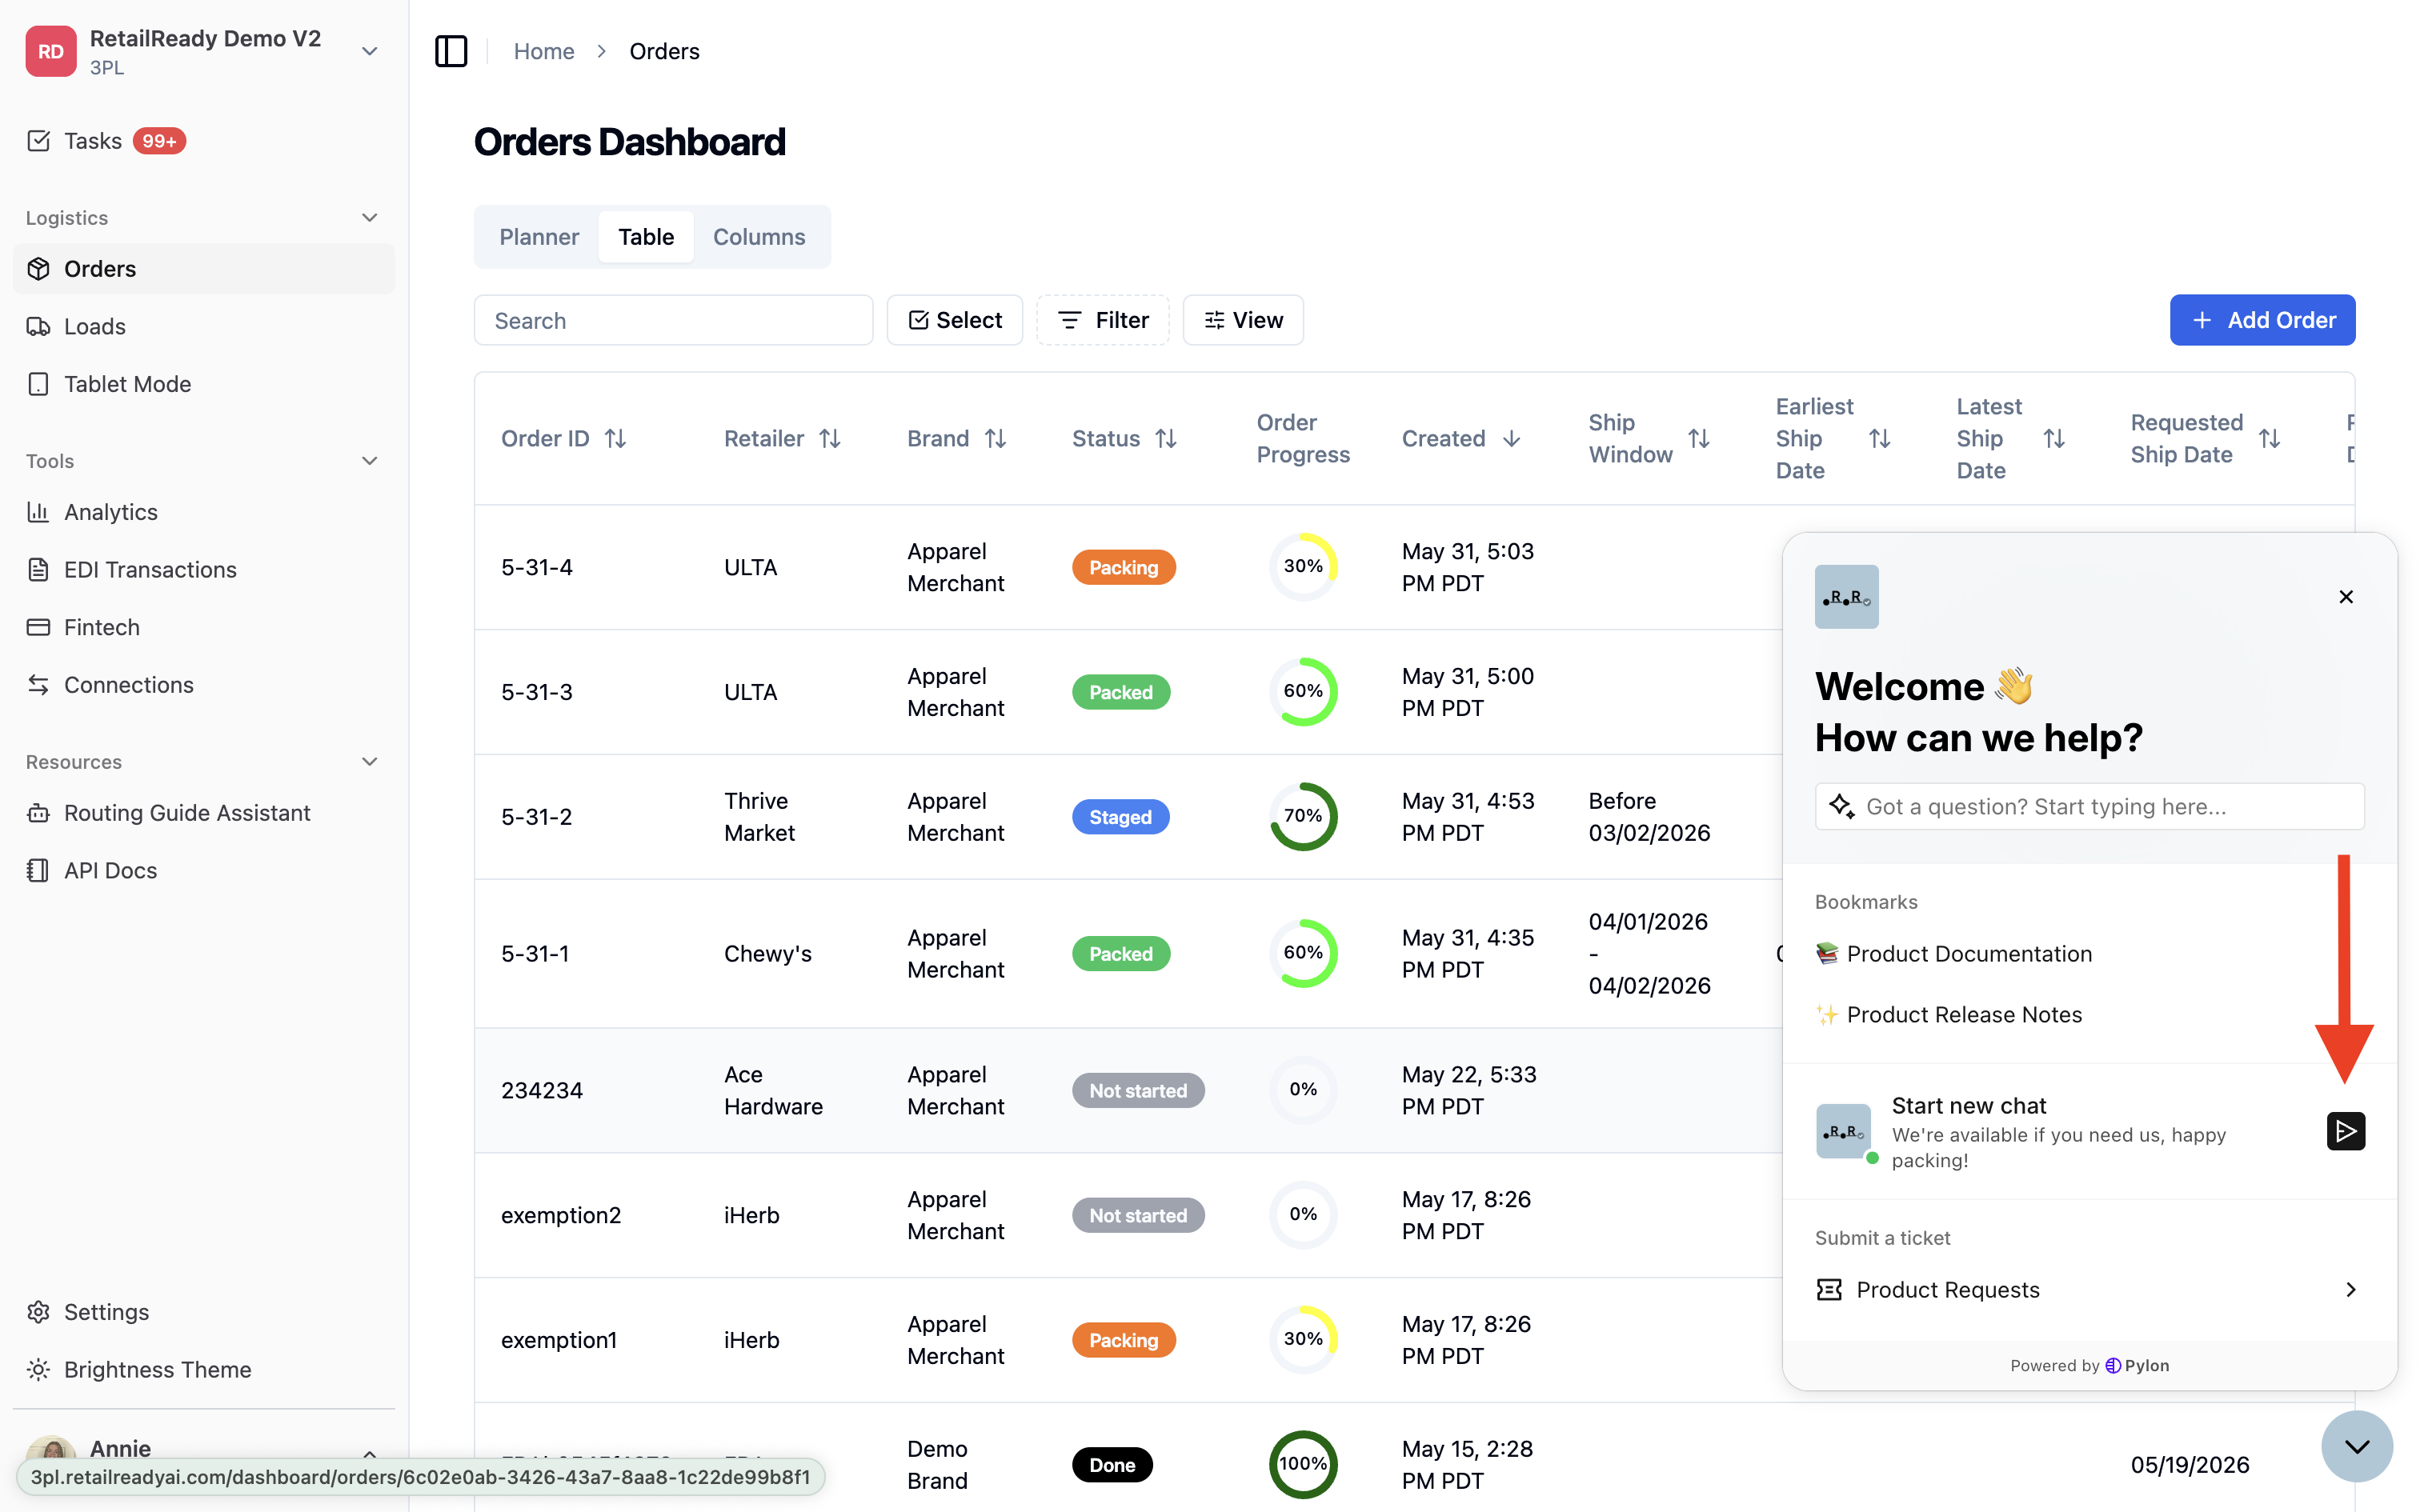
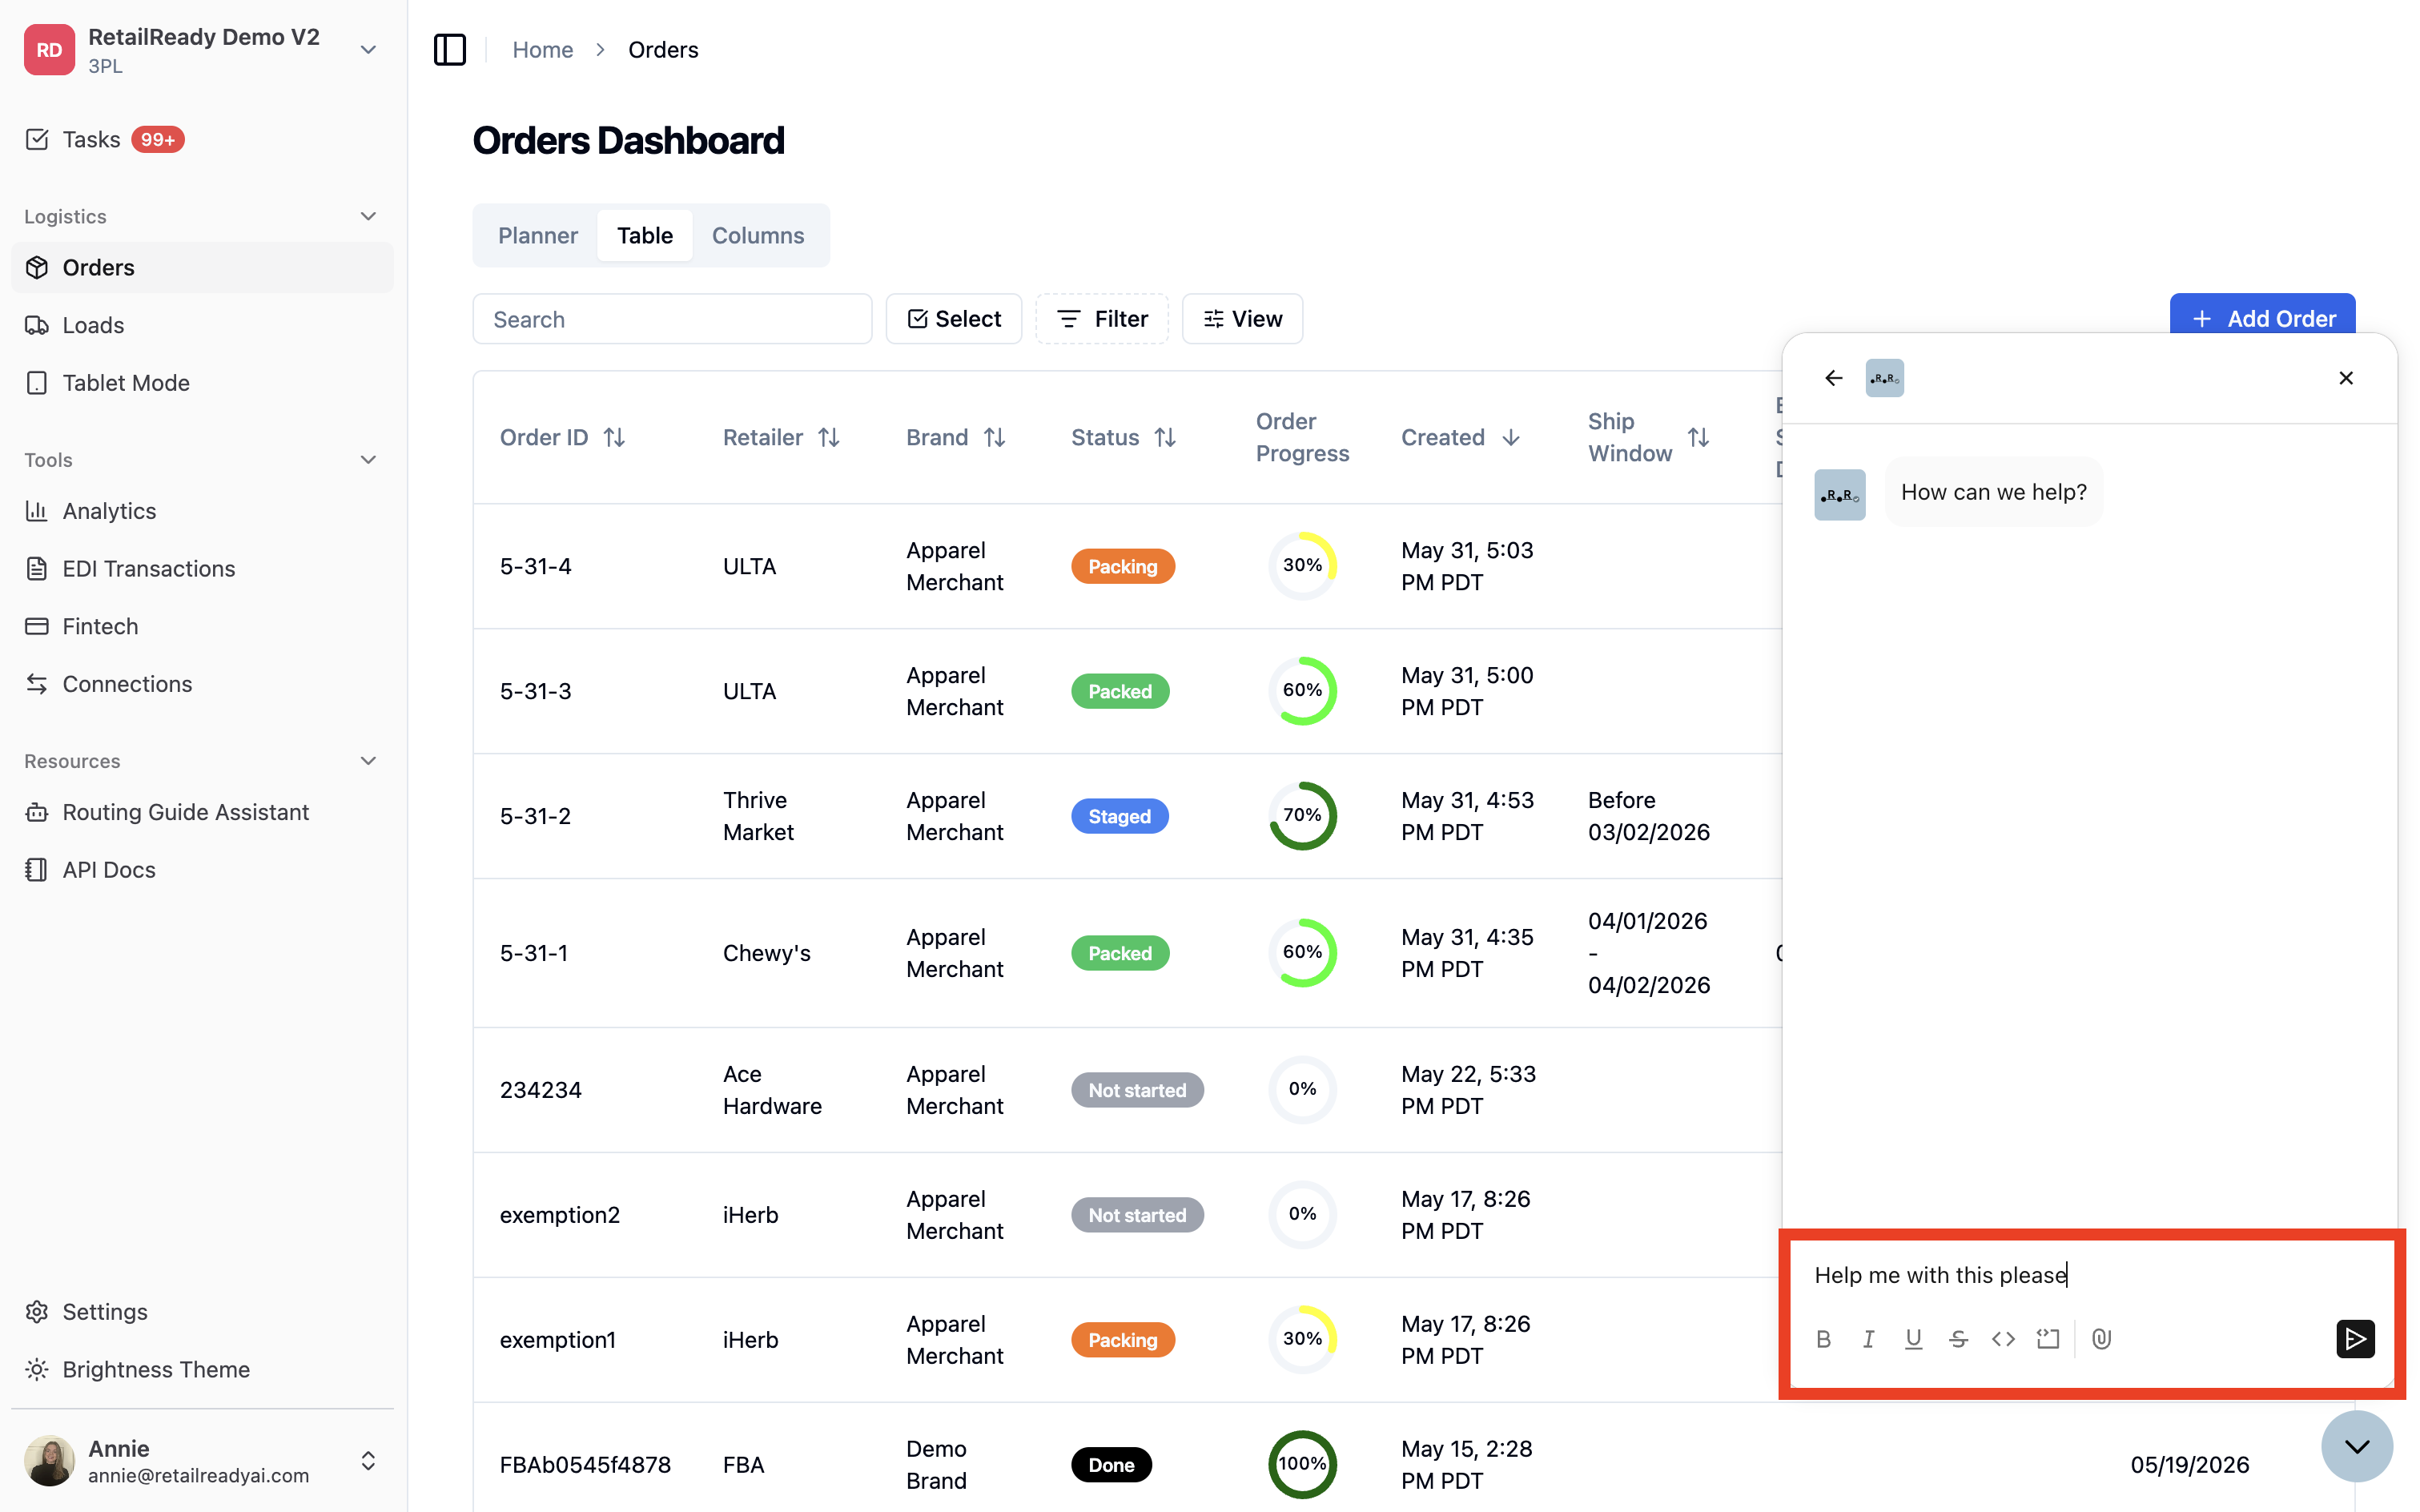
In-app chat — click the 'chatbot' in the bottom-right corner of your RetailReady dashboard
What if I receive an updated Routing Guide from a Retailer after onboarding is complete?
Please send your updated Routing Guide to onboarding@retailreadyai.com. Our team will review it and make any necessary changes to the compliance workflow within 2 weeks of receipt.